|
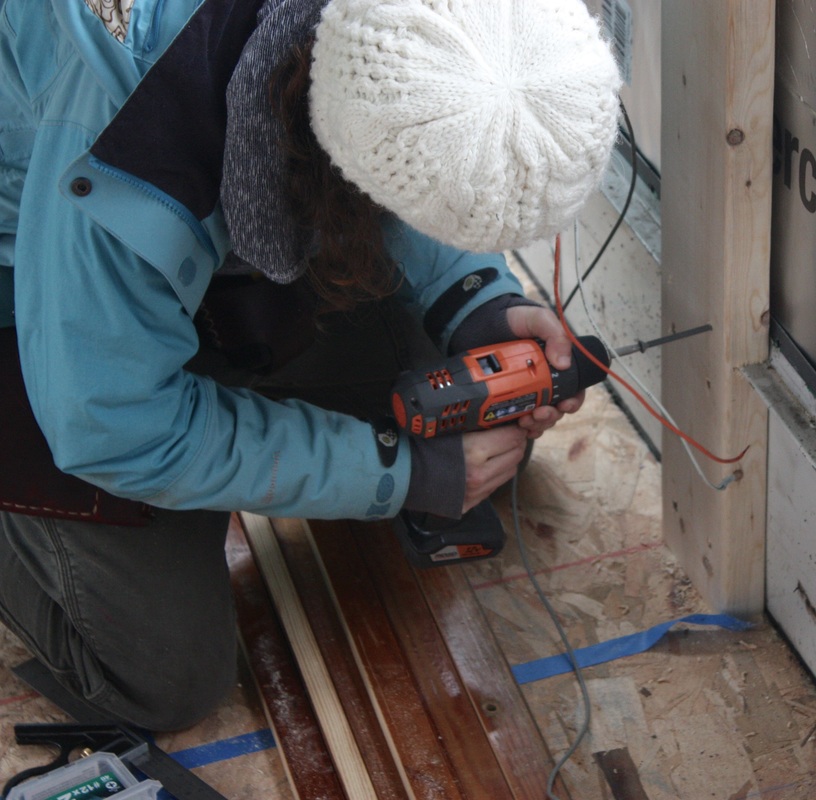
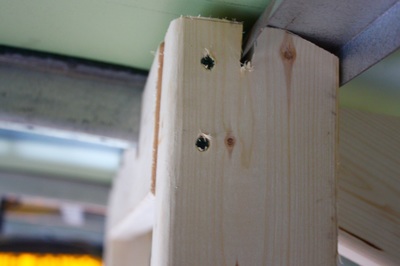
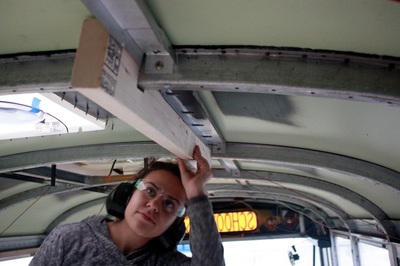
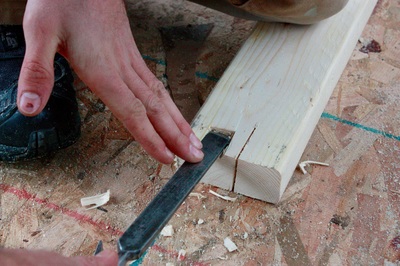
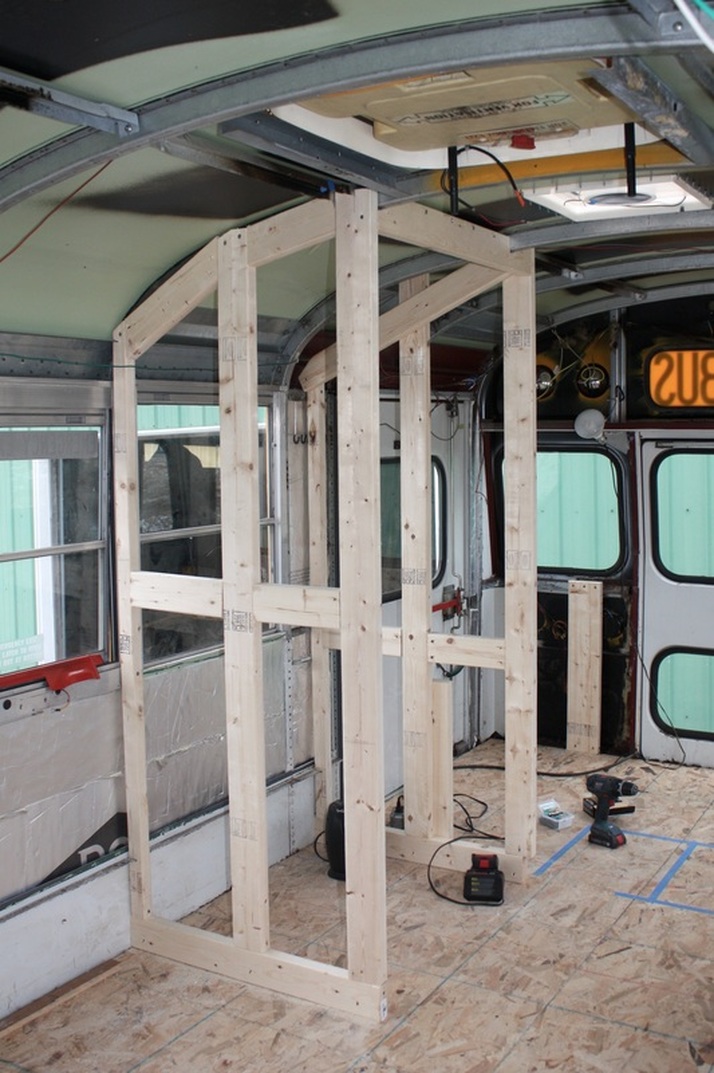
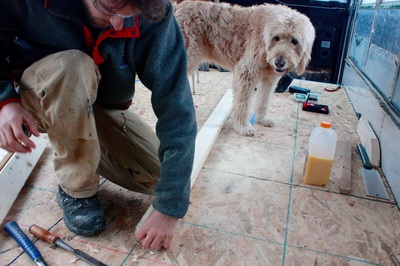
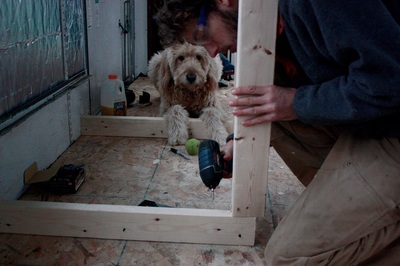
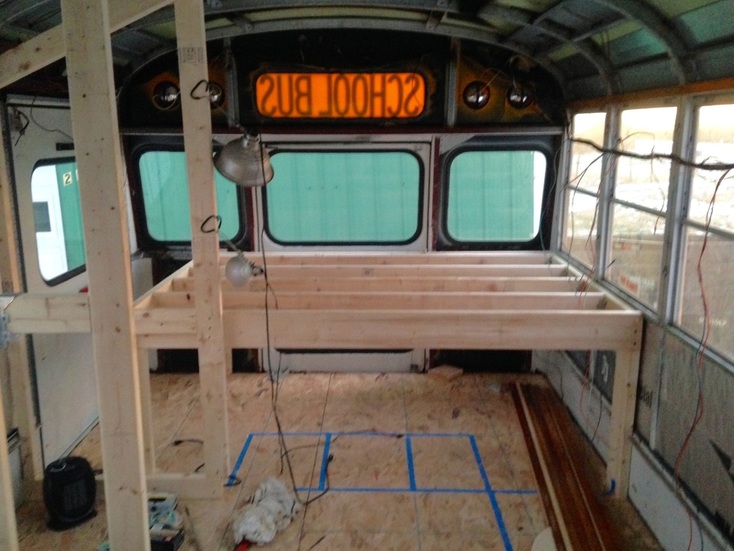
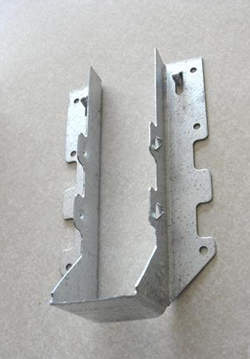
It's been a month since my last post already! JEEZ! Time flys! We moved into Craig's parents house, where the bus is parked, to housesit while they are away for a month. Now that the bus is right outside our front door, we can work on little projects all the time and are making good progress. We've been really busy this month building. With the floor plans complete, we got building. Building in a vehicle comes with a lot of on your feet problem solving. The bus has lots of quirks like the chair rail, emergency exit handles, and metal beams that you want to line up with. It also is not parked perfectly level so there's no use in using a level to check if things are straight. No matter how much we plan and design before we start building, the process is slow and there is a lot of figuring it out as we go. We now have our bathroom framed, our bed framed, our couch framed, and we have CABINETS! Framing With the new floor plans, we really only had 2 walls to build for the bathroom. The rest of the bus is pretty much open floor plan. We thought the walls would go up in about 2 hours, but it ended up taking a full day of work. The biggest challenges with putting up walls is cutting notches into the 2x4's so they can fit over the chair rail. We researched removing the chair rail. Apparently it is important to the structure of the bus and it should not be removed, so you just build around it. Every bus is different so it's not really about following instructions to do this. You just have to get in your bus and see what kinds of quirks it has and build around it. Lot's of strange notching going on to fit the bus structure.Zeek was on his supervision gameBed We are going to have a full size mattress in the back with storage underneath. The bed will come right up to the bathroom. The storage under will be accessible from built in drawers and cabinets from the front as well as from the emergency exits from the outside. We're planning on building a headboard that will act as a laundry shoot. We thought the bed was pretty straight forward, but as usual, we ran into some obstacles. We measured enough space from the back of the bus for the space of a mattress, but didn't account for the emergency exit handle. We ended up having to cut it out and are going to need a solution (other than a rope - which is the temporary solution) to keep the back door closed. The started the bed by screwing the legs into the floor. The frame was then built around those. We used deck hangers to install the 3 middle pieces and used nails for sheer strength. The deck hangers are what is usually used to connect a deck to a house, so we feel that they will be extremely strong holding our bed frame together! We finished the bed by laying down plywood on top. Next we'll build the under storage and headboard. The Couch This was a fun one! I spent a month researching and designing our couch. I took bits and pieces of a lot of people's designs to come up with ours, and I'm really happy with it. The couch will fit a full mattress and pull out into a bed. It will have 3 drawers underneath to pull out for storage. We spoke Alyssa at Outside Found and she said her biggest regret for their build was making a couch that you had to stand up to lift to get into the storage and she strongly recommended drawers. We listened. I designed the whole couch in sketch-up, wrote down a cut list, cut the pieces, and built it. It was like building blocks and went together super quick. This is the first thing I've ever fully designed and built by myself! Starting to feel like a pro! The couch is basically two pieces. One is secured to the bus and the other piece moves. The moving part will slide in and out to create the platform for the guest bed. You can download the Sketchup plan here:
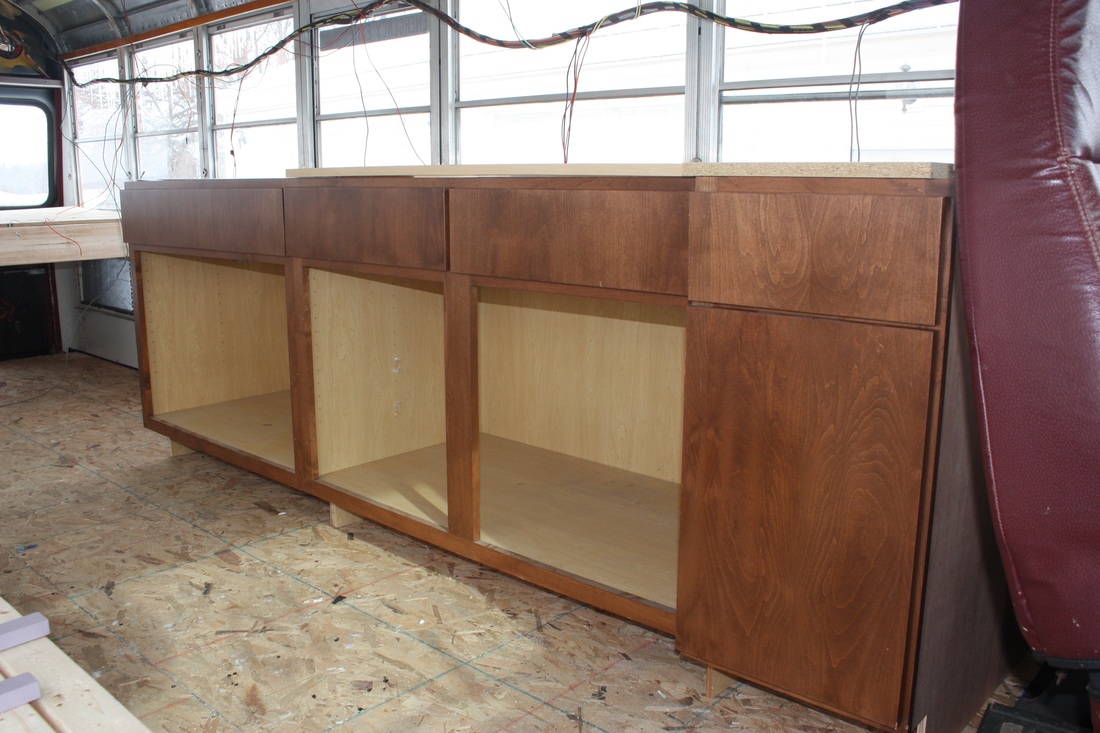
Cabinets We've gone back and forth a lot on what to do about building the cabinets. They aren't the easiest thing to build and they are expensive to build with the proper materials and hardware. We have a lot to do and really wanted to buy cabinets. We were worried Ikea particle board cabinets would not hold up in a bus. We think that the bus is going to be a moist/humid environment and don't think that the particle board would stand up to it. Most cabinets from Home Depot or Lowes are also particle board or MDF and they aren't that cheap. I'm sure these cabinets could hold up in a bus, but we really wanted plywood. I contacted a local cabinet builder and sent him our plans and told him we were on a tight budget. He came back to me with a quote of $1500 for the cabinets. My heart sunk. I cannot afford to pay that much. I went back to thinking that we were for sure going to have to build our own, and then... CRAIGSLIST SCORE. I've been scouring Craigslist since October for cabinets. Our needs were very specific. We needed about 7.5'-8' of cabinets as 24" depth. Most cabinets selling on Craigslist are selling as a whole kitchen set and people aren't willing to split them up. After hours of Craigslist searches every evening, I finally came across this PERFECT set. The guy was selling 8' of plywood cabinets for $140. You can't even build them that cheap. I saw the post 15 minutes after it went up and called the guy... 3 times until he answered. He must think I'm nuts. I told him we wanted them and Craig and I took the truck to Binghamton - an hour away - to pick them up. The guy had bought them in a construction material auction where he got a bunch of stuff and didn't need them. We brought them back in the bus and it was a perfect fit. What's next? OH SO MANY THINGS (this list could be 100 things but I'll just list the next 5)
Comments
|
Hey there! I'm KarliI bought a bus in October 2015 and have been working on converting it since with the help of my boyfriend Craig. We don't have any timeline for the project. We are working on it when we can and hope to get on the road someday for a grand adventure! I'll be blogging about the process along the way and sharing the details of our successes and failures to help future skoolie builders! Categories
All
Archives
October 2017
|
||||||

 RSS Feed