|
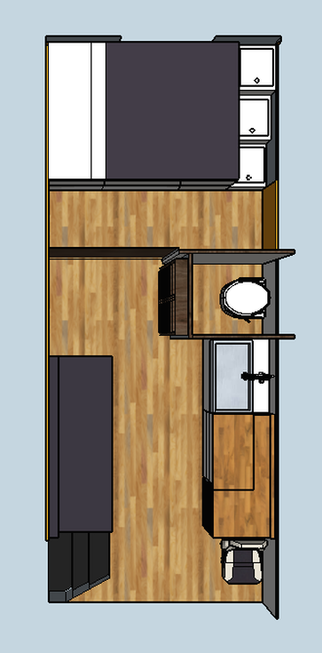
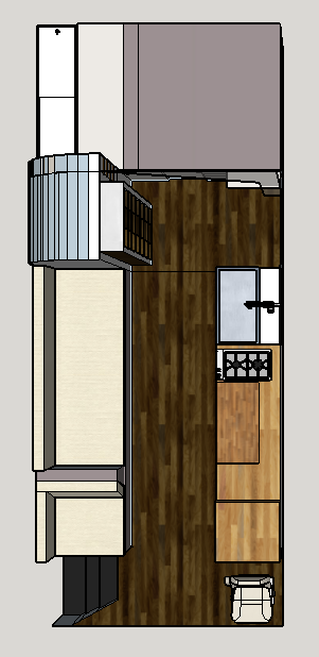
We were really happy with the first floor plan. It included everything on my wish list, including a sliding barn door and a large sink! We went to the bus to lay it out in blue tape to make sure everything would work how we planned. We ran into several major issues that had us back to the drawing board on the design. What didn't work?The Pull Out Couch We got a free full size futon mattress from my neighbor and designed the couch around the idea that it would pull out into a second full size bed for visitors. I really want my friends to join me for adventures, so it is important to me to have a space they can sleep. I know that they can always bring a tent, but it would be nice to have a space in the bus just in case. With the old design, if we were to pull out the bed, it would not be able to fully extend because it would hit the bathroom wall and there would be no room between the bed and the kitchen cabinets so it would be hard to pull out. The Bedroom -- TOO BIG Craig pointed out that the bedroom was far too big. He was right. I put the barn door as a divider to leave space for somebody to be able to pull out drawers under the bed. It was too much space that at other times would become totally useless. We had to find another solution to narrow the space and make it more actively used. With these two major issues in mind, we asked my architect genius lovely friend to take a look at our plans (THANKS VARYA). It literally took her 2 minutes to re-arrange everything and fix all our problems and we are THRILLED with the new design. When we got back to the bus we laid it out and couldn't believe how the little changes doubled our space for seating and kitchen! YAHOO! LET THE BUILDING COMMENCE.
What's different?I kinda want to make this a guessing game like Highlights magazine to make you guys point out the differences between the photos... but... maybe I should just tell you:
 My attempt at a video tour through the bus to show you some of the moveable elements!
Comments
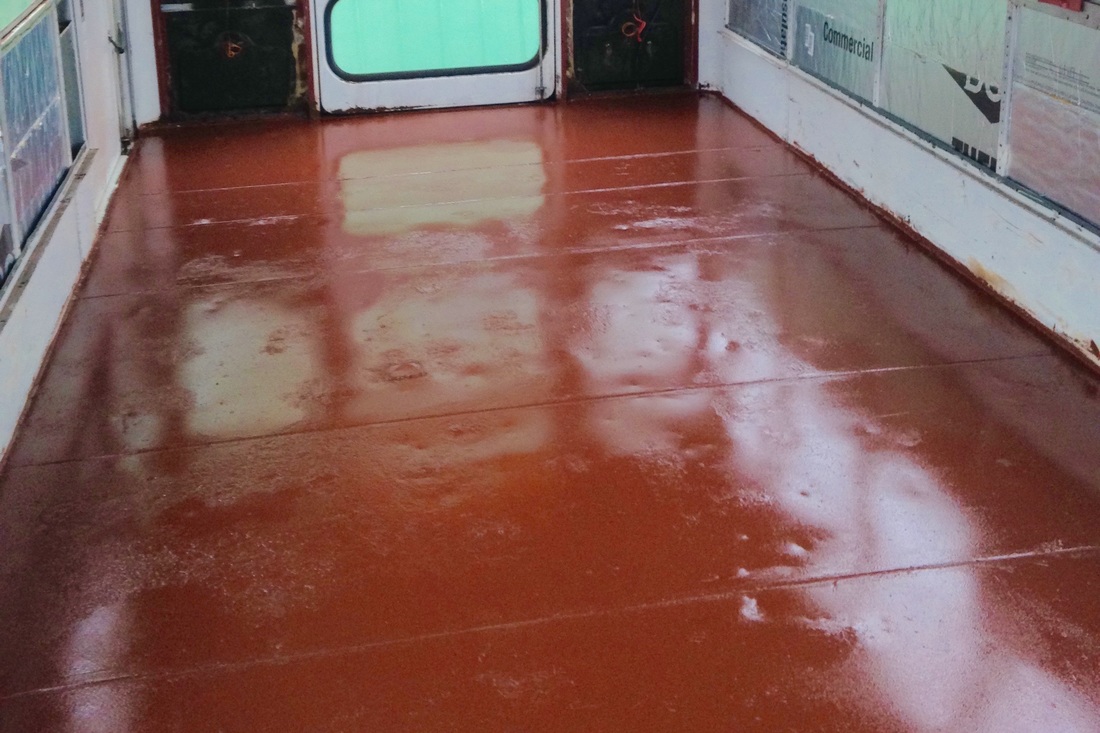
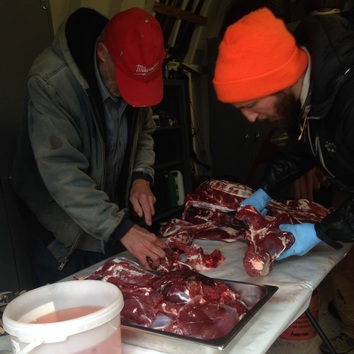
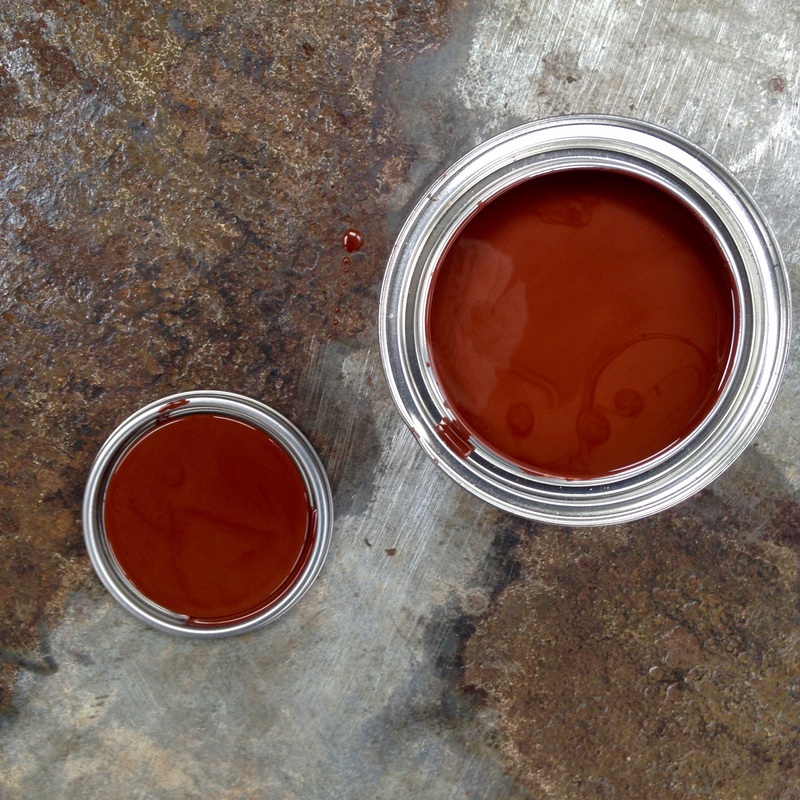
We had to take a few weeks off for vacation and holidays, but we're back! This week was all about the floors! We painted the floors with Rustoleum Rusty Metal Primer to neutralize the rust. Once dry, we laid our flooring structure and insulation and put a fresh layer of OSB board on top. We used 3/4" furring strips for the floor structure and 3/4" rigid foam for the insulation. Our friends Danica and Willy came over to hunt while the paint dried. Willy got his first deer ever! We worked on processing the meat while the paint dried and Willy cooked up the heart - something I never would have eaten as a child. It was surprisingly delicious! It was a recipe he learned from his sister called Venison Anticuchos.
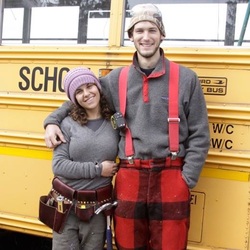
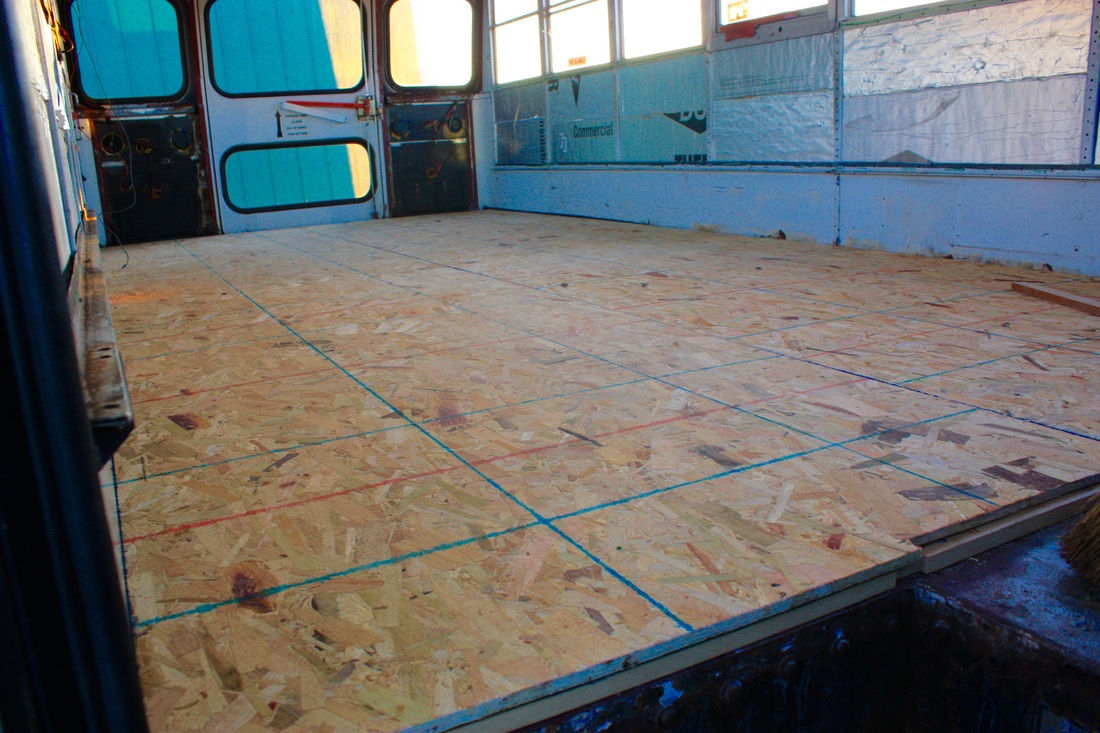
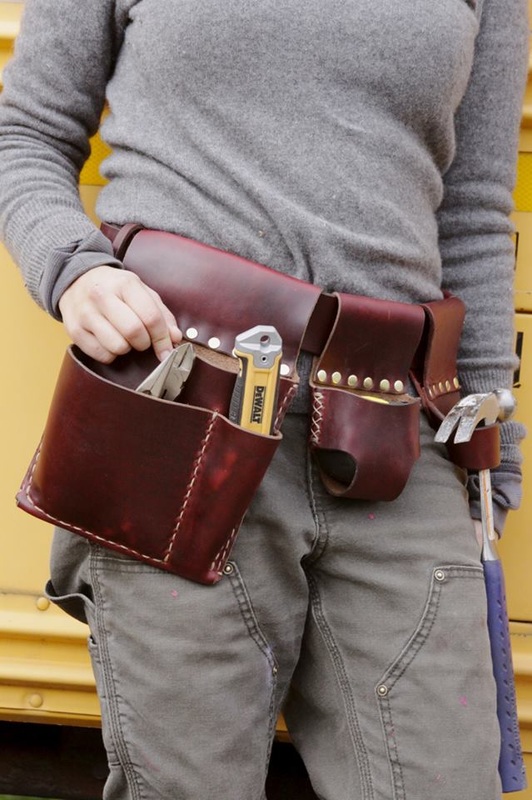
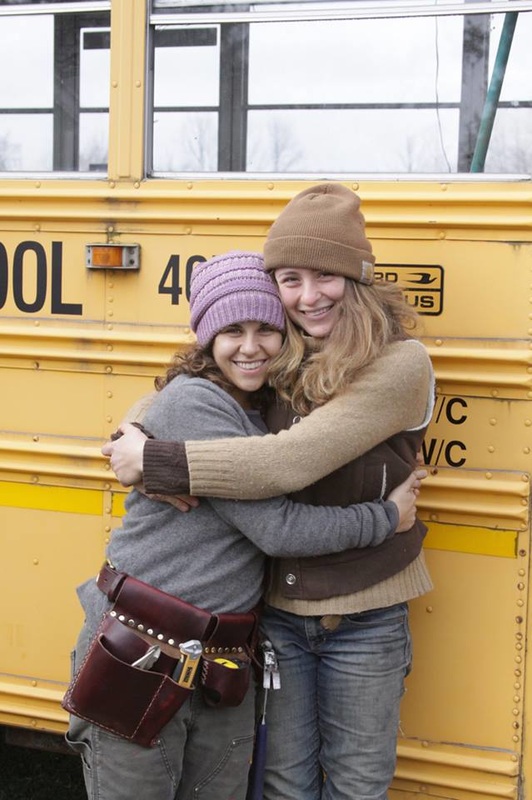
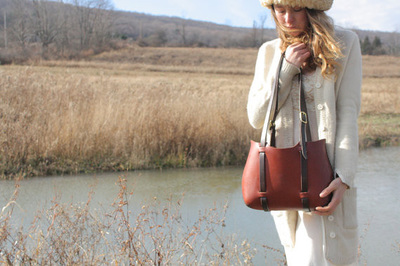
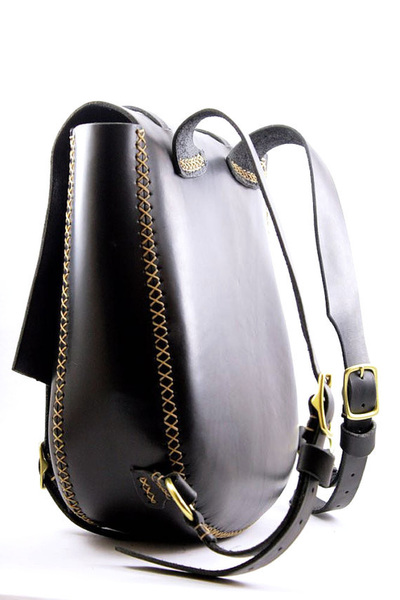
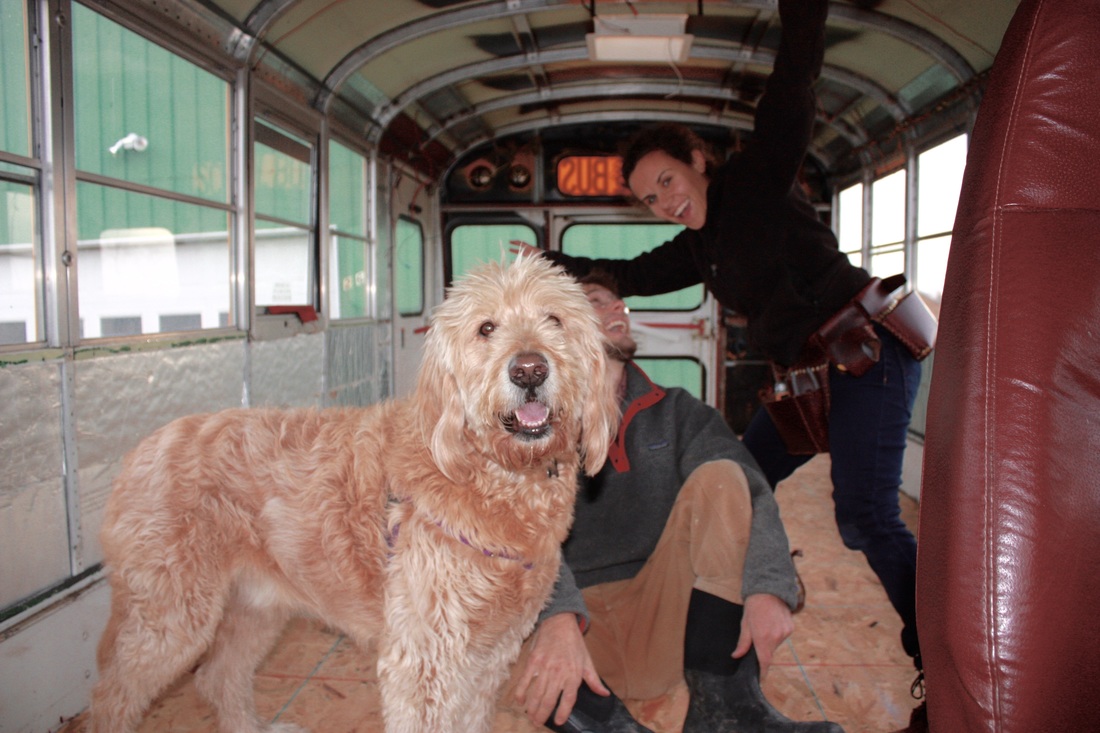
Laying the floor structureI decided to put down a vapor barrier. Probably totally unnecessary, but it was $15 and I am paranoid, so I did it. This was just a heavy duty plastic you can get near laminate flooring. Extra caution hopefully will prevent the insulation or wood from getting wet/moldy. We used furring strips and self tapping wood to metal screws to create our subfloor. We chose the furring strips over 2x4s because every inch of head space is crucial to us. The furring strips were the thinnest we could go and still have a substantial structure and room for insulation. 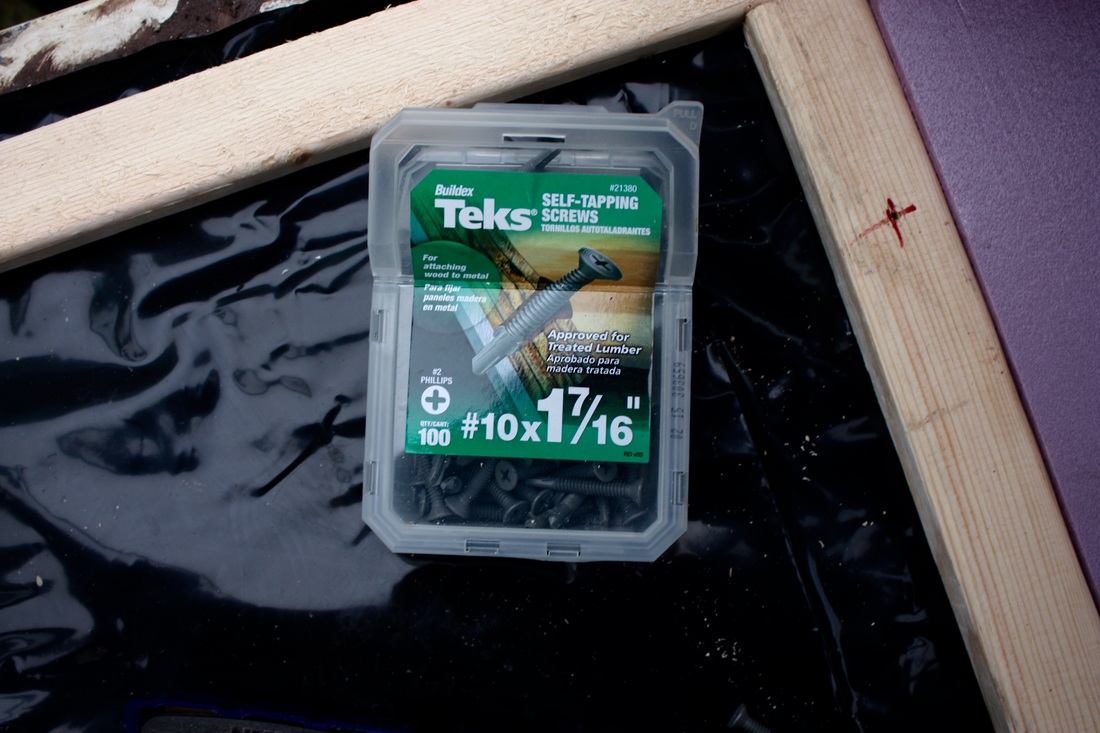 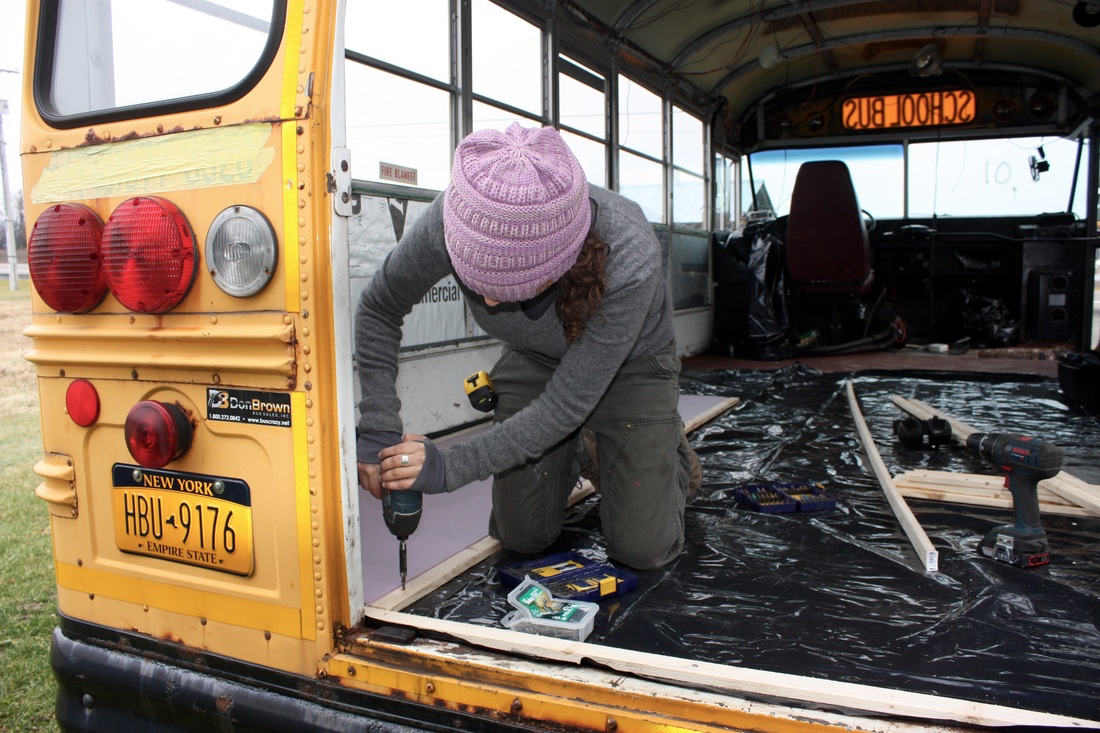 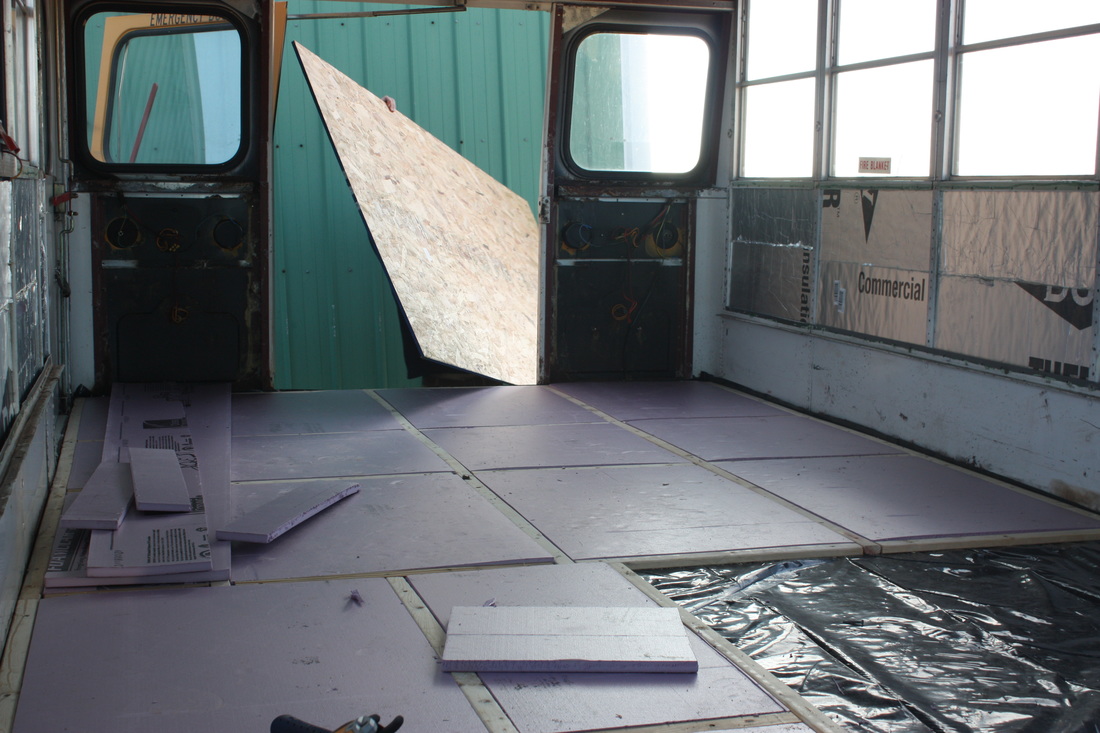 Leather, Purple, TOOL BELTMy friends Crystal and Scott came by to check out the bus. I've known Crystal since freshman year of college. She's now a leather maker/farmer extroardinaire! Crystal has always been a dreamer and a get shit doner, but she takes it to a whole other level. This year she and Scott have built a greenhouse, a barn, and have planted 1000s of new tree's in their orchard. Scott makes gorgeous stonewear and Crystal makes leather goods to sell at market. Crystal told me she had a surprise for me. She brought out a large paper bag and what was inside is my new favorite possession - a PURPLE BRASS STUDED LEATHER TOOL BELT! Honestly, I can now throw out everything I own and just wear this belt. It is unbelievably beautiful. THANK YOU THANK YOU THANK YOU CRYSTAL. I LOVE IT! I will cherish this belt for the rest of my life <3
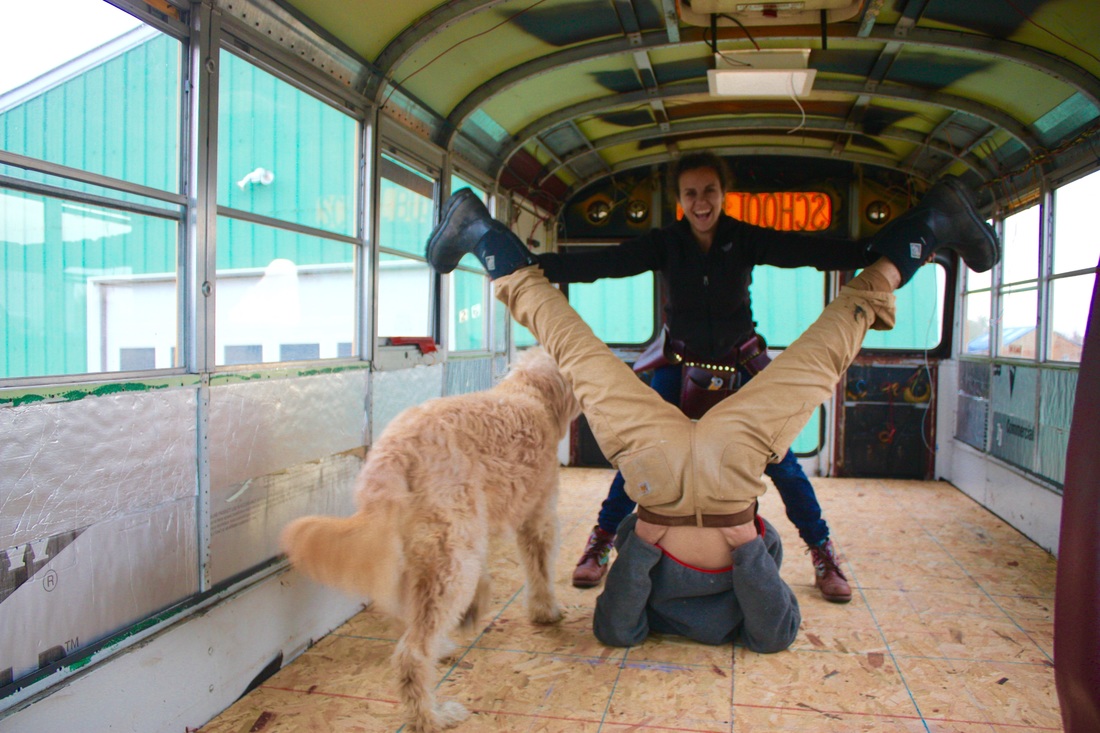
You can shop Crystal and Scott's store online!Back to work...When I finally calmed down from the excitement of the tool belt, we got back to work laying the floors. We ran out of screws so we decided it might be a good time to cut a hole in the ceiling for one of our Fantastic Vents. We were going to caulk it, but realized we should get some butyl tape to help with the waterproof seal. For now, it's just resting on the roof. Laying in the OSB subfloorSunday we returned to the bus with more screws to install the OSB on top of our finished frame. We went piece by piece, caulking, then laying the board, and screwing. We got three pieces in successfully, and then screwed up a bit on the 4th! It was so freakin close, but not close enough. We had to unscrew the 3rd board, scooch it a millimeter and then the 4th board laid in.  4th piece not going down, Zeek not helping. Maybe if we hammer it it will slip in??? Nope. 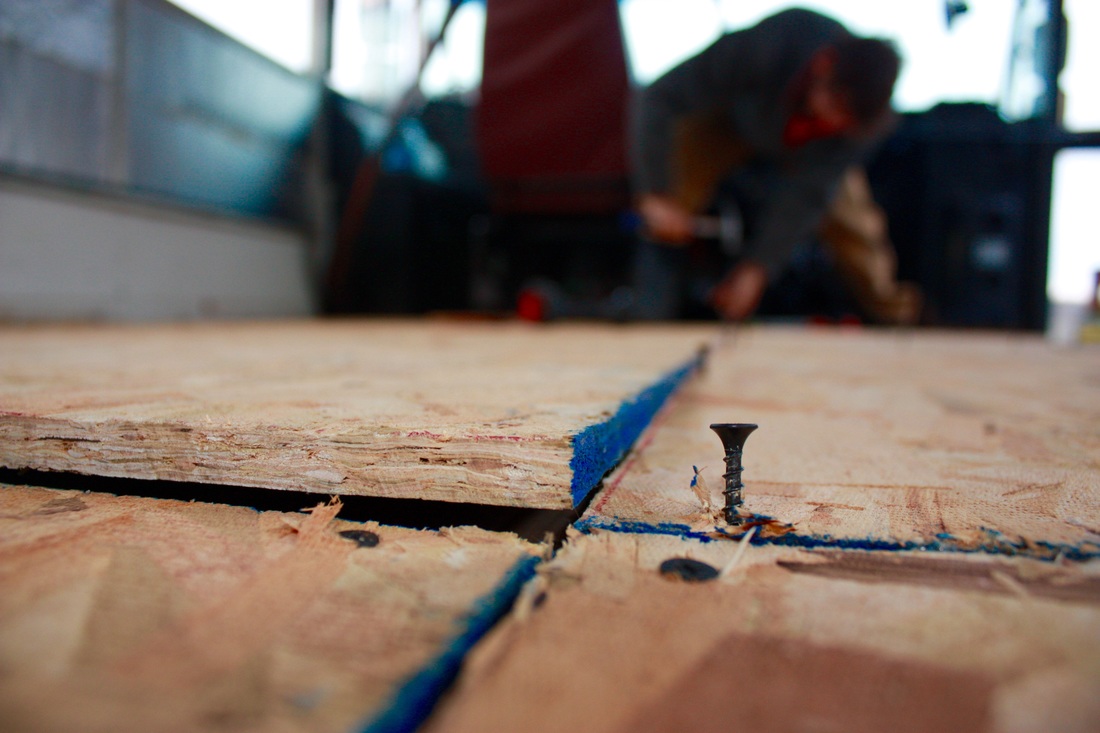 It was so close! Craig and I argued over whether we should lift the screws on the 3rd board or cut the wood on the 4th board to fit. I had to convince him that unscrewing would be faster and challenged him that it would take 10 minutes. He said "BET I CAN DO IT IN LESS:... and wham, bam, 5 minutes later, our floor was done! GETTING WEIRD ON THE NEW FLOORS! DONE AND DONE! 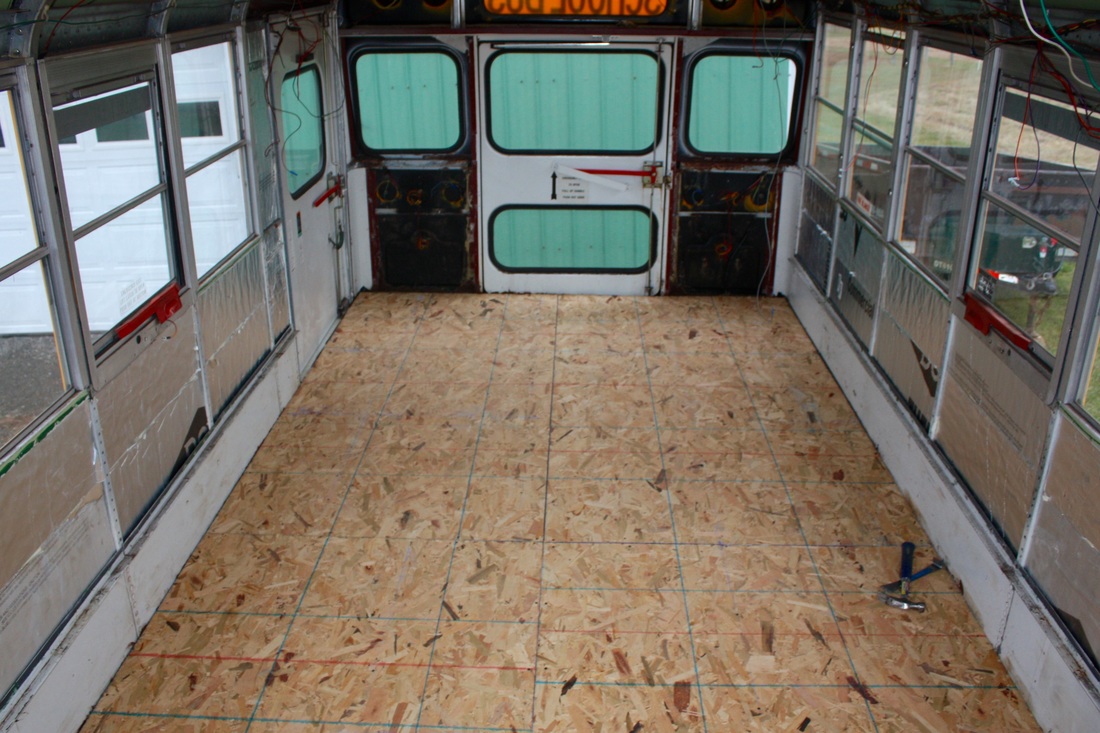 Next steps:Next we will finish installing the vent and install a 2nd vent in the front area. Then, it's on to wall building and spray foam for the ceiling! Stay tuned!
|
Hey there! I'm KarliI bought a bus in October 2015 and have been working on converting it since with the help of my boyfriend Craig. We don't have any timeline for the project. We are working on it when we can and hope to get on the road someday for a grand adventure! I'll be blogging about the process along the way and sharing the details of our successes and failures to help future skoolie builders! Categories
All
Archives
October 2017
|


 RSS Feed