|
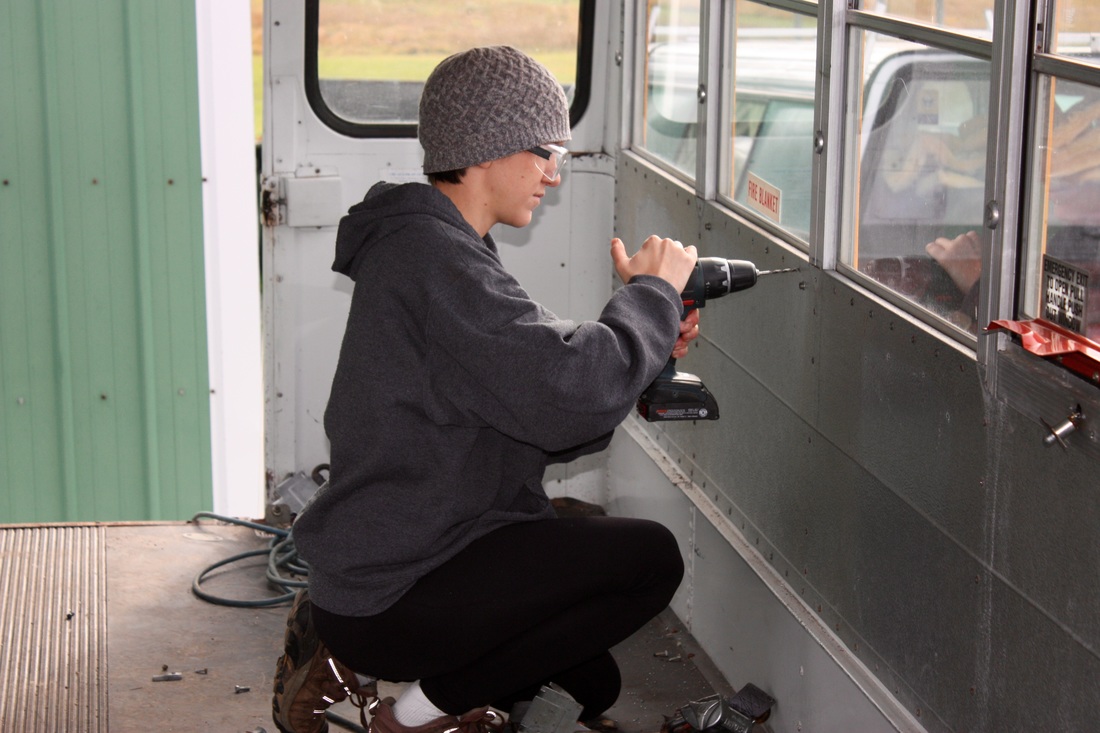
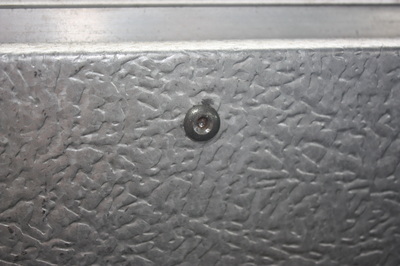
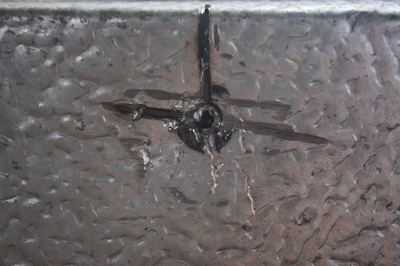
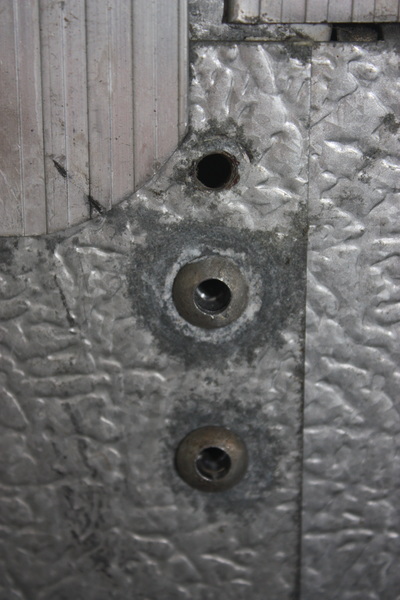
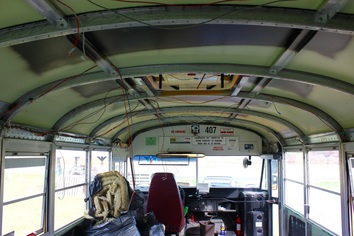
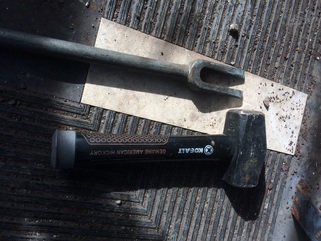
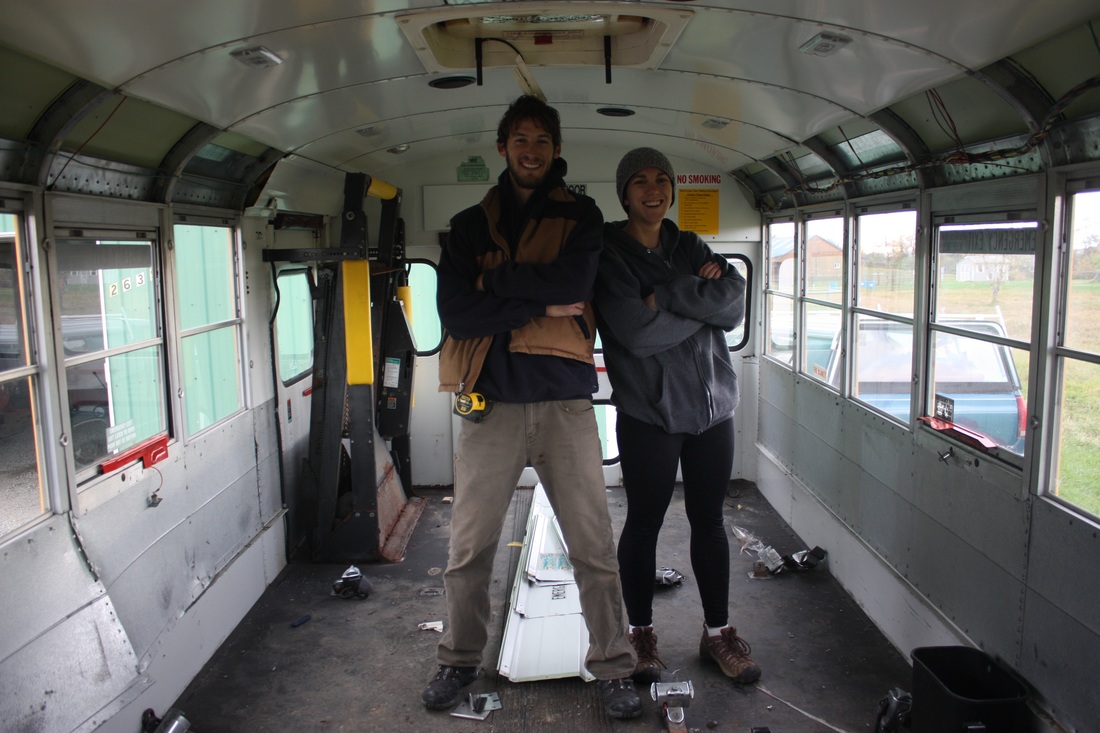
We spent most of the week struggling to get the ceiling off. We tried every method out there for rivet removal, but it all came down to finding the right tools! Drill Removal - Good for the walls On Monday, we did some more research on removing rivets since we were moving so slowly last week. We went to home depot and bought 2 brand new titanium drill bits in hopes they would be strong enough and not break. We used a punch to punch through all the rivets in the bus and then took the drill to drill through the centers. This worked great on the walls and we got them out pretty fast. Air Chisel - Not good for anything When we moved on to the ceiling, the rivets were stronger and not allowing a drill to pass through them with the drill. We tried grinding but the sparks falling down in our face and the weight of the grinder really wasn't ideal. Feeling frustrated, we decided to get an air chisel on Tuesday (a suggestion from a youtube video). The air chisel was only about $25 so we thought if it could save us a bunch of time it was worth it. We excitedly tested the air chisel on the first rivet and FAIL. It kept slipping - it was obvious this was not the solution we were looking for. I think because we were upside down working on the ceiling we couldn't put the amount of pressure needed to get under the rivet head. Conclusion - we're returning the air chisel. Pry Bar - Good for the ceiling We got a big pry bar and started just using sheer force to pull the panels down. This actually was working pretty well. We aren't saving the metal from the roof so we didn't care about damaging it.We got two of the ceiling panels off this way and decided this was going to be our method. It took us about 2 hours with 3 people to get off just those two panels. It was hard, but the easiest way we had found and we thought if we could spend a good chunk of our weekend on it we would get it done. When we stopped by Craig's parents house after, his dad Pete asked us if he could try a tool on the roof to see if it would be easier. Pete just retired this month and is a seasoned builder and get-shit-doner! I told Pete if he wants to try anything on the bus, he can go right ahead! Pickle Bar and Sledge Hammer - The ULTIMATE solution!
On Wednesday, I got a text from Pete. The text included a picture of the entire ceiling removed and a tool called a pickle bar. He said it took him just 45 minutes by himself to remove the entire ceiling! I can't tell you how excited I was. This pushed our progress ahead by days. I was so fed up with those darn rivets. With the ceilings now off, we could use the weekend to remove the floors! I learned that it's all about using the right tools and that if I am ever in a pickle (ha) to just ask Pete!
Comments
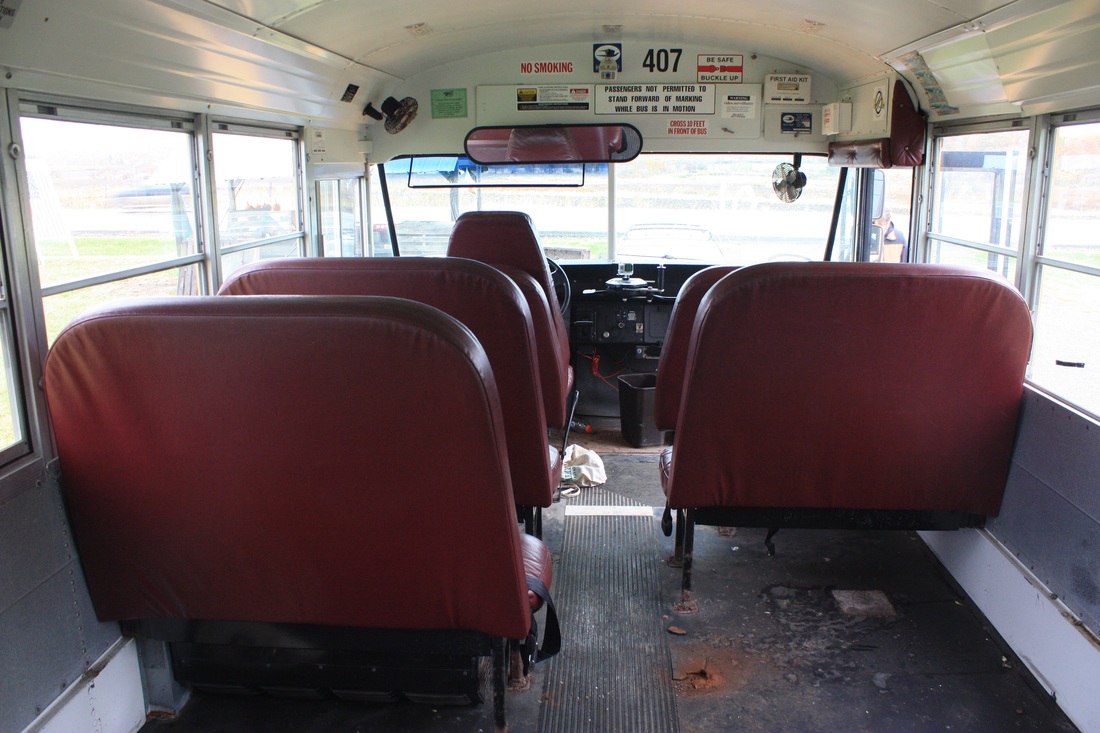
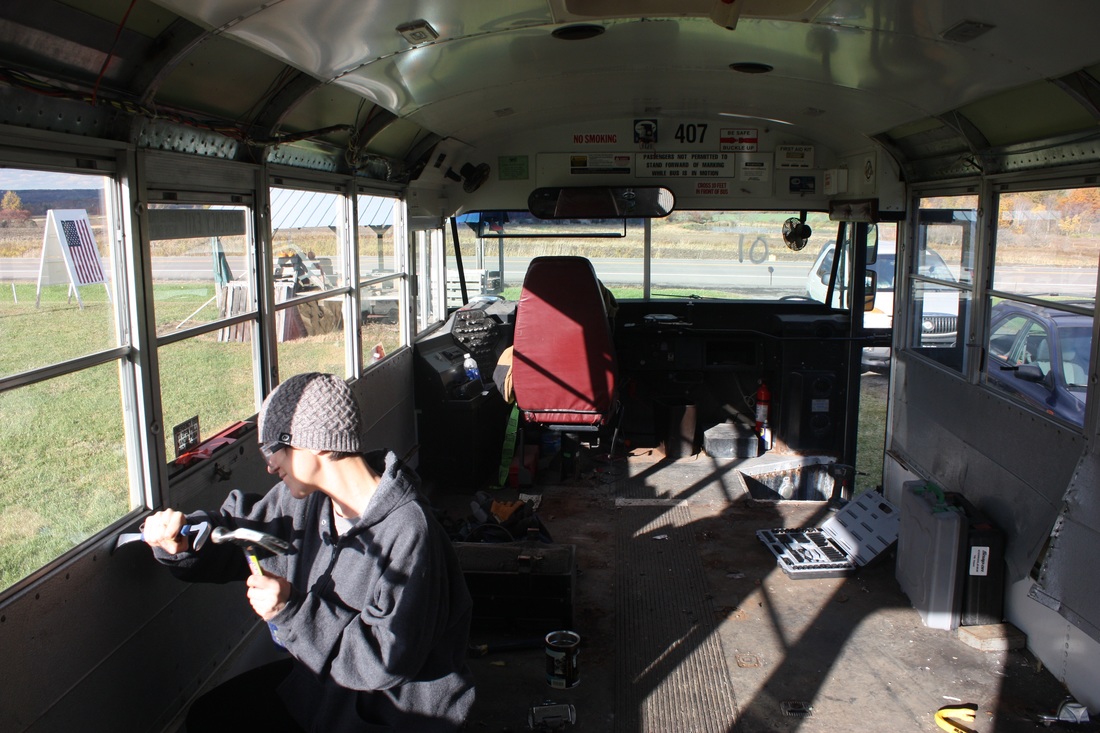
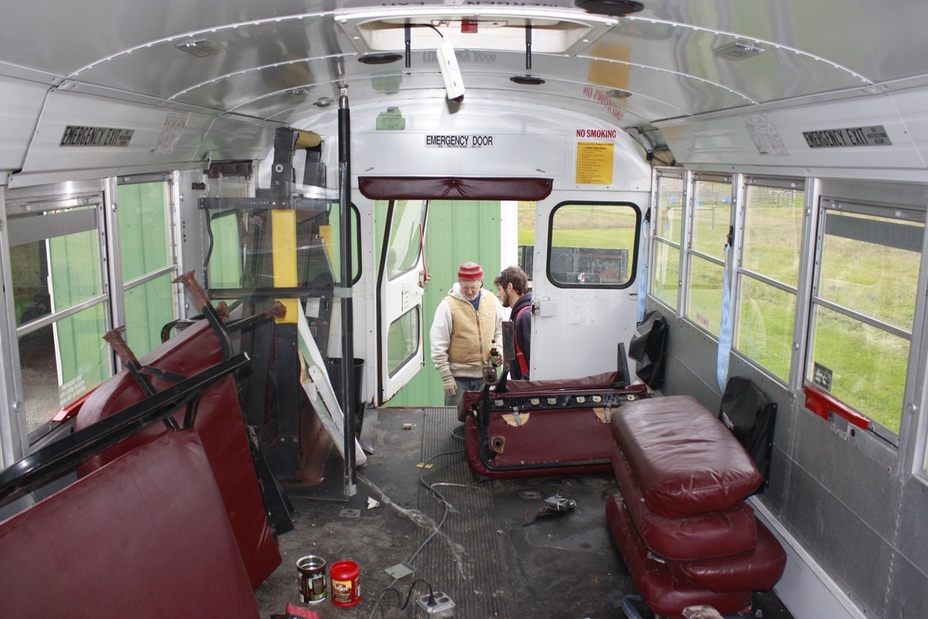
Lesson learned? Maybe we were a little too ambitious for day 1.Removing Rivets We started our day at 8:00 AM dropping my dad off at the bus to get him back home. We then headed straight to Home Depot to buy a cone bit for the drill. We were told this would be the best way to remove the rivets. We got to the bus, tried our brand new $20 cone bit and in SNAPPED! We spent probably the first 2 hours of the day trying to figure out the best way to remove rivets. I had done research before hand, but nothing we were trying was working. We broke about 6 drill bits in the process. We tried grinding them, but it produced so much spark it was terrifying and it wasn't working so well. Around lunch, Craig's dad came out and gave us a stronger drill and a whole set of bits he said he didn't care about. We started using a nail punch to punch through the center of the rivet. Then we took a drill bit and drilled through until the rivet spun or broke off. I'm still not convinced this is the best method. We still have tons more rivets to remove so there will be much more experimenting. Our friend Molly showed up around 3:00 to help out! She went to work on the rivets. I had already punched them out and she took the drill to them and the cats paw with a hammer. She killed it! She got way further than I did and got us way further ahead than we would have been without her! Go MOLLY! DANCE BREAKHe didn't know I was filming him. This is one of many dance breaks to come! Removing SeatsThere was a lot of rust so removing the seats cleanly was not an option. After trying to get them out with a socket wrench and a crow bar, we decided that the grinder was going to have to do it. We ended up cutting out the seats and then using the crow bar and hammer to remove the rusted out sockets. It took most of the day to get out the 4 seats and 2 front barriers. All I could think was how glad I was there weren't 12 rows of seats!
|
Hey there! I'm KarliI bought a bus in October 2015 and have been working on converting it since with the help of my boyfriend Craig. We don't have any timeline for the project. We are working on it when we can and hope to get on the road someday for a grand adventure! I'll be blogging about the process along the way and sharing the details of our successes and failures to help future skoolie builders! Categories
All
Archives
October 2017
|


 RSS Feed