|
For those of you looking to build a custom slide out couch - here's my saga and my plans. The video below shows my sketchup file plans for the couch. In computer land, this all looks fine and great, but in reality, the wood rubbing against each other didn't have the smooth motion I wanted. I used a few tricks to remedy this problem. I was really unhappy with how initial couch build came out. It was extremely hard to pull it out into a bed and even harder to push it back in. I had already pulled our couch apart once and wasn't looking forward to doing it again, but I knew the thing was going to drive me crazy if I didn't. I looked into a lot of different solutions with slides (if you're curious, these slides were recommended), but I decided I wanted to work with what I had and not invest more money into the couch. We figured that we won't be having guests that often so it wasn't really worth it. What I did differently... On this third and hopefully final attempt at couch building, I did a few key things differently than the first 2 times. Click here for a video of the couch in progress.
School Bus Sign Replacement The other difficult project we've been working on is replacing the school bus signs at the front and back of the bus. This step clearly isn't necessary, but I hated how the yellow sign looked on my shiny white bus and I really really want the bus to glow purple at night out those windows. I just can't get that out of my head... so... I took the windows out. Removing the Windows I had no idea how to get started with removing the windows. I tried taking a flat bar to the back gasket, but it wasn't budging. After a quick check-in with the life saving facebook skoolie group, I got a great tip about how it's done. The windows are installed with a locking gasket. The lock is from the front and it's usually a rubber rope/tube that goes around a track on the outside of the gasket. If you remove that, the window will come out. I did destroy the existing gaskets removing my windows. I assume with a little more finnesse they would have survived and been reusable. I got a little ahead of myself, I took the sign out at the end of August with no real plan on how to replace it... just dreams of what to replace it with. Don't be like me. Words of wisdom:
 I cut clear plexiglass to size using an angle-grinder. We lucked out - our bus actually came with thick plexiglass! It was part of a back wall separator for the wheelchair area of the bus. It felt awesome to reuse a material that came with the bus! Yay recycling! 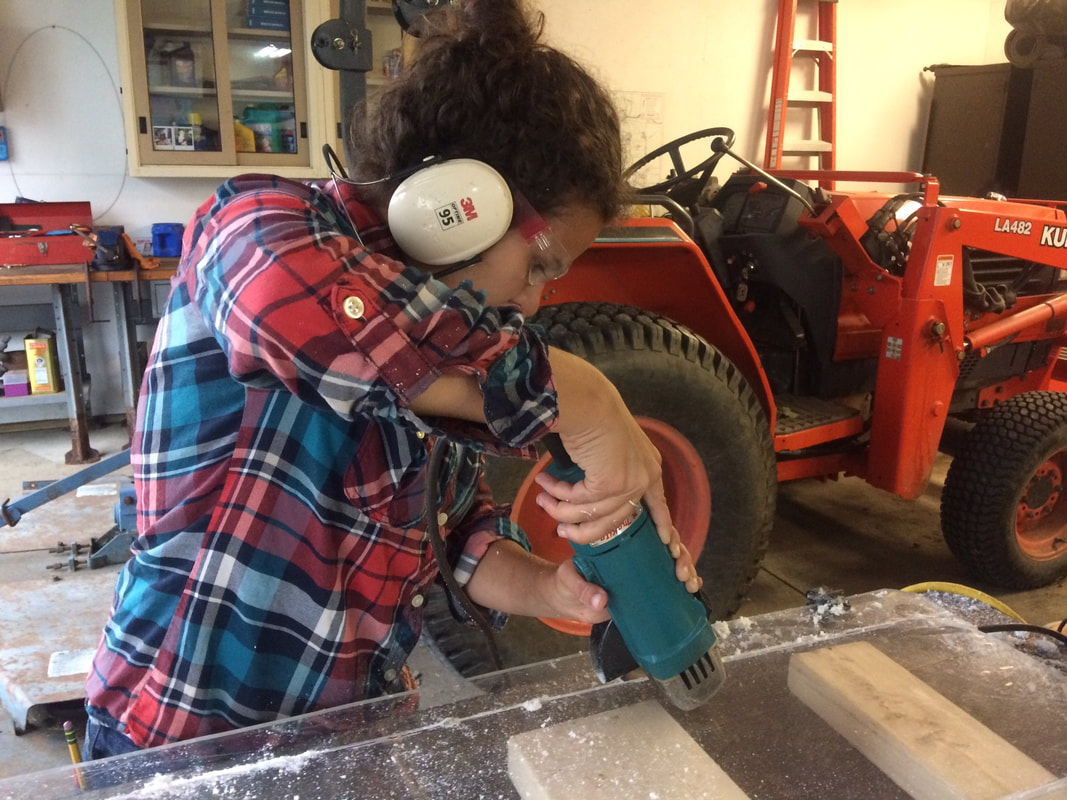 I bought new locking gasket on Amazon. One roll cost about $40 and was enough for two windows. After trying to install the window using bike tire tools (it was impossible) I decided it may be best to get the recommended tool for gaskets as well. I would not recommend trying to do this without this tool. After watching a few youtube videos on how to install the window, we got to work. The video below is how we did it - don't be fooled. It was not easy. It took 2 people about an hour per window, a lot of sweat and frustration was involved. Locking tool - Don't try this without one of these!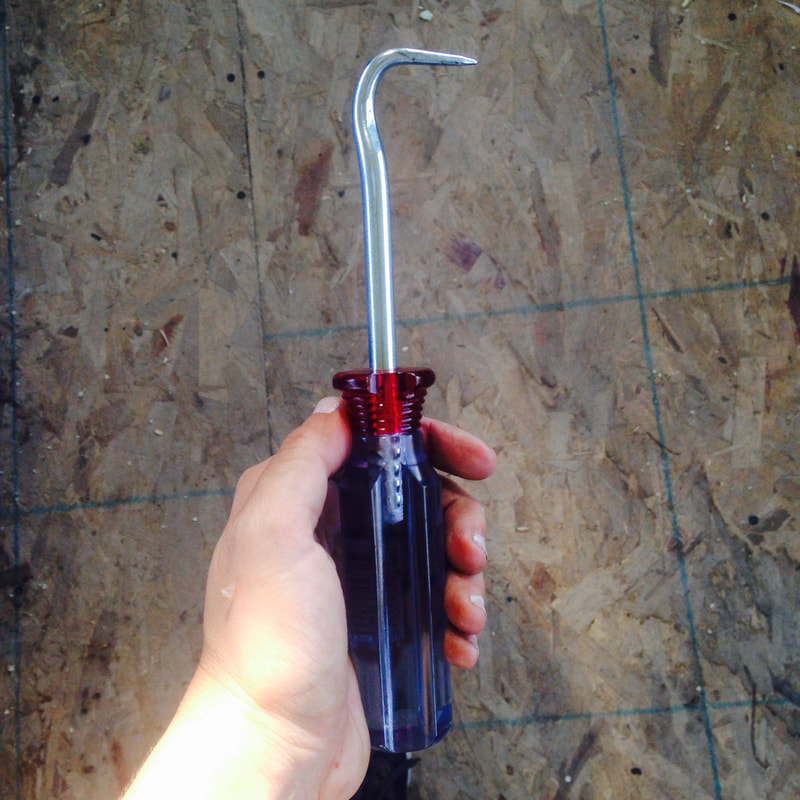 New clear window installed!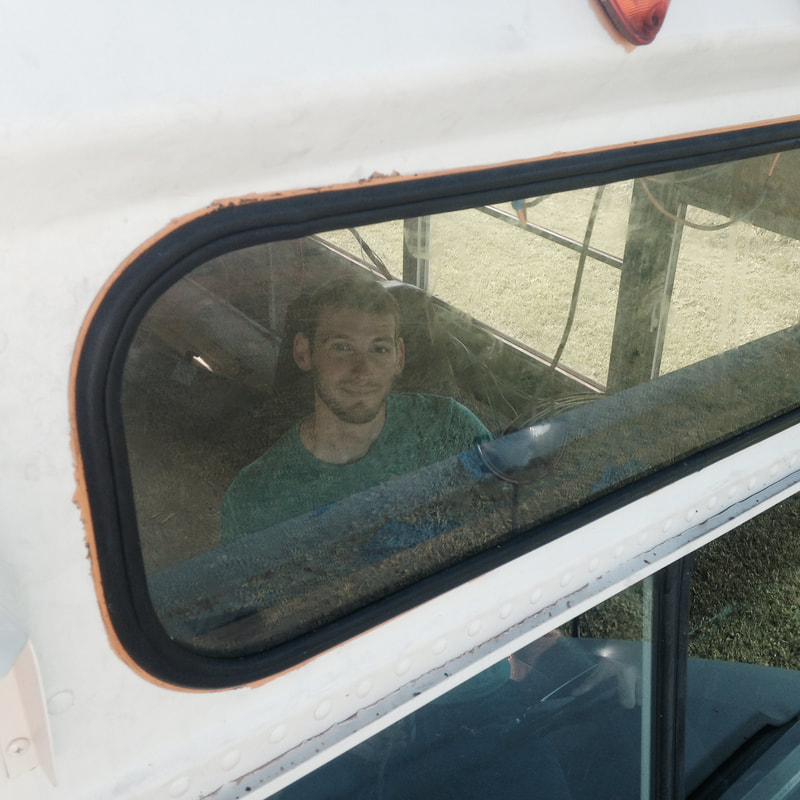 Alright! Two major victories this month! Feelin good! Onward!!! Next up is electrical install. This one is going to be a doozy.
Comments
|

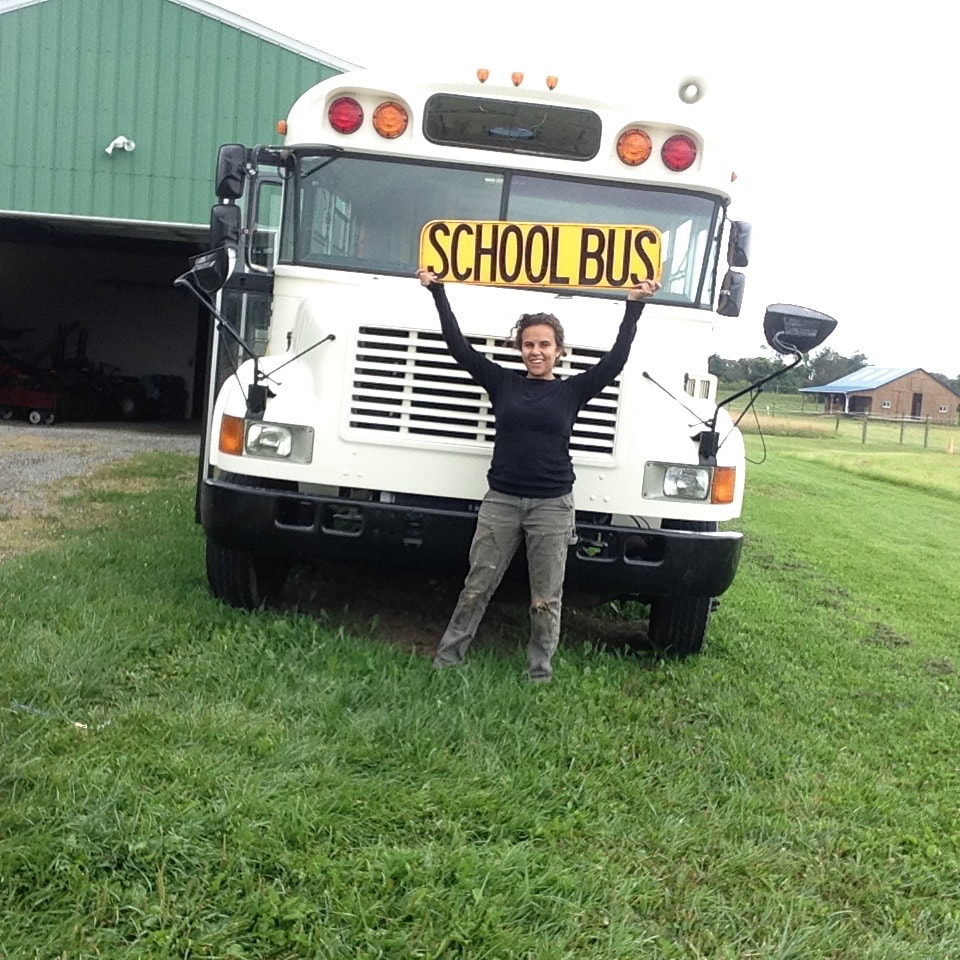
Hey there! I'm KarliI bought a bus in October 2015 and have been working on converting it since with the help of my boyfriend Craig. We don't have any timeline for the project. We are working on it when we can and hope to get on the road someday for a grand adventure! I'll be blogging about the process along the way and sharing the details of our successes and failures to help future skoolie builders! Categories
All
Archives
October 2017
|

 RSS Feed