|
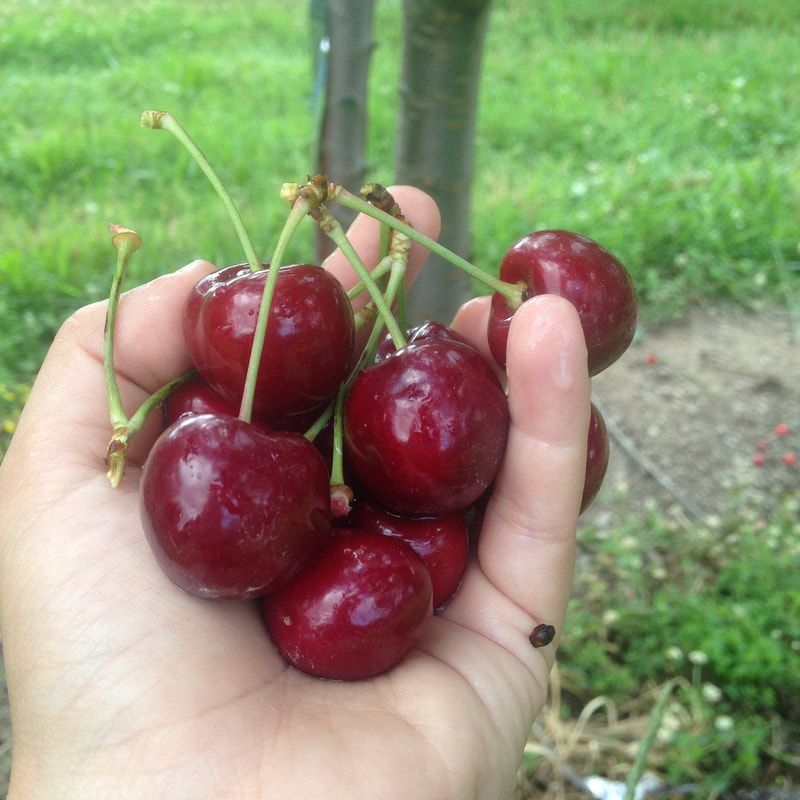
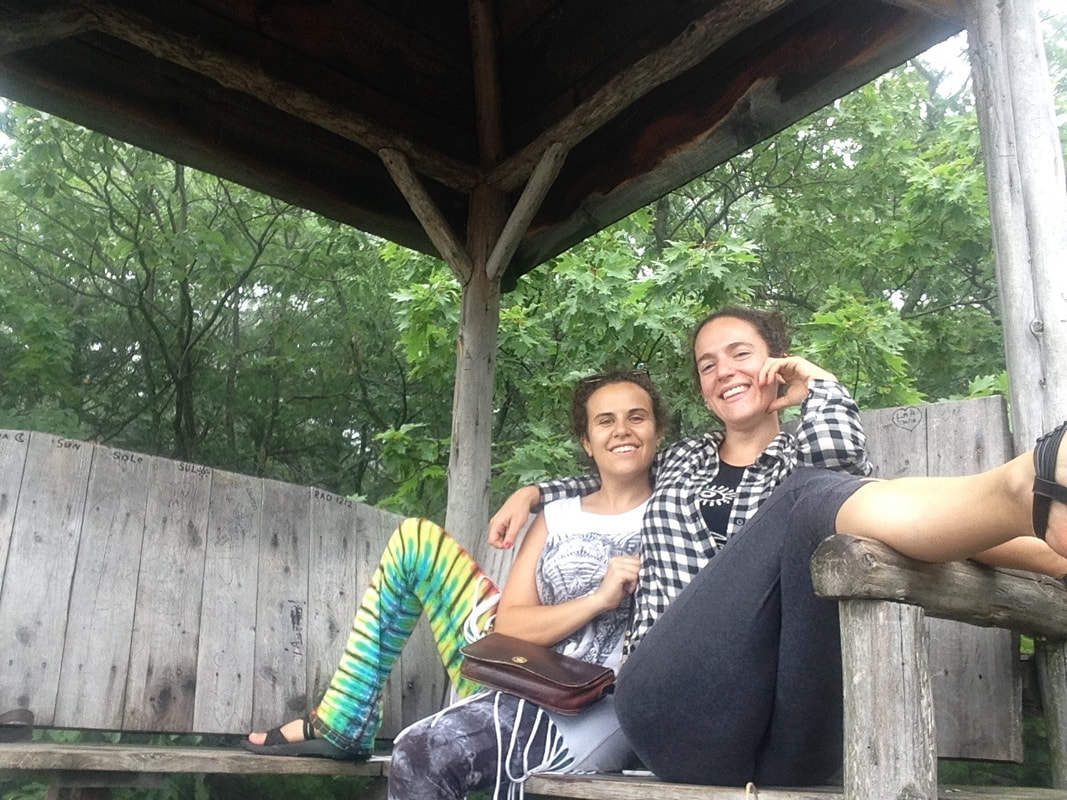
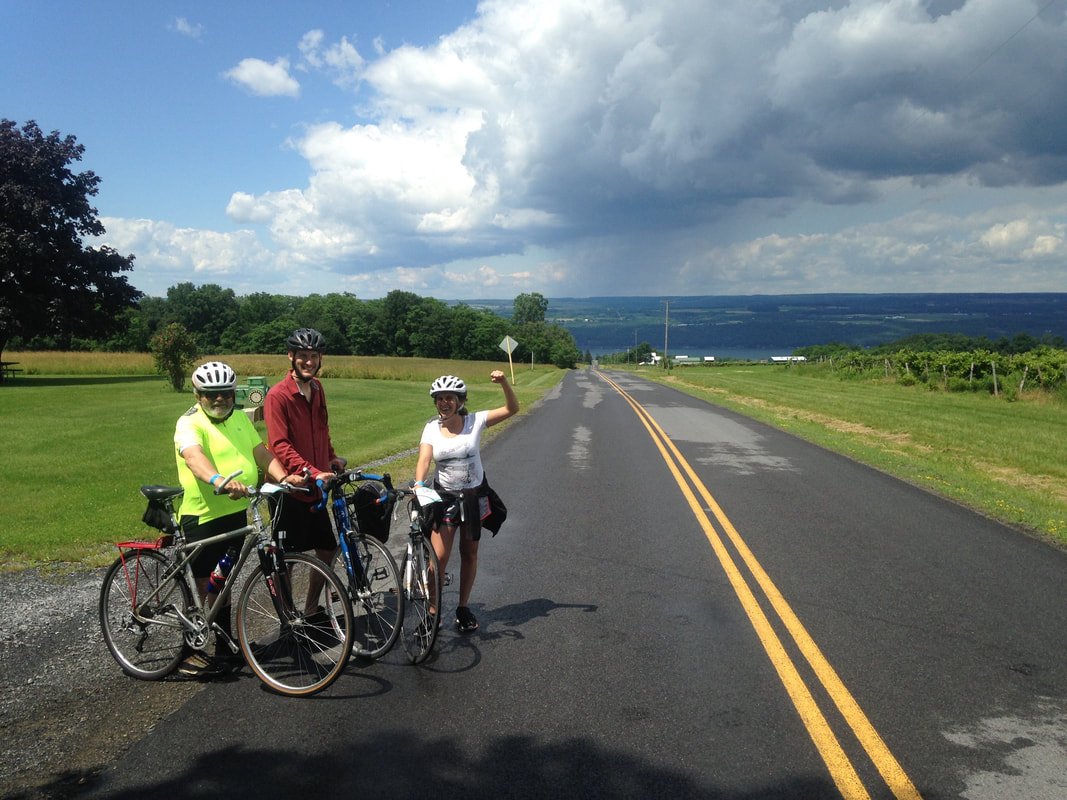
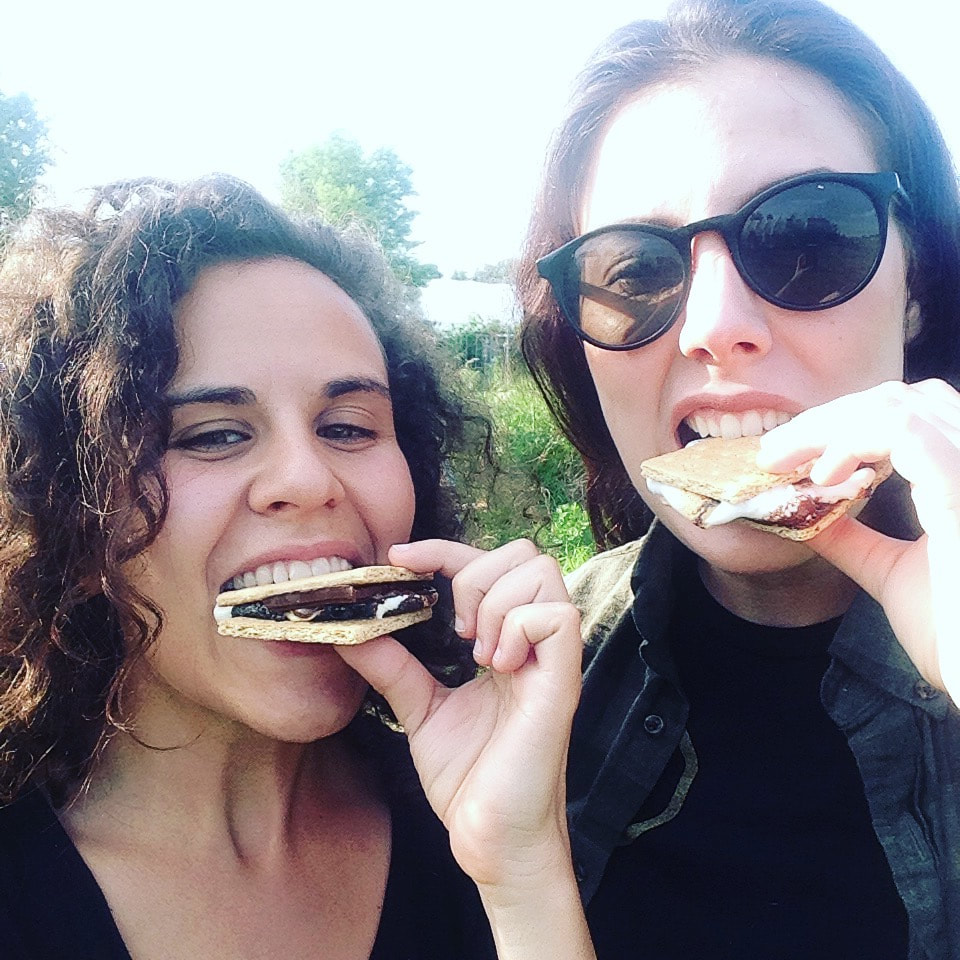
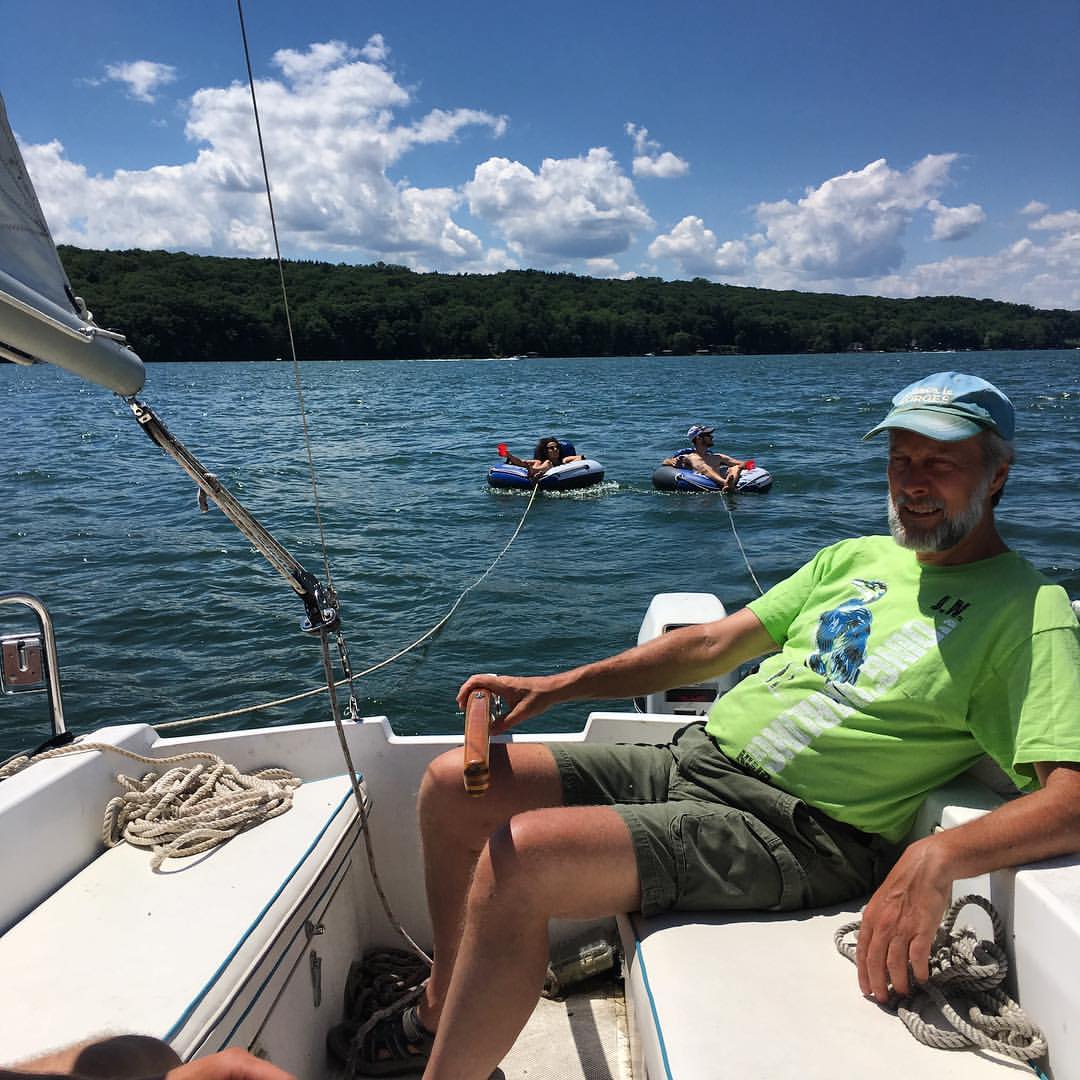
I was not planning on painting the bus myself when I first bought it. The company I was working for was planning on paying for the exterior work. When I quit my job in May 2016 I also gave up the financial support for completing the exterior of the bus. It took me a year to regain my motivation and figure out a plan for how I was going to complete this task. It was daunting. It was a huge undertaking to paint the bus ourselves, but looking back, I'm so glad we did. I learned a ton in the process and I'm glad I can now share that knowledge with you! What does it cost to get a bus professionally painted?I got quotes from about 5 different places that could handle a job as big as a bus. The consensus? The cheapest quote I got came in at $2400 and the most expensive was $3700. This included all the prep, paint, and materials to paint the bus. This quote was to paint the bus one solid color. Keep in mind, the bus only cost $3,000 - so paying close to that for a paint job was out of reach for me. Considering the time and effort it took us to do the prep work, I think this price is fair. Most places quoted it would take 2-3 weeks to complete the job. It took me about 3 months to get it done. If you have the money to spare, get it professionally done. Even better advice - FIND A BUS THAT IS ALREADY PAINTED! I did know this going in, but I couldn't find one the size I wanted that wasn't school bus yellow. If I had been more patient I definitely could have found one - I've seen plenty come up since my purchase. Don't underestimate the value of a prepainted bus. Prepping the bus for paintWe're extremely lucky that we have an automotive paint store right here in Ithaca about 5 minutes from my house. The owner, Kevin, was extremely knowledgeable and generous with his time. He helped me through every stage of the bus prep and paint. I'll share his advice with you. Decal Removal Our bus had the school name written down the side along with other stickers and labels. Removing these was a quick satisfying task. I borrowed Craig's mom's hair dryer and got to it. I held the hair dryer over the decals and with a flat razor lifted the edge. Then, I grabbed on and slowly peeled it back. This is a job you can do in an afternoon. Finally, an easy victory! Reflector Tape Removal I didn't realize how much of a pain in the ass this job would be. I don't even think I realized that this was a step in the process. There was reflector tape all over our bus. It ran down the sides and framed the windows and emergency exits. Removing this tape was not nearly as easy as the decals. I'd strongly recommend having two people to do this job. It went so much faster once Craig was around. Once we got down our rhythm it wasn't bad. Another recommendation - something I didn't do - invest in a rubber eraser wheel tool. They cost about $20 and will probably save you a few hours. I was stubborn and decided to do it my own way. I don't know how long it's going to take me to learn that there is a right tool for every job and it's not worth it to waste hours of your time when you could just buy something for $20. Oh well. I used a hair dryer and a flat bar to remove the reflective tape. I'd hold the hair dryer over the tape for about 10 seconds and then slide the flat bar under and slowly push. Craig would grab the tape and fold it back on itself and pull slowly to remove it. It left behind a nasty residue we had to remove with goo-gone - another long arduous gross task. It probably took an extra 4-6 hours to remove all the goo. Here's my video cry for help after my first try removing the tape with a razor blade. I almost lost all my fingers doing it this way. Learn from my mistakes. Buy a rubber eraser. Doing it this way, I was getting about an inch of tape every 2 minutes. It would have taken a week to remove it all. Once I got the flat bar and Craig, we were removing about a foot every 2 minutes. 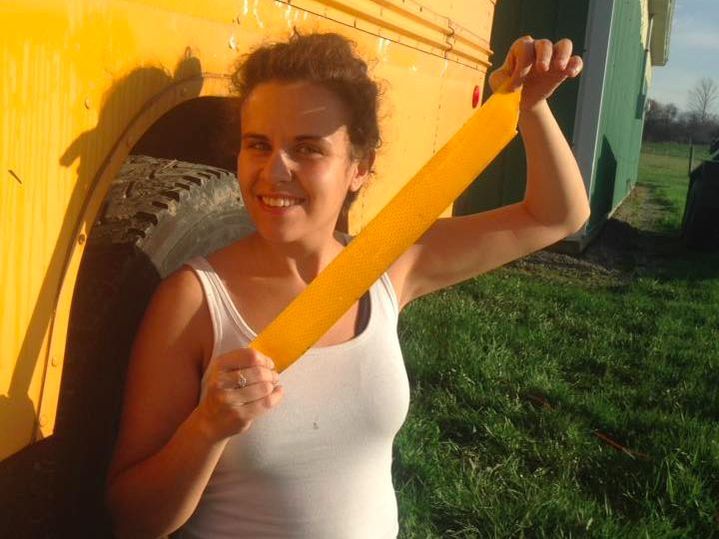 Success with a flatbar. Showing this piece off like it's a trophy - a trophy for still having all 10 fingers. Success with a flatbar. Showing this piece off like it's a trophy - a trophy for still having all 10 fingers. 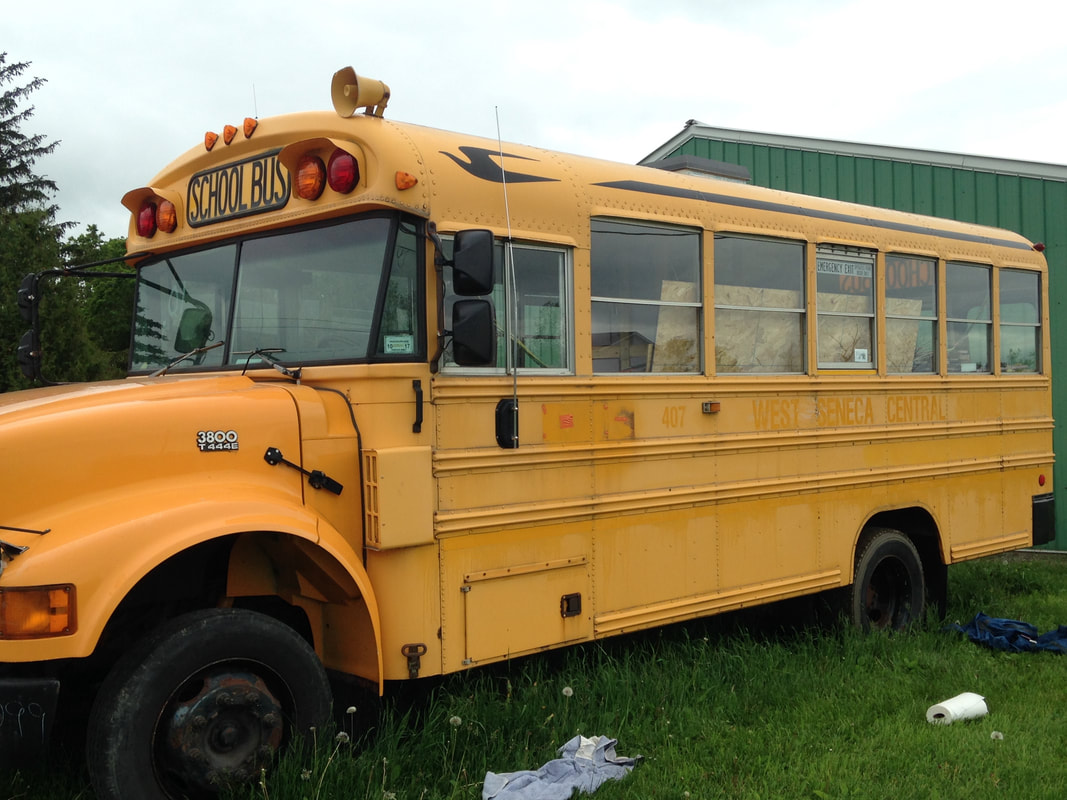 Mess of a bus. Covered in goo gone. 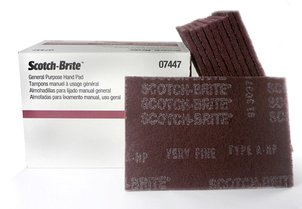 Sanding After reading a bunch of other blogs, I decided we didn't need to prime the bus. The existing paint would act as our primer. Kevin from the paint store seemed to agree that this was ok. In order to paint the bus, he advised sanding the whole bus with scotch-brite pads. The scotch-brite would rough up the existing paint enough so that a new layer would stick. We needed to get the shine off the bus and get down to the chalky paint. Basically, once our hands started turning yellow we could stop sanding. The hood of the bus is fiberglass. He said we could use the scotch-brite pads for this as well. The hood had a clear coat on it that I removed with a razor before we sanded. I ended up using a higher grit sand paper on parts of the hood that I couldn't get to with the razor. We mostly sanded by hand since most of the bus has ribs and weird curves an orbital sander could not reach. For the flat spots and the roof we did buy an orbital sander from Harbor Freight for $25. We also used a sanding block. We started sanding at the end of May and finished at the beginning of August. It's hard to say how many man hours we put into this, but I'd say anywhere between 60-80 hours. My advice for this step? Make a lot of friends. Then, buy said friends beer and pizza. Then give them a scotch brite pad and put them to work. This is the first step I felt I could have used a lot of help with. Unfortunately it is summer and people are busy and weekends are precious. Sanding is a hot, boring, tedious task and getting help is hard. If you can schedule a weekend far in advance and invite people and make sure to feed them, this step will go a lot faster. Another option is to buckle down with your favorite podcast (I recommend My Favorite Murder) and be kind to yourself. Learn to be patient and get to work! 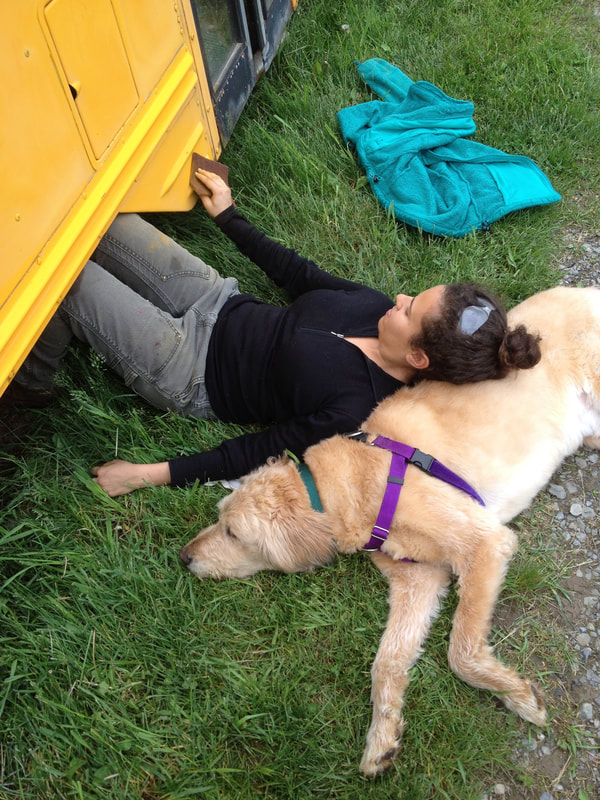 When you are too tired to stand anymore but you must keep sanding. In retrospect, I should have had a big party for myself when I was done with sanding. Maybe I still will. Primer When we sanded over the rivets a lot of them went to bare metal very quickly. We grabbed some metal primer spray paint and painted over them to protect them from rusting. 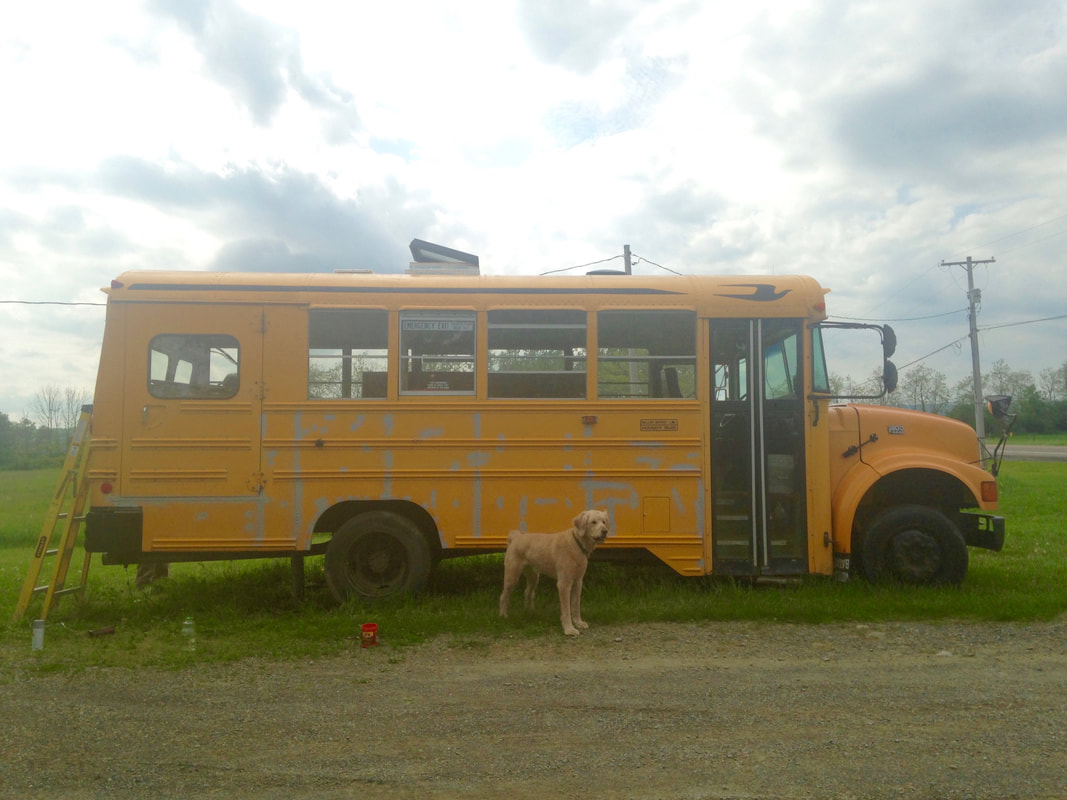 Primer - the bus was looking real rough this summer Filling in holes We had a large hole from removing our stop sign - about a 2 inch diameter. I grabbed some scrap metal and riveted it from inside the bus to cover the hole. I used bondo to fill the hole from the outside. We sanded it flat. It came out pretty neat. We used the bondo to fill in some rusted out spots on the body of the bus as well. 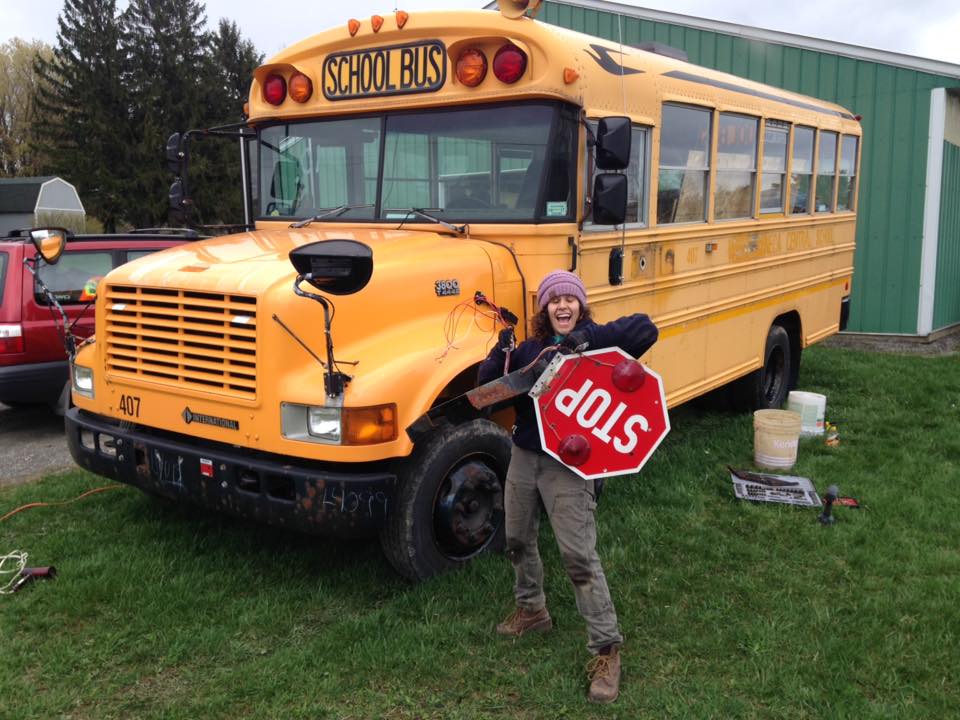 I feel like this post should be 5 pages long, because that is how long it took to do this task. It took us about 3 months, but we worked mostly weekends and took a good few off to have summer fun. It felt like paint prep would never be done, but now that it is behind us I'm so proud of myself for sticking with it. Just keep sanding people! Don't forget to take a break and enjoy life in the meantime. I'd like to thank summer cherries after a thunderstorm, Gabby Stein and magical foggy mountain days, Craig and Dad impossible bike rides, Ursula Smores, Rose in a tube, and Colorado snowy short sleeve tshirt mountain days for keeping me sane and happy throughout all this. I need to remember this project is taking a long time because I'm living life at the same time, taking time to enjoy friends and family and the short magical summer Ithaca has to offer.
Comments
Every bus will come with it's own unique set of problems. My bus was from Buffalo, NY and went through winters with kids wearing boots covered in salt. When I inspected my bus on the lot, the staircase seemed solid, but when I got it home, it became apparent that it was crumbling. Replacing the stairs was a daunting project for me from the start. Welding was not one of the skills on my list to learn. The equipment is expensive and it can be pretty dangerous. I decided that it was worth it to hire somebody to complete to stair build task. I wanted to make his job as easy as possible to try to bring the price down. Silly me - the price did not change after hours of extra work on my part. I was a bit shocked at the price to rebuild the stairs, but I got a few quotes, and they were all about the same. I also got some advice from people in my skoolie networks and most of them seemed to agree that the price was fair. The final price tag was $800 to fix the steps. It was a lot, but I could not have completed the job on my own. Once I considered the price of buying the equipment and the time investment to learn to weld, I did feel that it was a fair price. Here is what my stairs looked like when we revealed what was under the layer of rubber when I first bought the bus. A rusty, crumbling mess. The door is supposed to be connected to the stairs, but the frame was all rusted out so our door was unattached from the bus and totally dysfunctional.  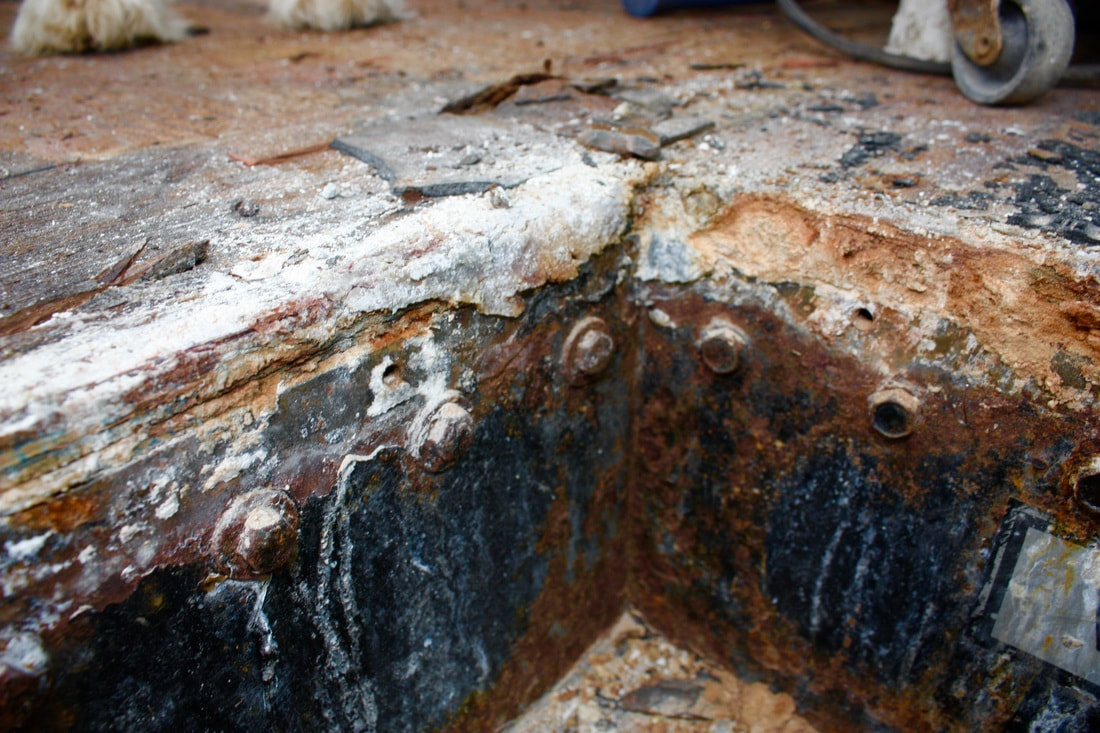 Removing the stairsI didn't know where to start with the stair project. The bus is no longer insured, so I couldn't really drive the bus anywhere (at least not far) to get the stairs rebuilt. I reached out to the bus dealer to ask them if they had replacement stairs in one of their scrap buses. They responded that it was possible to remove the stairs from the bus. DUH! I didn't even realize but as you can see in the picture above there are bolts all the way around the top of the stair case. Mine were so rusted it didn't even cross my mind that they could be removed - but they can! First, I worked to remove the top layer of rubber and metal from the stairs. I tried prying them, but they were really stuck on there. I noticed that under all that rust and dirt there were some screws keeping them attached to the steel base. I cut through them with an angle grinder and pried the rubber off. Once I removed the rubber, I worked on removing the bolts all the way around the stairs. I sprayed the bolts with PB Blaster Spray to remove the rust and loosen them up. Craig insisted that we use brute strength and a socket wrench to take off the bolts. He got about 20/100 of them off in an hour as I watched him struggle insisting we get the electric impact wrench from his dad. The next day I came back to the bus on my own and grabbed the impact wrench. It made for a quick job. A bunch of the bolts did snap, but they are not too expensive to replace. Once I released the final bolt, the stairs fell to the ground! I grabbed the grinder with a wire brush and went after the rust removing as much as I could. We found a fabricator less than 5 miles away from our build, so one day after work, Craig's parents and I caravanned over to his shop with the bus and the stairs. 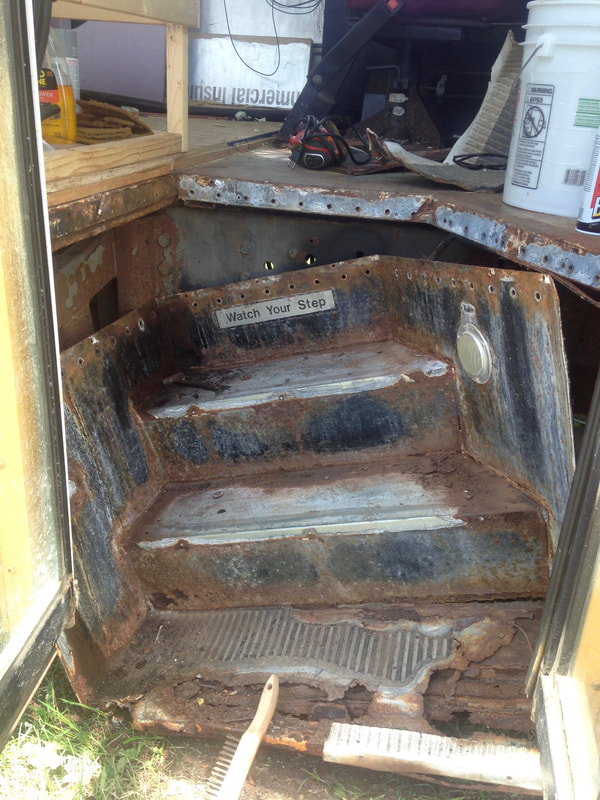 Watch your step :-D 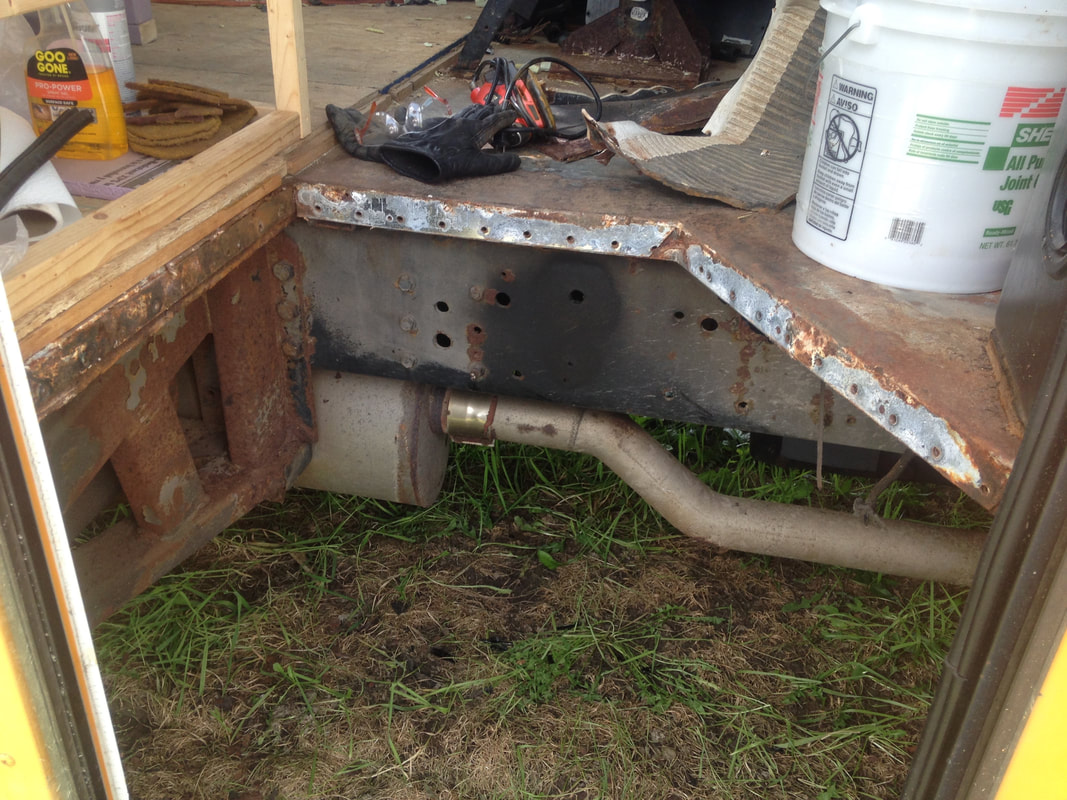 Stairs removed from the bus 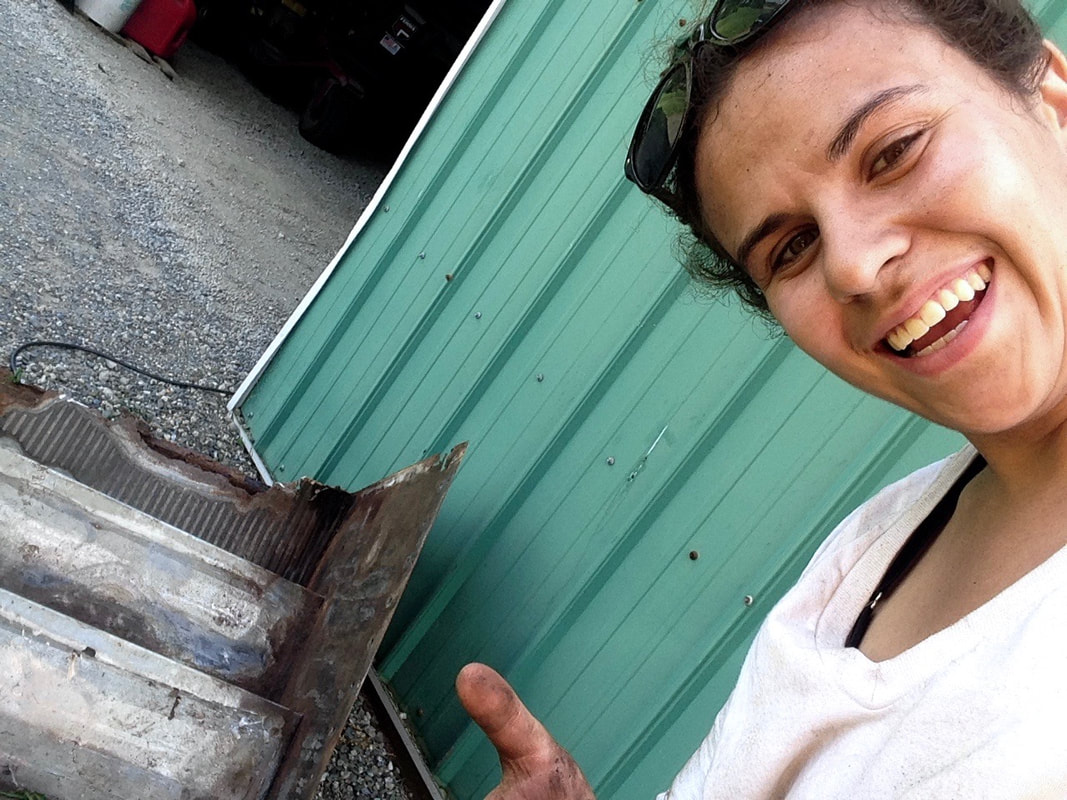 Completely covered in grime after grinding  Fresh and "clean" after a hose bath After looking at the stairs our fabricator said he could either fully rebuild them or work off of the existing steps. He said it wouldn't cost much more to totally rebuild, but every dollar counts here and an extra $100 or $200 in my pocket is going to come in handy down the road. I told him to rebuild using the existing stairs. It took about a week to complete the job. I think they came out fantastic! He also fixed our door. 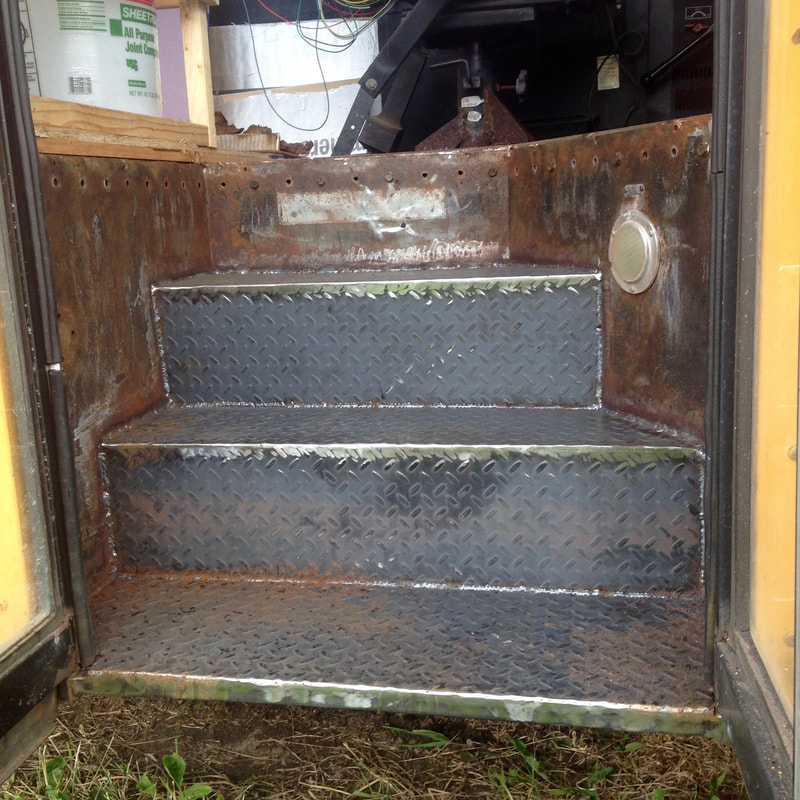 Rebuilt Stairs Rebuilt Stairs Sealing the steps
WOW - holy smokes. It's been over a year since I last wrote on here. When I started my bus conversion, I had a plan. I thought I'd be done in a year and get on the road. Well - no matter what, life happens and you don't have control - a very long and hard lesson I have learned this year. There were times this winter I thought about selling the bus. It felt like a project that I could never complete and people started leaving notes in our mailbox offering to buy it. I decided to wait until the weather got better to see if my motivation returned, and it has, slowly but surely. I'm glad I did not sell the bus and we have continued working hard on it. I've been following along with other projects out there and watch as they buy, convert, and sell their buses all within 12 months and it's very discouraging. They make it all look so easy. I am trying to remember that everybody has a different journey and different skills and am learning to enjoy the process of converting. When I got the bus, all I did was fantasize about the amazing adventures that await us. Now, I am trying my best to focus on learning the skills that I set out to acquire and am finding I am feeling much more confident around tools and knowing what I need to accomplish a job. Ok - enough reflection. Let me tell you what we've been up to. This might have to be done in 2-3 posts, I guess we've done a lot! Spray Foam We had a local guy do our spray foam job back in March 2016. It was quite the adventure. We decided last minute at night we would drop the bus off at his shop. My boyfriend followed me in his car and we hit the road. About 10 minutes into the drive, lightening and thunder started. Then, a torrential downpour, and finally hail. I had never driven the bus at night before and couldn't locate my high beams or my windshield wipers. We were on a road with no shoulder and a steep cliff down to the lake on one side. I slowed wayyyyyy down and we pulled into the only restaurant on the road that overlooked the lake to wait out the storm. It was so beautiful! Our first rainstorm with the tin roof in the bus. I was a bit panicked, but the rain calmed me down. The storm passed and we got back on the road. We pulled into the shop and pulled up to an outdoor light. Craig got out of his car and started walking toward me and then we saw a pit bull on a chain start barking and running at him. I started screaming "GET BACK IN YOUR CAR!!!" Luckily, the chain wasn't long enough for the dog to get a hold of him and Craig scurried into his car. We backed up a bit and he got on the bus. In the dark, we did our best to quickly cover the windows with paper and duct tape to keep the spray foam off the windows. We did a pretty lousy job :-\ UGH - There is a good amount of scraping in our future. We were quoted $0.90 per sq ft to do the ceiling. We ended up paying $300 to do the whole thing. This is cheaper than a spray foam kit from Lowes and we didn't have to do any of the messy shaving ourselves, so I feel like it was a good deal. A word of advice if you are spray foaming - Be very thorough in covering your windows, your fans and anything else you don't want covered in foam! Don't do a half ass job like we did. You'll regret it later when you're spending hours with a razor scraper cursing! 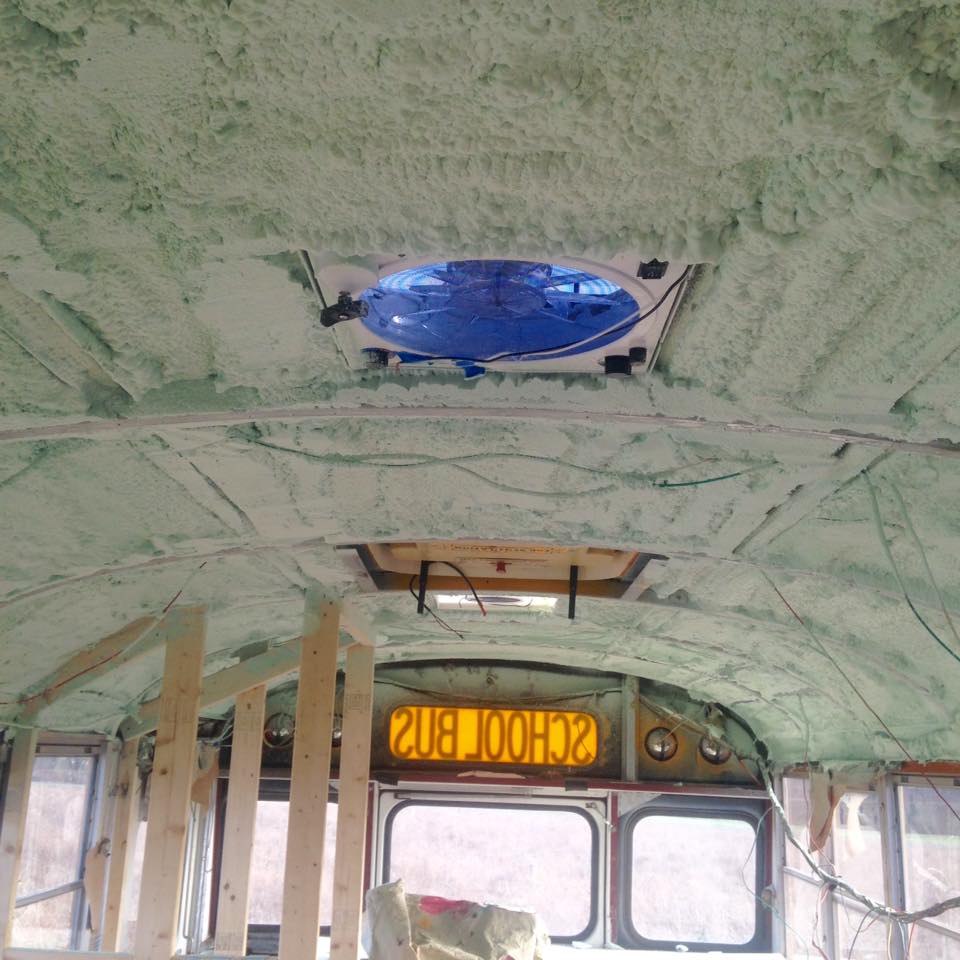 Skylight InstallOur emergency exit was really busted and we wanted to replace it with a skylight. We checked at Lowes on how much it would be for a skylight and I think it came out to around $600 - NO WAY - way out of our budget. We persistently go to our local reuse center looking for useful materials for our bus and one day we found a skylight. Not just any skylight! The perfect size, perfect shape, perfect price skylight. ALSO --- IT OPENS! $80 and this baby was ours. Talk about scoring gold. I felt on top of the world from this find! Our first try at installing the skylight was an epic fail, mostly due to our own laziness. You know when you look at something and think "That's not going to work - oh well - let's try and do it anyway!" Don't do that. When you hear that voice - listen to it. We removed the emergency exit pretty easily. Under it was a black tar goop that needed to be removed. That process took a while and was pretty disgusting. We mostly used goo gone, rags, and a razor scraper to get it all off. We made sure the surface was perfectly clean before trying to install the new skylight. We did this on a hot day, which made it even messier and grosser. We tried to use butyl tape and self tapping screws to attach the skylight, thinking the butyl tape would take up the space in the curve of the bus --- I'm not explaining this well --- just know -- IT DID NOT WORK. I then had to spend another hour cleaning off all the butyl tape we just destroyed. Very frustrating. I should have listened to the voice in my head. Just don't try this at home. Ok - so we were defeated by this and it took us a pretty long time to get back to doing it the right way - but we did it, so here's how. Step 1: Make a StencilAfter you remove the emergency exit, use cardboard or a thin piece of wood to make a stencil of the curve of the roof of the bus. Hold the wood/cardboard on the inside of the emergency exit hole. Put your pencil on the roof of the bus and trace the curve onto the wood. 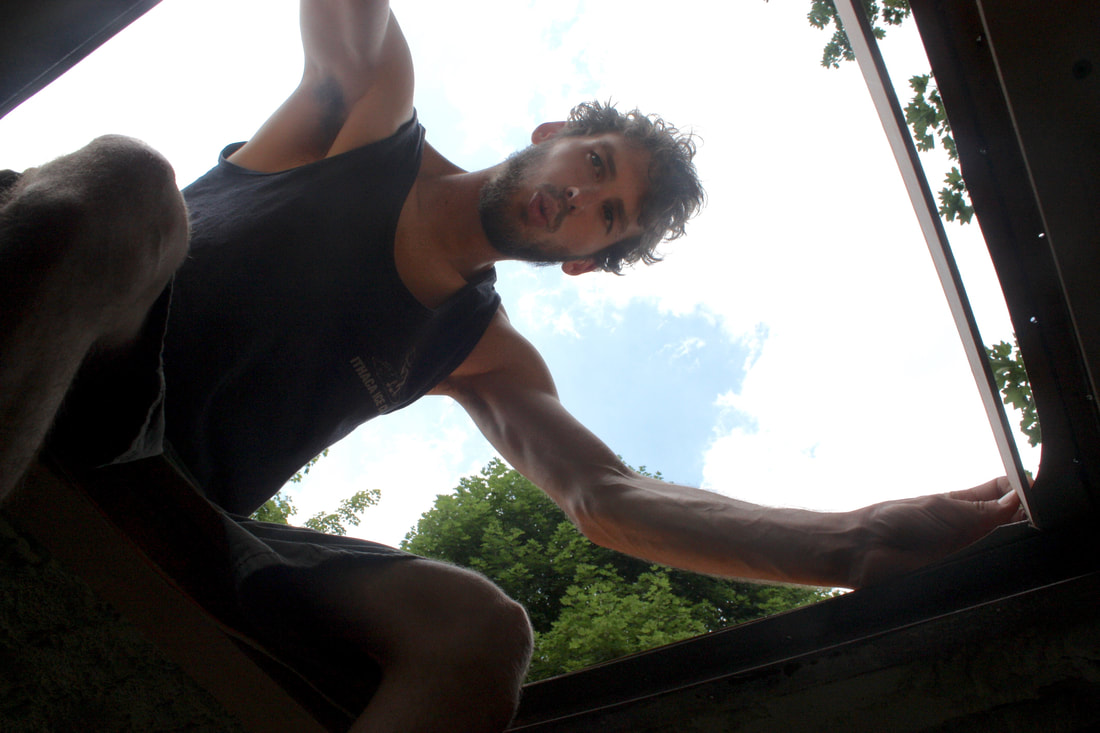 Cut the line using a jigsaw so that your stencil is cut to a curve. Ours wasn't perfectly straight, but it worked fine. 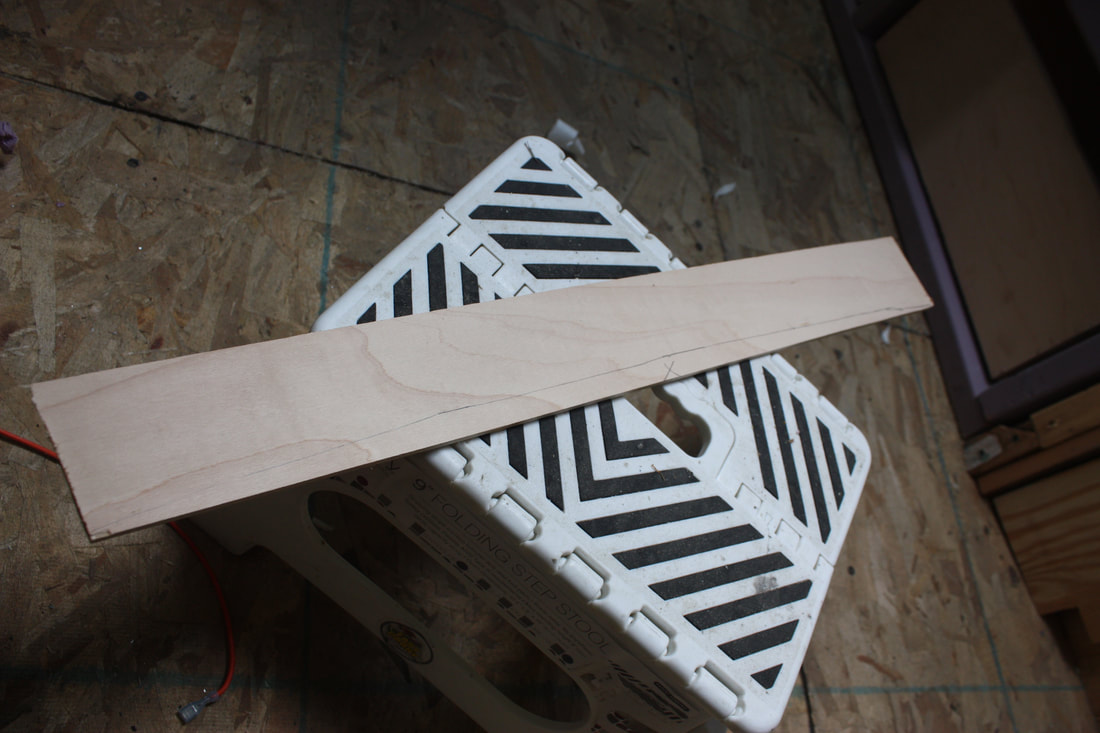 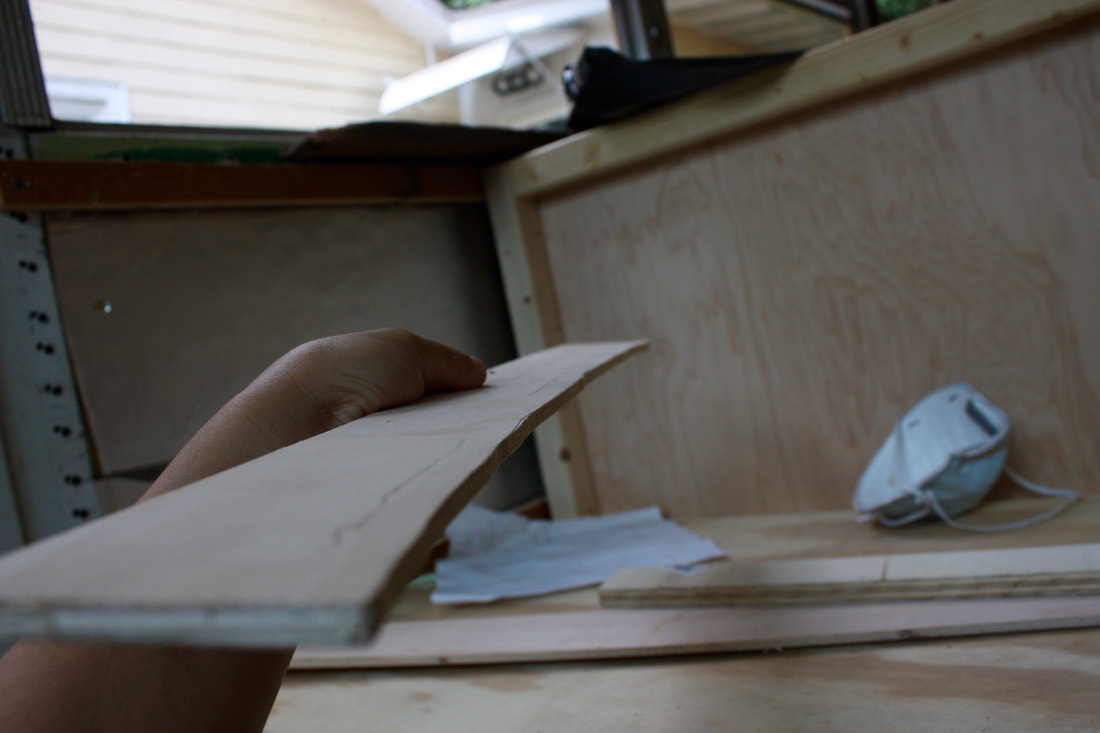 Step 2: Make a frameWe had some scrap wood around to make a frame. We measured the perimeter of our skylight and made a frame to fit it. First, we traced the curve onto the front and back pieces of the frame. Then we cut out the curve. It is important that this is flat and accurate. We clamped the piece to a table and then cut carefully with a jigsaw. 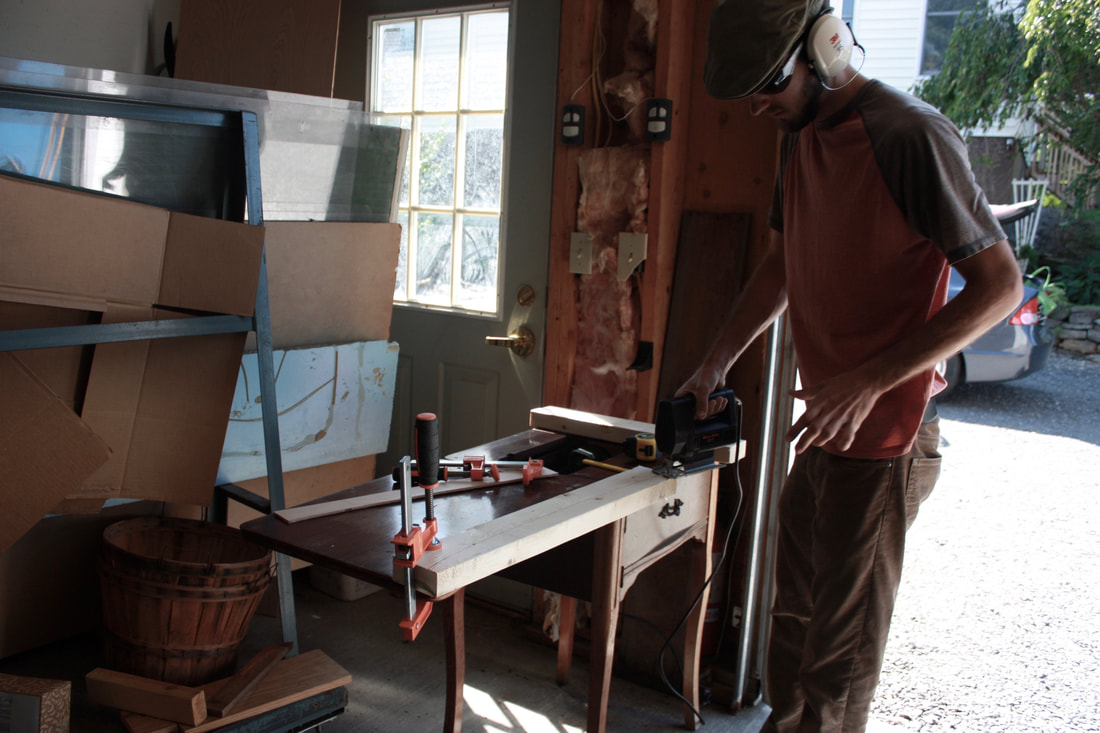 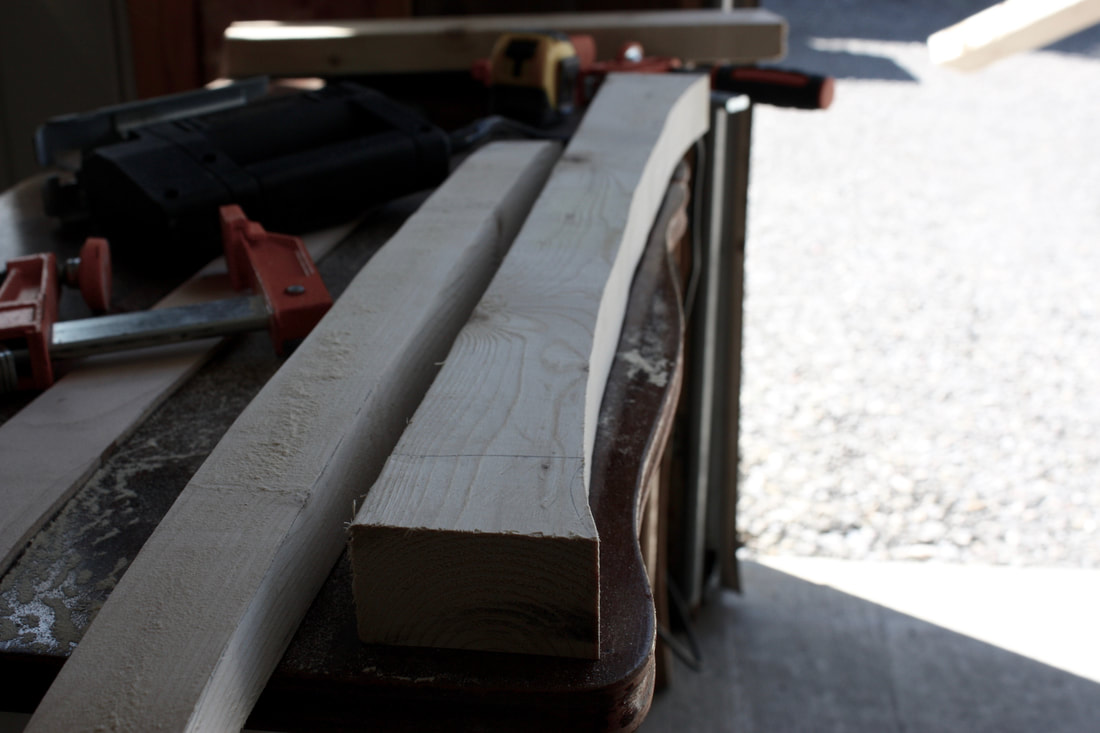 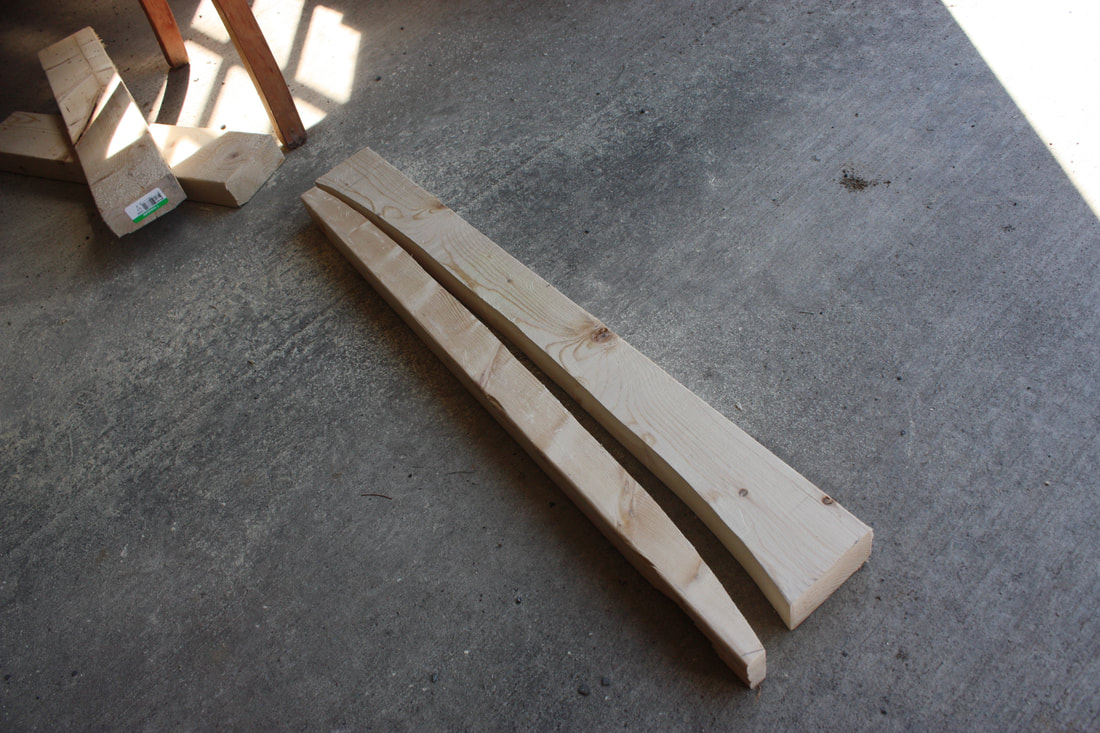 We primed the wood so it wouldn't rot and assembled the frame using pocket screws. 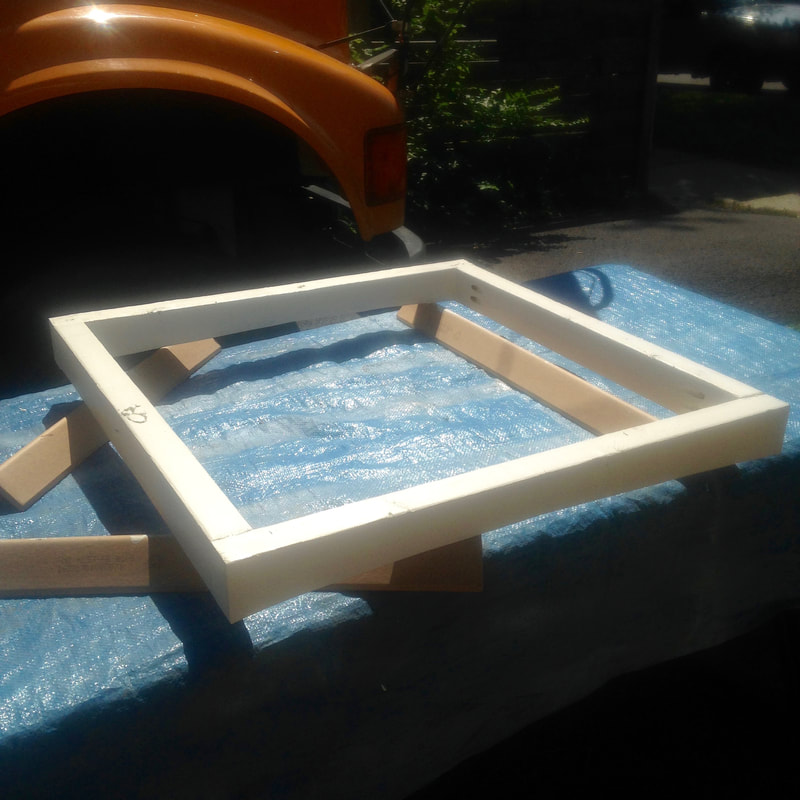  Step 3: Attached the frameWe used bolts, nuts, and washers to attach the frame to the bus. We also used butyl tape to seal the space between the metal and the frame. The bolts had to be inset with a chisel so that the window could sit flat ontop of the frame. We drilled through the wood and through the roof of the bus. Step 4: Prepare the window for installWe attached angle iron to the base of our window so that we could attach it to our frame. We had to pre-drill holes around the angle iron and then screw it to the window and the frame to attach it to the bus. We put butyl tape again between the angle iron and the frame. after we screwed it down we caulked around the edges and over each of the screw holes. We also caulked around where the frame attaches to the bus. Finally, we used Grace Vycor tape that Craig had left over from another job to seal the window to the bus. Maybe this is all a lot, but we really really really don't want it to leak. The window has been installed for about a year now and so far so good! 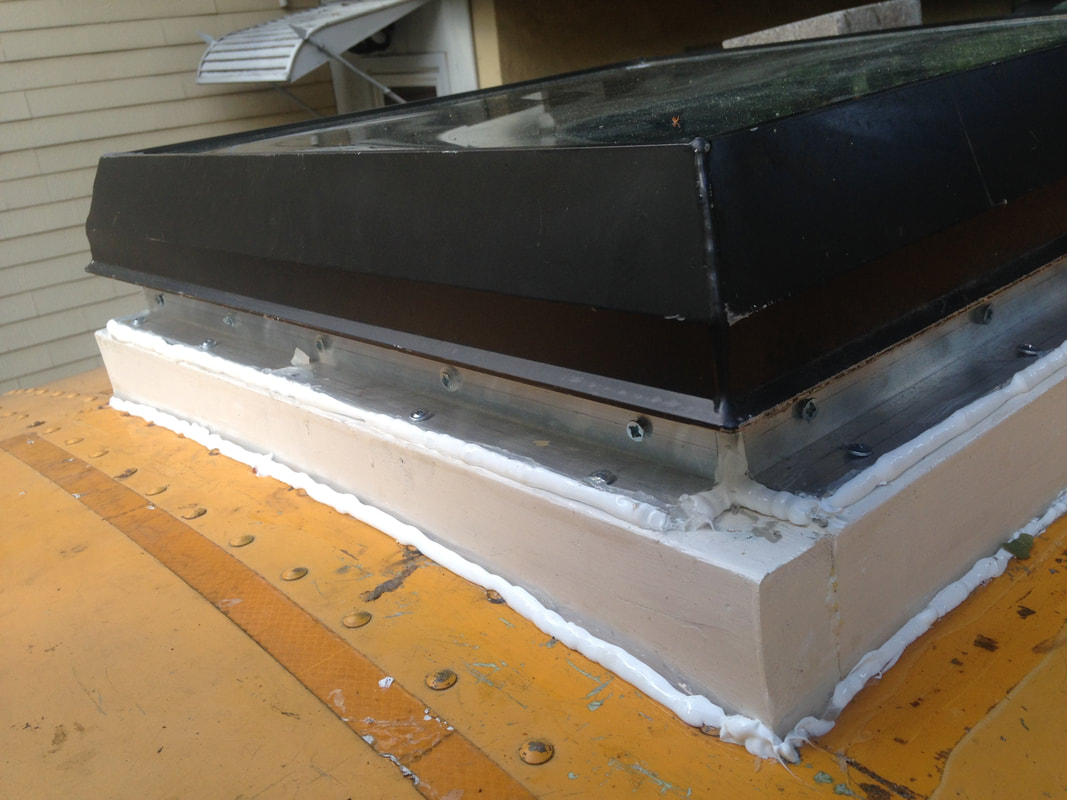  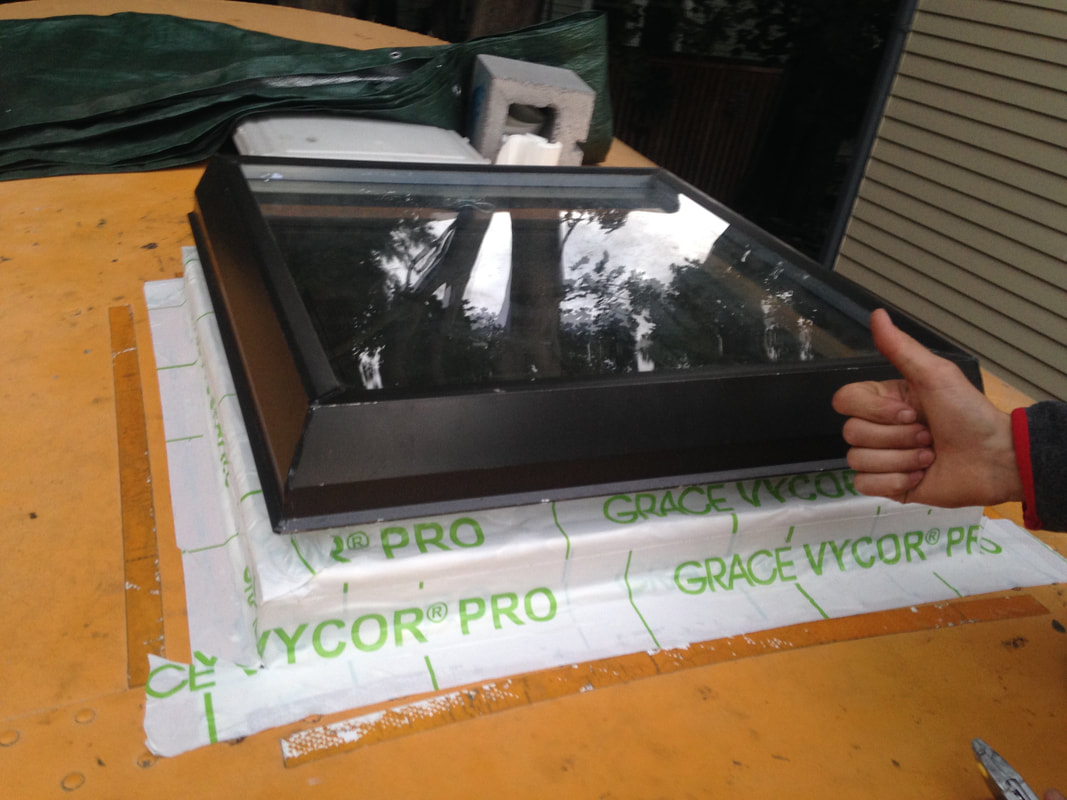 Hope you found this helpful! Next up is our stair rebuild.
|
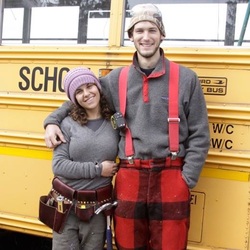
Hey there! I'm KarliI bought a bus in October 2015 and have been working on converting it since with the help of my boyfriend Craig. We don't have any timeline for the project. We are working on it when we can and hope to get on the road someday for a grand adventure! I'll be blogging about the process along the way and sharing the details of our successes and failures to help future skoolie builders! Categories
All
Archives
October 2017
|

 RSS Feed