|
Every bus will come with it's own unique set of problems. My bus was from Buffalo, NY and went through winters with kids wearing boots covered in salt. When I inspected my bus on the lot, the staircase seemed solid, but when I got it home, it became apparent that it was crumbling. Replacing the stairs was a daunting project for me from the start. Welding was not one of the skills on my list to learn. The equipment is expensive and it can be pretty dangerous. I decided that it was worth it to hire somebody to complete to stair build task. I wanted to make his job as easy as possible to try to bring the price down. Silly me - the price did not change after hours of extra work on my part. I was a bit shocked at the price to rebuild the stairs, but I got a few quotes, and they were all about the same. I also got some advice from people in my skoolie networks and most of them seemed to agree that the price was fair. The final price tag was $800 to fix the steps. It was a lot, but I could not have completed the job on my own. Once I considered the price of buying the equipment and the time investment to learn to weld, I did feel that it was a fair price. Here is what my stairs looked like when we revealed what was under the layer of rubber when I first bought the bus. A rusty, crumbling mess. The door is supposed to be connected to the stairs, but the frame was all rusted out so our door was unattached from the bus and totally dysfunctional.  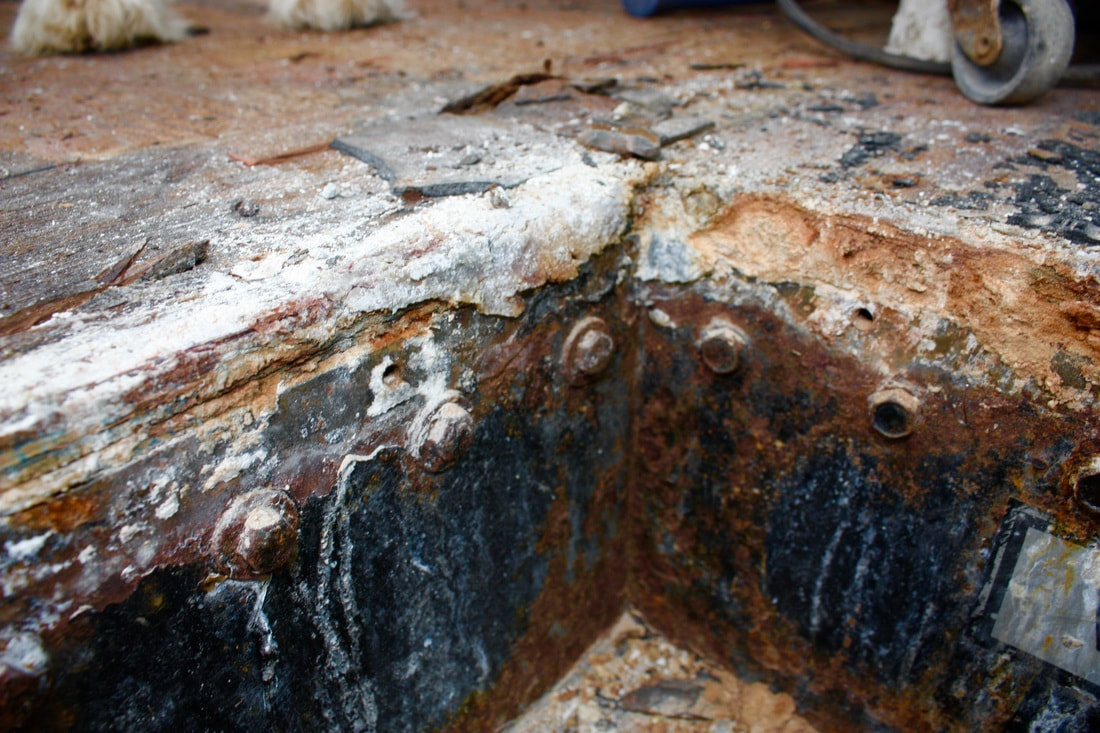 Removing the stairsI didn't know where to start with the stair project. The bus is no longer insured, so I couldn't really drive the bus anywhere (at least not far) to get the stairs rebuilt. I reached out to the bus dealer to ask them if they had replacement stairs in one of their scrap buses. They responded that it was possible to remove the stairs from the bus. DUH! I didn't even realize but as you can see in the picture above there are bolts all the way around the top of the stair case. Mine were so rusted it didn't even cross my mind that they could be removed - but they can! First, I worked to remove the top layer of rubber and metal from the stairs. I tried prying them, but they were really stuck on there. I noticed that under all that rust and dirt there were some screws keeping them attached to the steel base. I cut through them with an angle grinder and pried the rubber off. Once I removed the rubber, I worked on removing the bolts all the way around the stairs. I sprayed the bolts with PB Blaster Spray to remove the rust and loosen them up. Craig insisted that we use brute strength and a socket wrench to take off the bolts. He got about 20/100 of them off in an hour as I watched him struggle insisting we get the electric impact wrench from his dad. The next day I came back to the bus on my own and grabbed the impact wrench. It made for a quick job. A bunch of the bolts did snap, but they are not too expensive to replace. Once I released the final bolt, the stairs fell to the ground! I grabbed the grinder with a wire brush and went after the rust removing as much as I could. We found a fabricator less than 5 miles away from our build, so one day after work, Craig's parents and I caravanned over to his shop with the bus and the stairs. 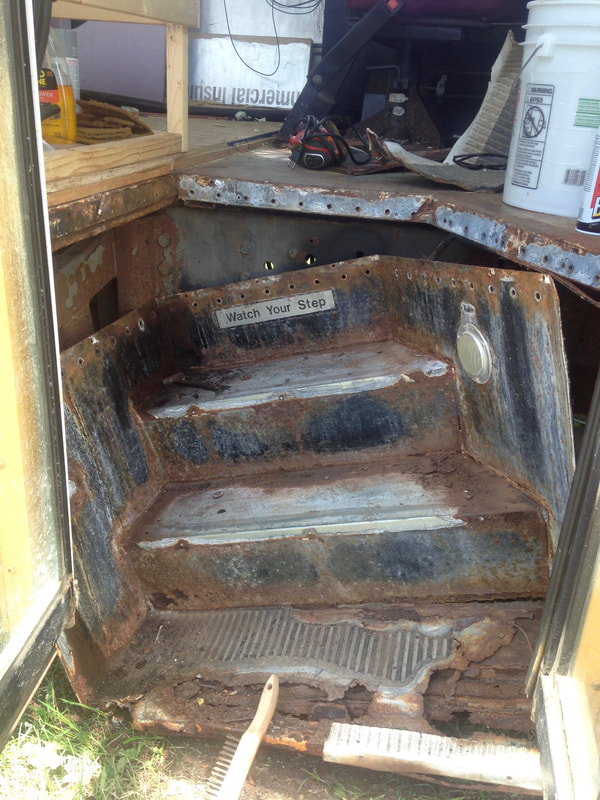 Watch your step :-D 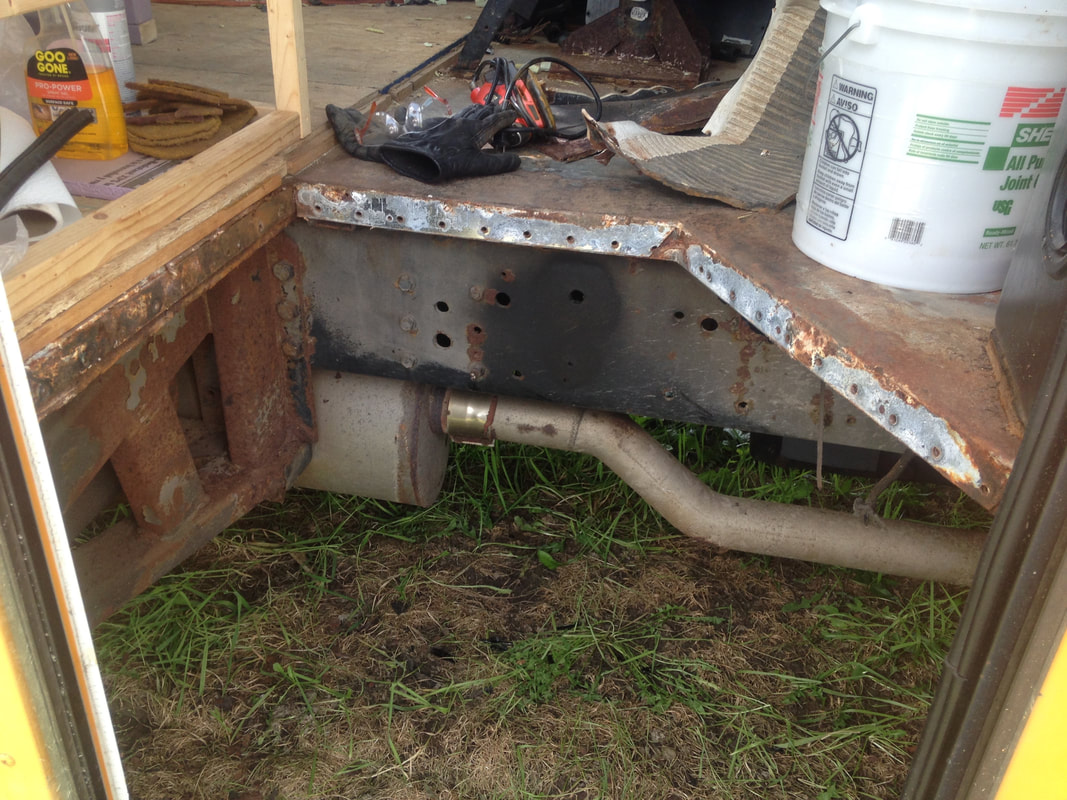 Stairs removed from the bus  Completely covered in grime after grinding  Fresh and "clean" after a hose bath After looking at the stairs our fabricator said he could either fully rebuild them or work off of the existing steps. He said it wouldn't cost much more to totally rebuild, but every dollar counts here and an extra $100 or $200 in my pocket is going to come in handy down the road. I told him to rebuild using the existing stairs. It took about a week to complete the job. I think they came out fantastic! He also fixed our door. 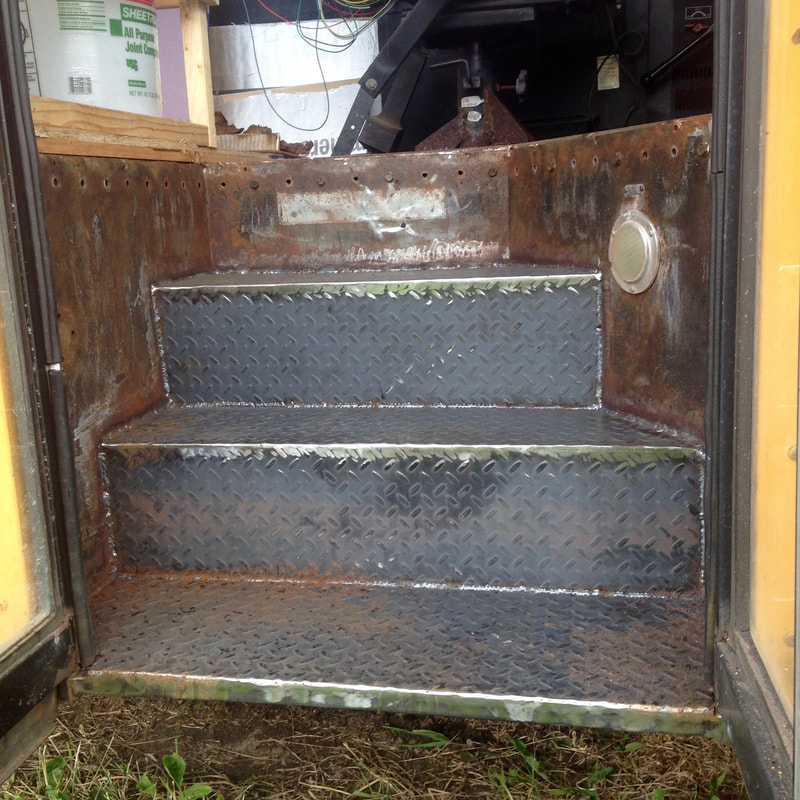 Rebuilt Stairs Rebuilt Stairs Sealing the steps
Comments
|
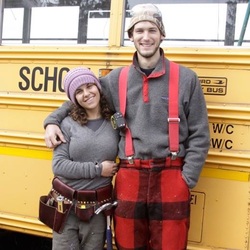
Hey there! I'm KarliI bought a bus in October 2015 and have been working on converting it since with the help of my boyfriend Craig. We don't have any timeline for the project. We are working on it when we can and hope to get on the road someday for a grand adventure! I'll be blogging about the process along the way and sharing the details of our successes and failures to help future skoolie builders! Categories
All
Archives
October 2017
|

 RSS Feed