|
With the sun going down at five, it's hard to get work done on the bus during the week so we are trying to use our time after work for the research and planning stages. This week, we worked on design layouts. I already had a layout and I sat down with Craig to review it. As a disclosure, I've never designed anything in my life and have never used Sketchup (a free program that allows you to draw out designs). One look at my drawings and Craig had a lot of questions, pointing out my many design flaws. I was listening, but didn't want to hear what he had to say. I slept on it and woke up the next morning to do some research on tiny house design and see if I could get the design somewhere he would be happy with it. If Craig doesn't like the design, there's no way he's going to help me build it, so I had to find a better solution.
First (Failed) Design Attempt
What was wrong with it?
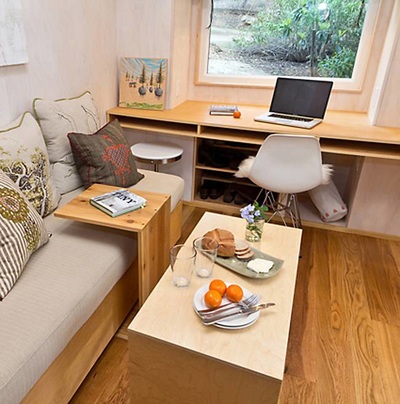
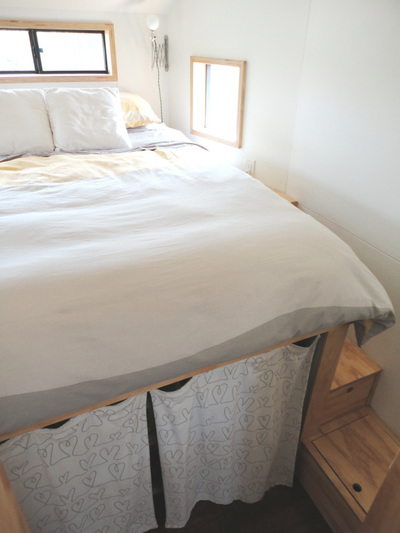
Design Inspiration
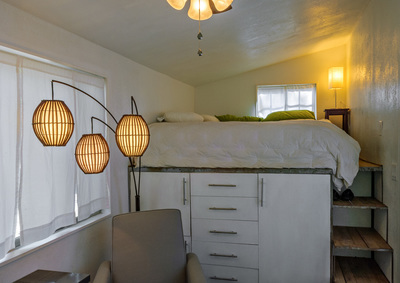
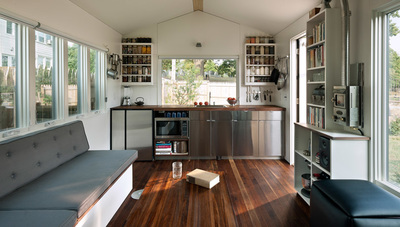
With the Tiny House movement taking off, there are thousands of genius ideas out there. Since I'm not a designer, I figured I'd borrow some ideas from people who have already built their tiny spaces. Many tiny homes have lofted beds. Since the ceilings of the bus aren't so high and I have a dog that I like to cuddle with, we didn't want a lofted bed. I searched for tiny homes with bedrooms on the first floor and found some great ideas!
New Design
Taking all my new inspiration into account (and Craig's feedback) I began to redesign the bus. The materials and colors are not final, but it's a general idea of what I want. I'm sure there will be many more changes to the design, but overall we are happy with this layout and think it really maximizes our space.
This is the overhead perspective. From left to right you have the front of the bus. Then the kitchen and living room, then the bathroom, and bedroom. 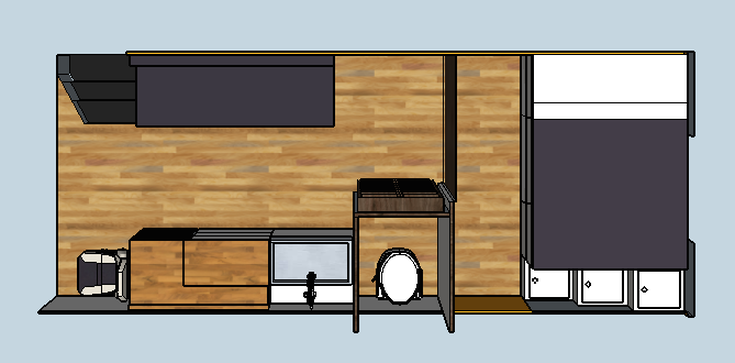
Hover over the dots to get more info!

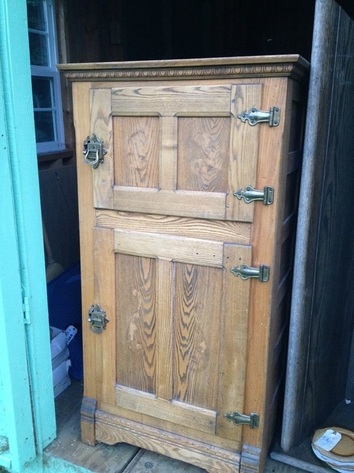
Refrigerator
I did a ton of research on RV refrigerators this week. I just cannot wrap my mind around spending $1000 for 1.7 cubic feet of fridge space. Basically, there are only 2 companies that make RV fridges - Norcold and Dometic. An RV fridge is a special fridge that can run off propane or electric.
On Saturday, our friends Molly and Hank came out to help on the bus. Hank owns Ithaca Ice Company and knows a lot about keeping things cold! We talked about my dilemma and he suggested building an ice box. Fridges for the home were not even invented until 1913! It seems ridiculous that people could live for so long without a fridge, and here I am considering how I can put one on a bus! The ice box idea is perfect. It's very simple - you have two compartments. The block of ice goes in the top compartment and the goods go below. We are thinking we will connect it to our grey water tank and let it drain itself there. We can probably build this for under $300 - a price tag I'm much more comfortable with.
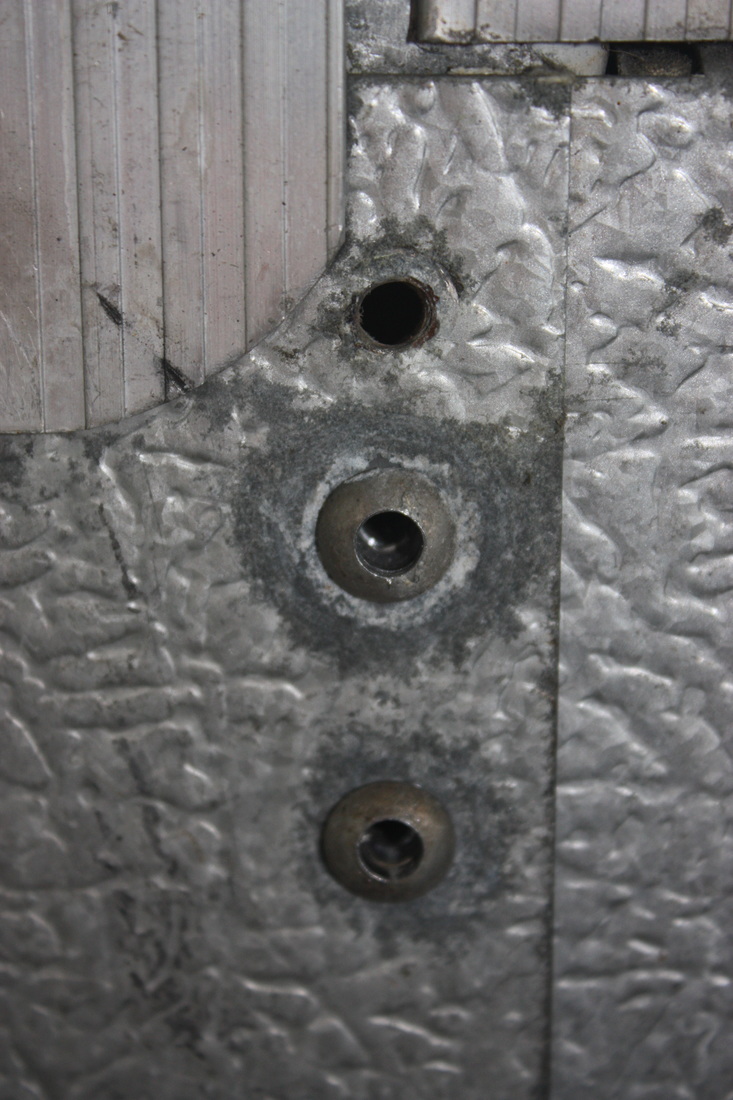
Filling Holes
Wall Insulation
Since the caulk was going to take 7-14 days to completely set, we had to hold off on painting with Rustoleum. I'll be away for two weeks and when I come back, it will be December and temperatures are dropping fast. We decided it'd be good to get some insulation in the walls so the bus isn't a complete ice box when I get back. We got 1 1/2" rigid foam board for the walls. We got 3 sheets to insulate the walls. They cost $30 usually, but one was 70% off because it wasn't in perfect shape. It was perfect for our needs though! We also signed up for a HomeDepot credit card which gave us $50 off. The purchase for insulation for the walls and floors, and some of the materials we need to start building up the floors was $150 total with the discounts! NOT BAD!
I can't believe how easy insulation is. You measure, cut, snap and slide it in. We were going for a really tight fit so it took a bit of hammering, but we got the walls all insulated in 2 hours of work. We probably could have done it in 45 minutes, but we were messin around! What's next?
Here I was thinking I'd have nothing to write about this week and this post is way too long. JEESH! Next steps -- I'll be going away for 2 weeks for vacation and Thanksgiving. We'll have a little break from the bus :( but when we return, it's time to get buildin! We'll be painting the floors with rust neutralizer, finalizing our floor plan, then insulating and laying down the flooring. I CAN'T FREAKIN WAIT!
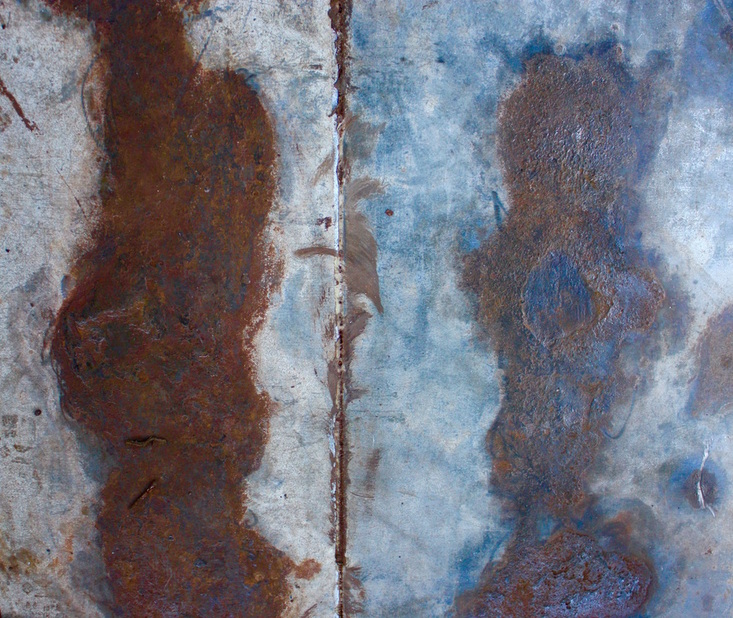
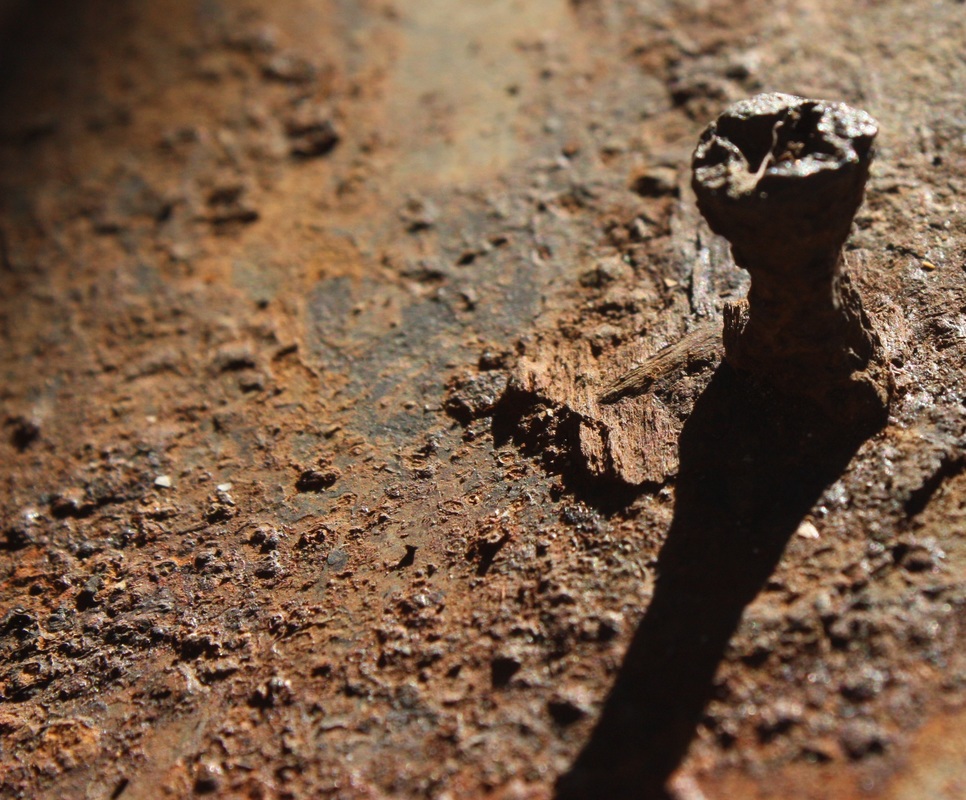
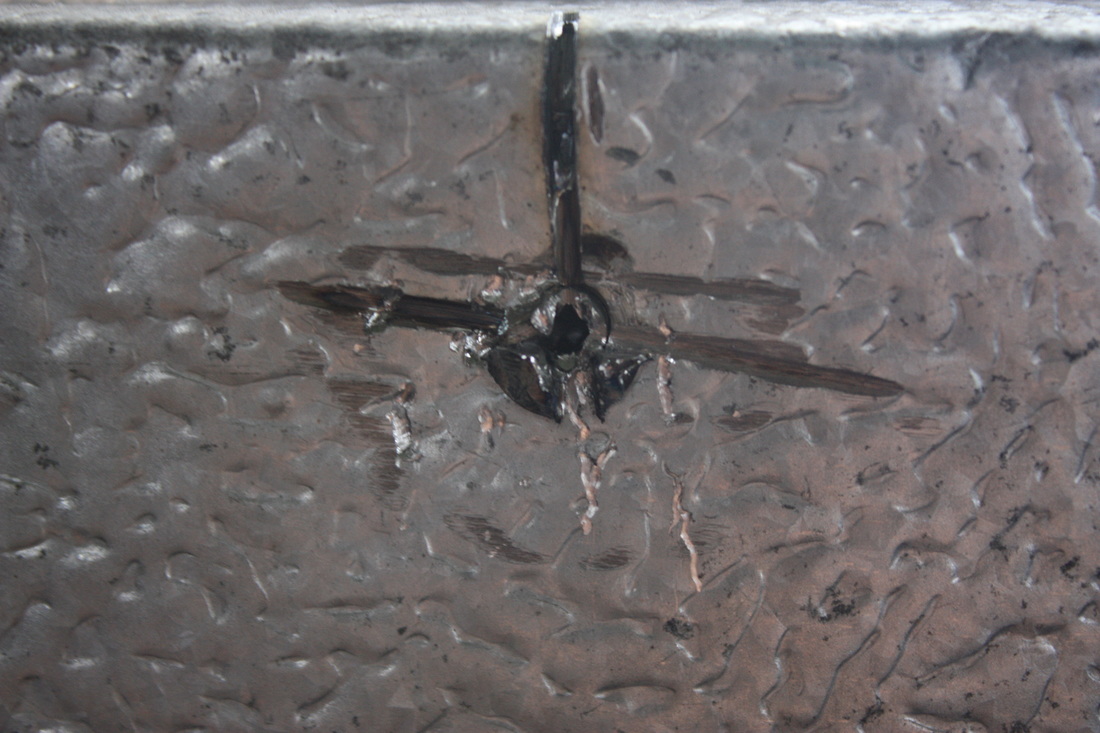
Last week it was easy to see how much progress we were making. Getting the wheel chair lift out and the floors out was such rewarding progress. This week, things went a lot slower, were even more grueling and it's hard to see what we really did. This week was about getting the floors prepped for rust neutralizer. We still aren't so good at setting reasonable goals. We thought we would have the paint down by the end of the weekend... we're still grinding. We read on Outside Found that they ground the floors of their bus for 8 hours. We said "Well our bus is half the size so it will never take that long." Boy were we wrong! We are probably 6 hours into grinding and still have about half the bus to go. 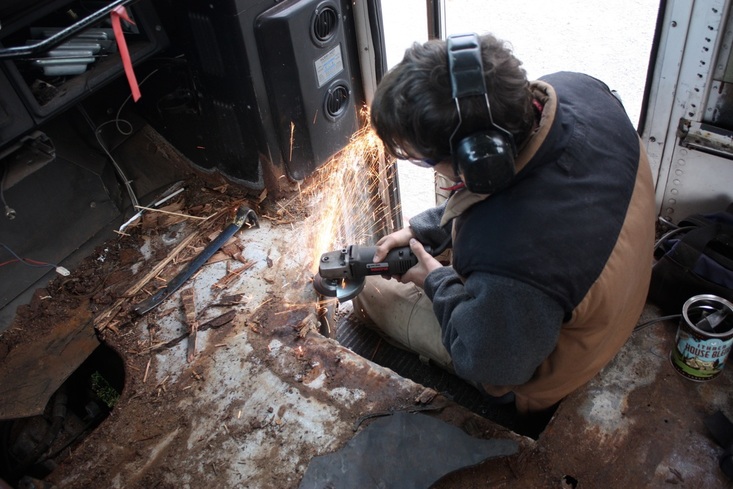 Craig grinding off nails Removing the Mounts and Nails We went to Home Depot to buy a titanium blade for the Sawzall so we could cut out all the wheelchair mounts and nails sticking up. This thing was a very good investment. We got all of the mounts and nails off in about 20 minutes with the right blade. Now we are left with tons of tiny holes in the floor we will need to fill. Project for the week is figuring out the right product for the job. 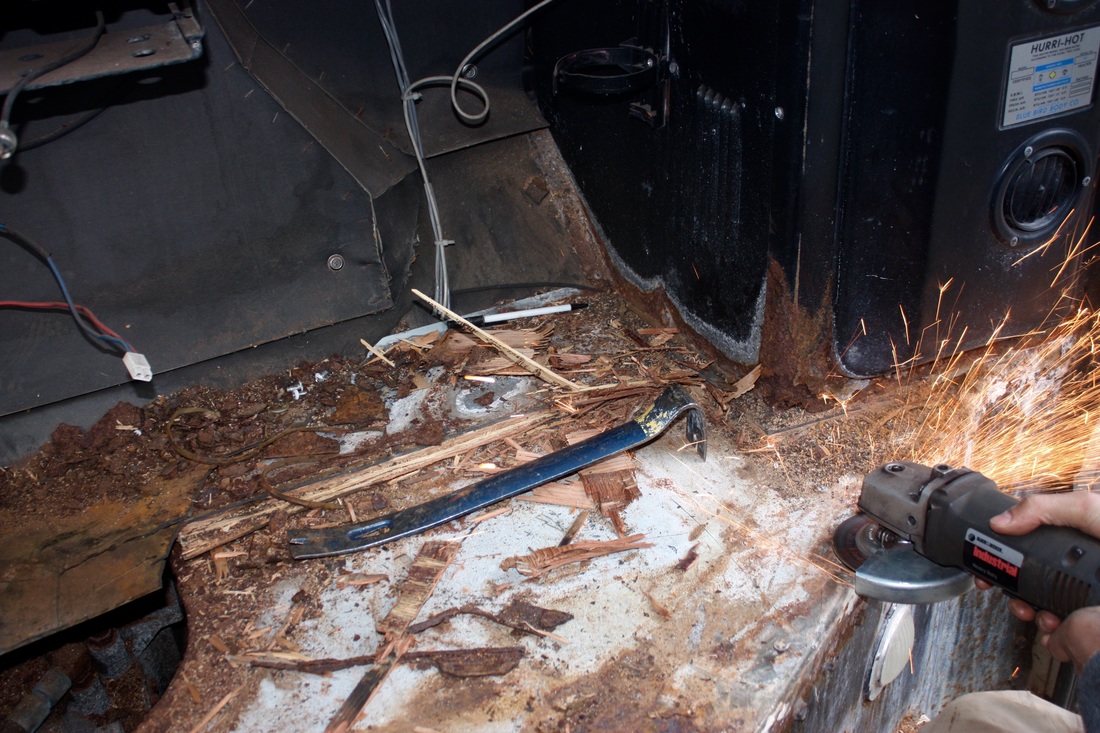 Front floor's a mess! Look at all that rust. When we uncovered the floors we found a large opening in the front over the parts that lead to the engine. We'll need to come up with a plan for covering this up! Removing the Front Floors Getting the floors out in the front of the bus was a pain in the butt. They go under the front dashboard so you have to cut them out or remove the entire thing. It's tough to get up there under the pedals and the chair and everything is at weird angles. The floor is held down by a piece of metal in the front of the bus as well. Taking out the floor in the front was hard on the back and the patience, but it had to be done. We worked together to fit in the tight spots and hand eachother the tools needed for the job and got 'er done! Grinding the Floors I worked for about 3 hours on the bus on Wednesday by myself using the small grinder you see in the photo above. After 2 hours of work, Craig's dad showed up with the larger grinder. This thing is AWESOME! 3x as big means 3x as fast! I wish I had started out with this guy! I got through a ton of rust on Wednesday, but even when you think you are done, there is still more to do. We're looking to get off the old paint and the rust to leave us with a shiny metal floor.
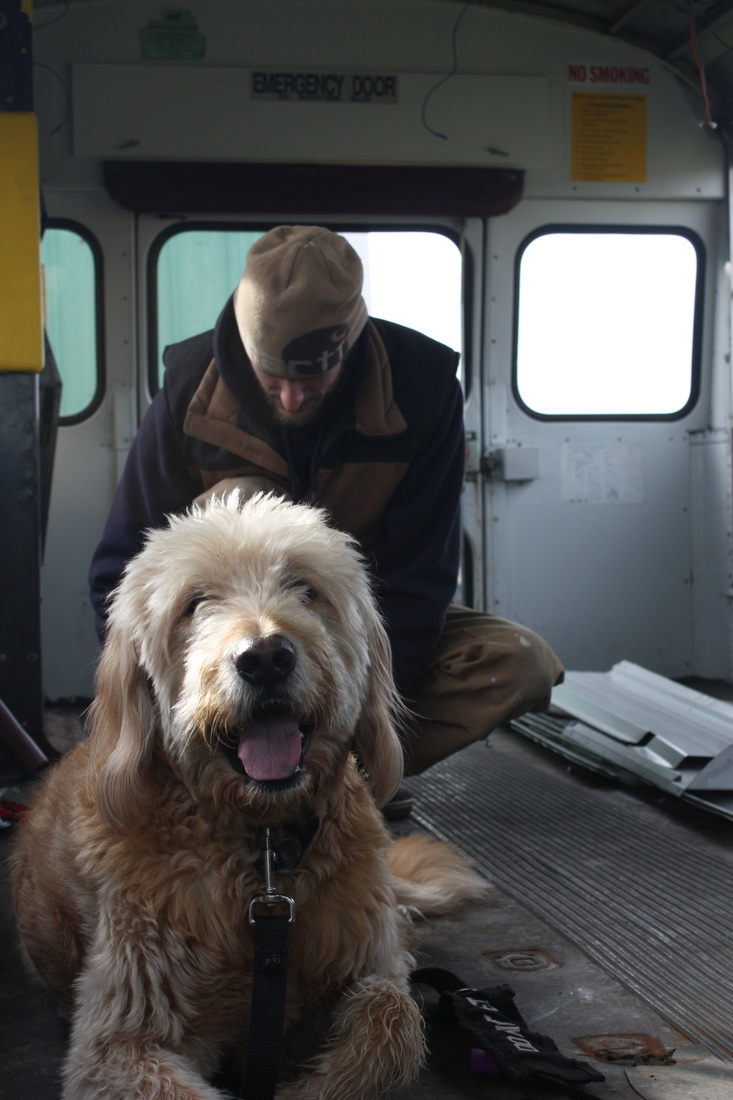
 Removing the Caulk There was sticky caulk sealing the perimeter of the bus. It was covered in rust and grime and needed to be removed so that we have flat edges to lay down the floors. This was a slow tedious (gross) process that involved scraping, cutting, and pulling the caulk out. 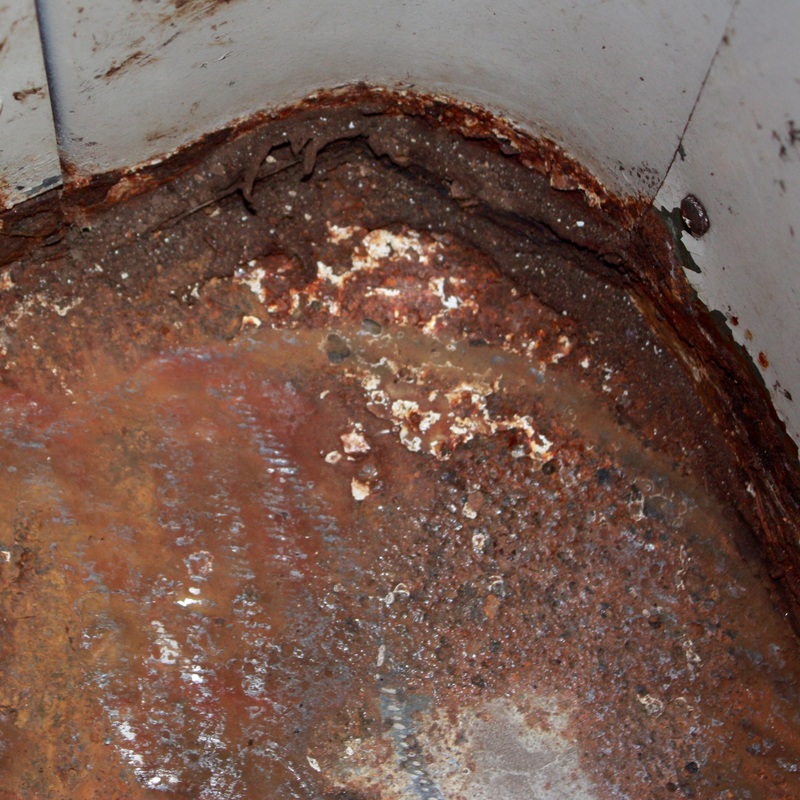 Next Steps Keep on grinding! We're hoping to finish grinding the floors this week and then fill in some holes. Once the holes are filled we will be able paint them with Rust Neutralizer. I've never been more excited to paint something in my life! We took a bunch of measurements of the bus at the end of the day on Sunday. We are working on a plan for insulation and getting a full list of materials we need so that hopefully we can find some second hand. I really don't want to buy everything new from Home Depot. I know we can find a lot of needed materials on Craigslist and from other sources in the area. We just need to look! 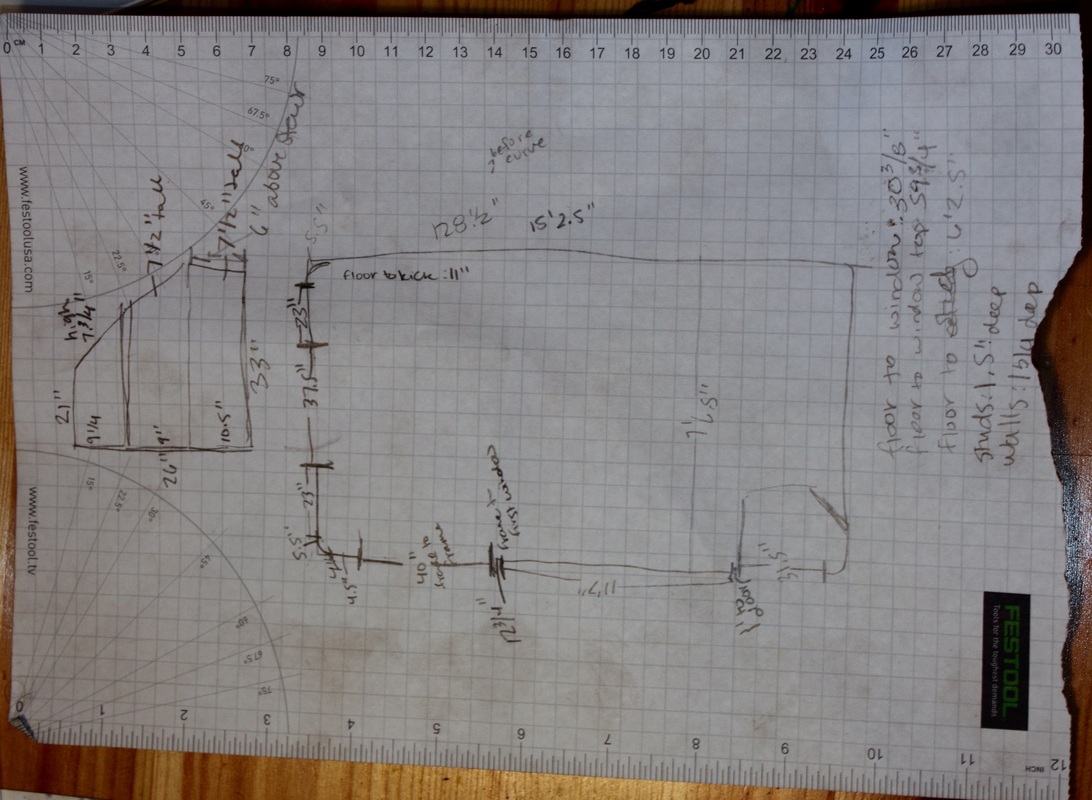 We put daylight savings to good use this weekend. That extra hour was much needed after a night of partying for Halloween! This weekend was all about getting that massive wheel chair lift out of the bus and taking up the floors. We also thought it was about time to introduce my dog, Zeek, to the bus and get him used to it. He shockingly was very well behaved all weekend. I think he's going to like this bus!
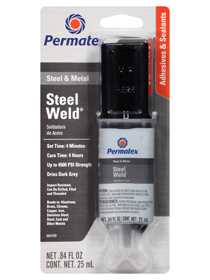
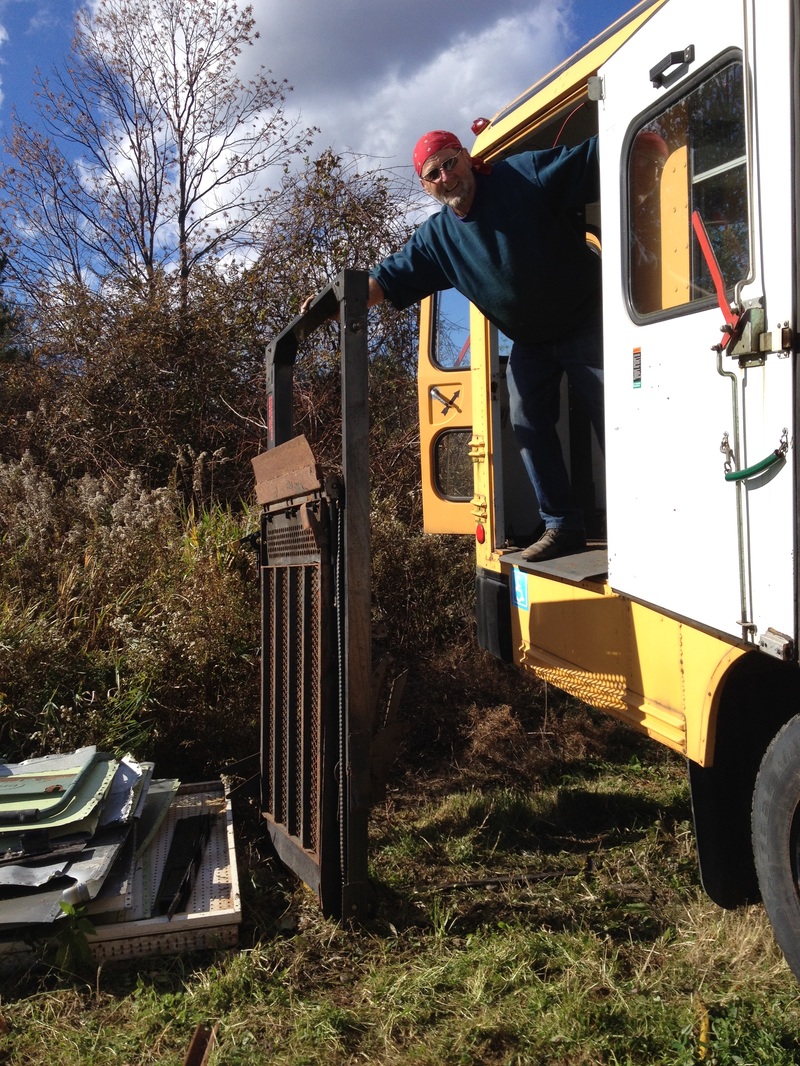
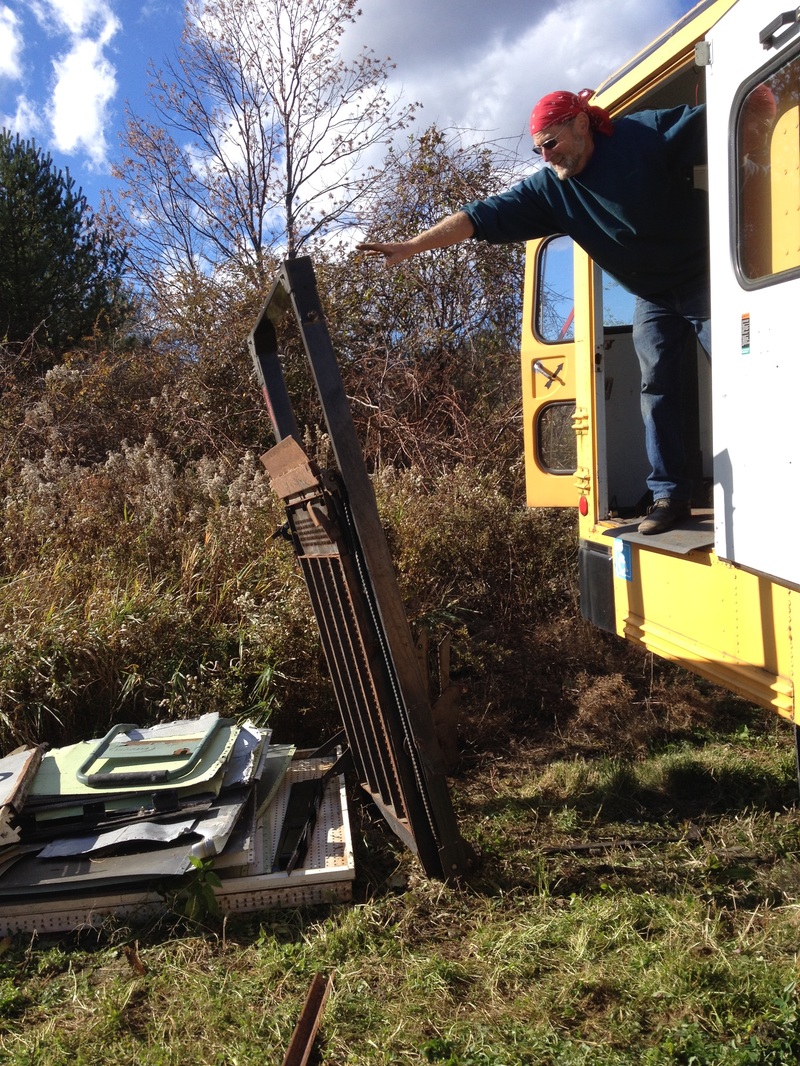
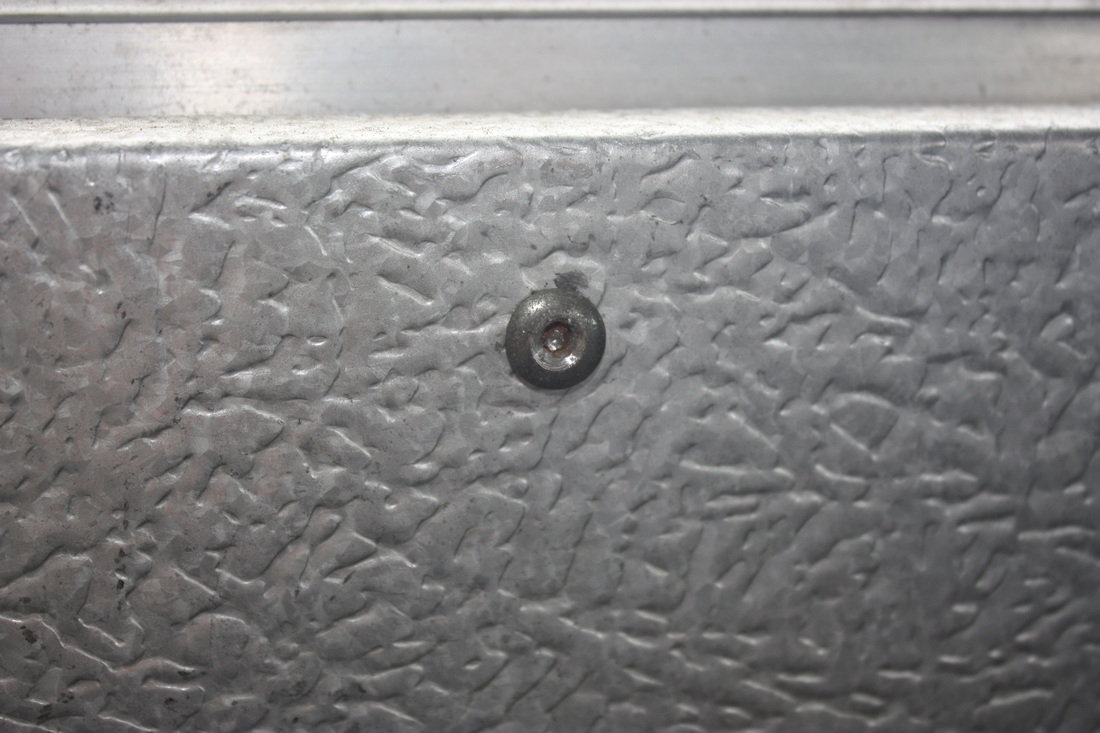
Rubber Floor Removal Taking up the rubber was really easy. We got 2 crow bars and just started by tearing out the center aisle strip. From there it probably took 30 minutes to get up all the rubber and reveal the plywood underneath. We were expecting what we found - it was damp and falling apart. Nothing too shocking there. Subfloor Removal The bus was built to hold 3 wheel chairs and has a bunch of mounts in the floor to strap in wheel chair passengers. These mounts were holding down the plywood and the sockets were completely rusted out so we could not remove them. We decided to get a circular saw and do plunge cuts around the mounts so we could remove the plywood around them and then we would be able to access underneath the mounts and cut through the bolts. Once we got all the cuts done, getting the floor up was easy! 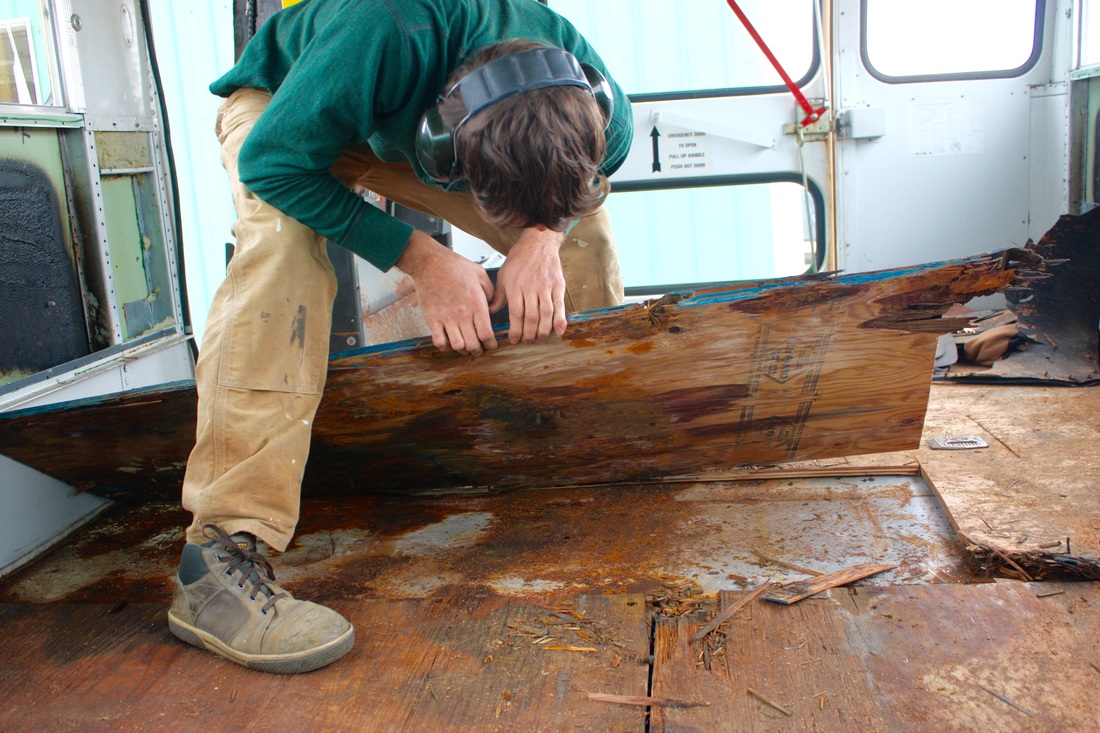 First looks at the metal underneath! We're going to have to learn how to weld :( While trying to remove the rubber from the stairs, they crumbled beneath us. Looks like we are going to need to learn to weld and build a new stair case. Removing the lift The bus had a wheelchair lift. We were thinking of trying to sell it, but when it came time to remove it, it didn't quite work and getting it out of the bus proved to be difficult. We decided to dismantle it and will be scraping it. Lifts are extremely heavy and there is a real danger of crushing your fingers. I left this job to Craig and Pete. They grabbed some long metal bars to assist them in pushing the lift off the bus. We brought the bus over to our junk pile and lowered the lift out. Once the base of the lift was on the ground we disassembled it from the top. Once it was all loose Craig and his dad pushed it forward and out of the bus. "Geronimo!"
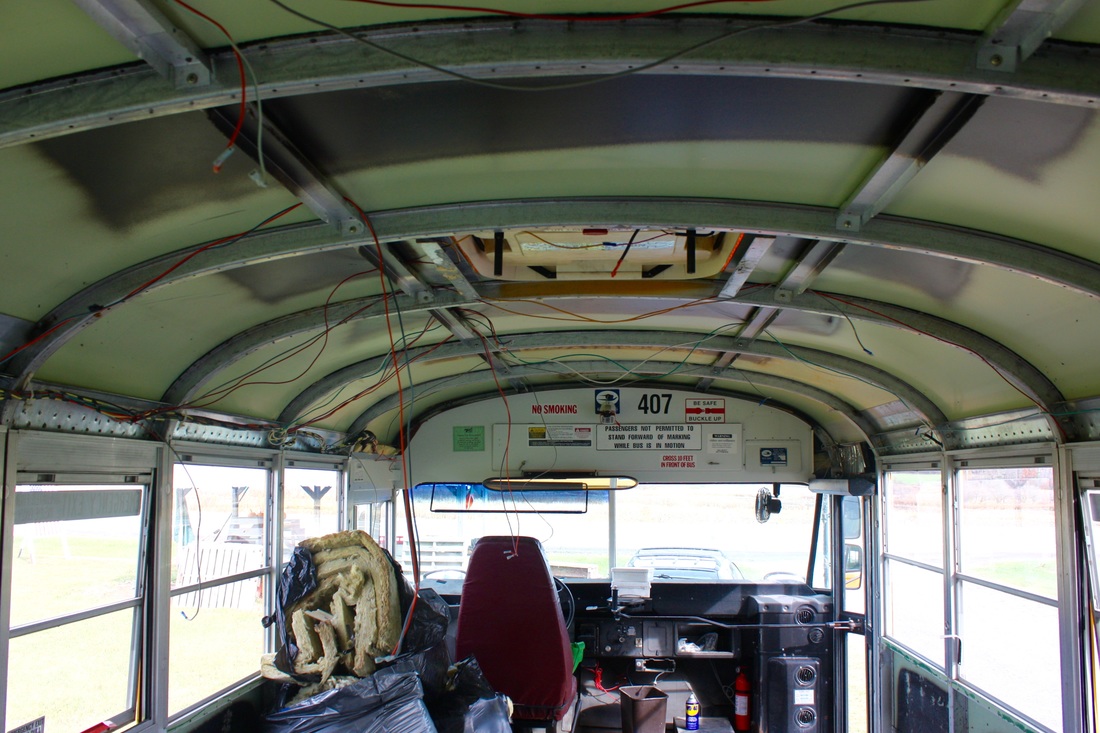
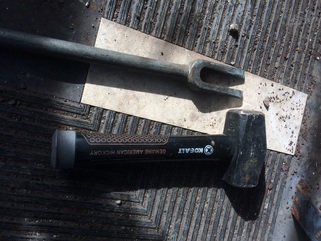
Next steps! Next we will be cutting out all of the rusty nails that are still stuck in the bus and cutting through the bolts to remove the wheelchair mounts. 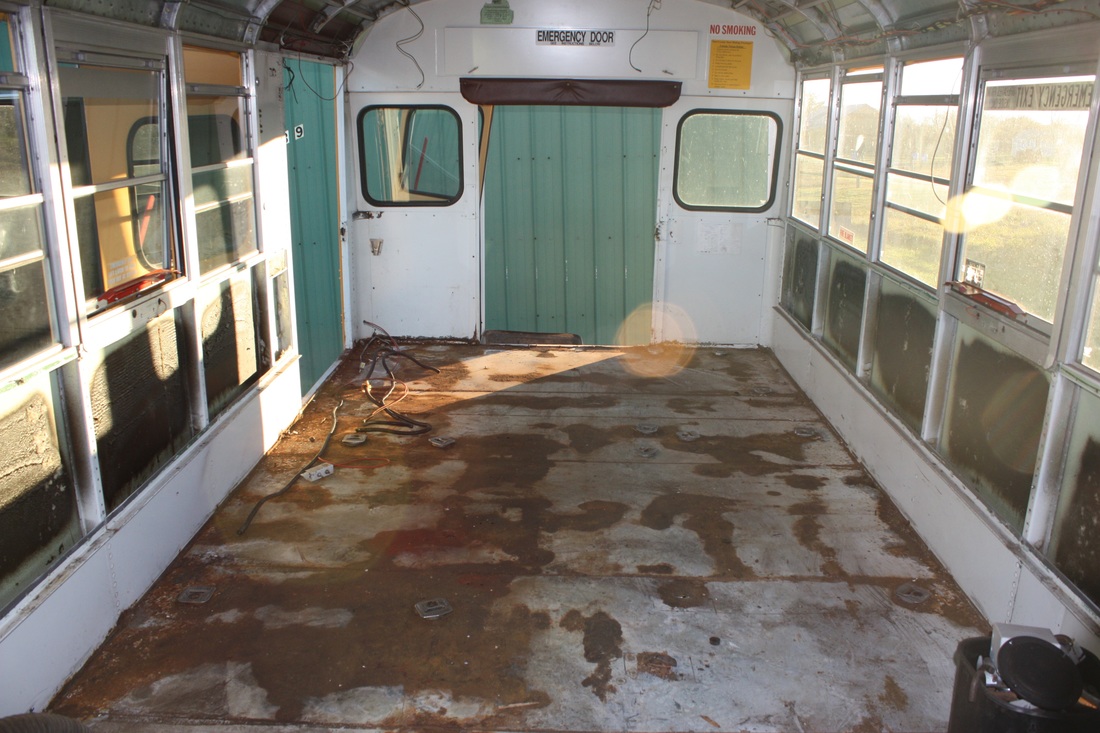 All cleaned out! Awesome progress this week. 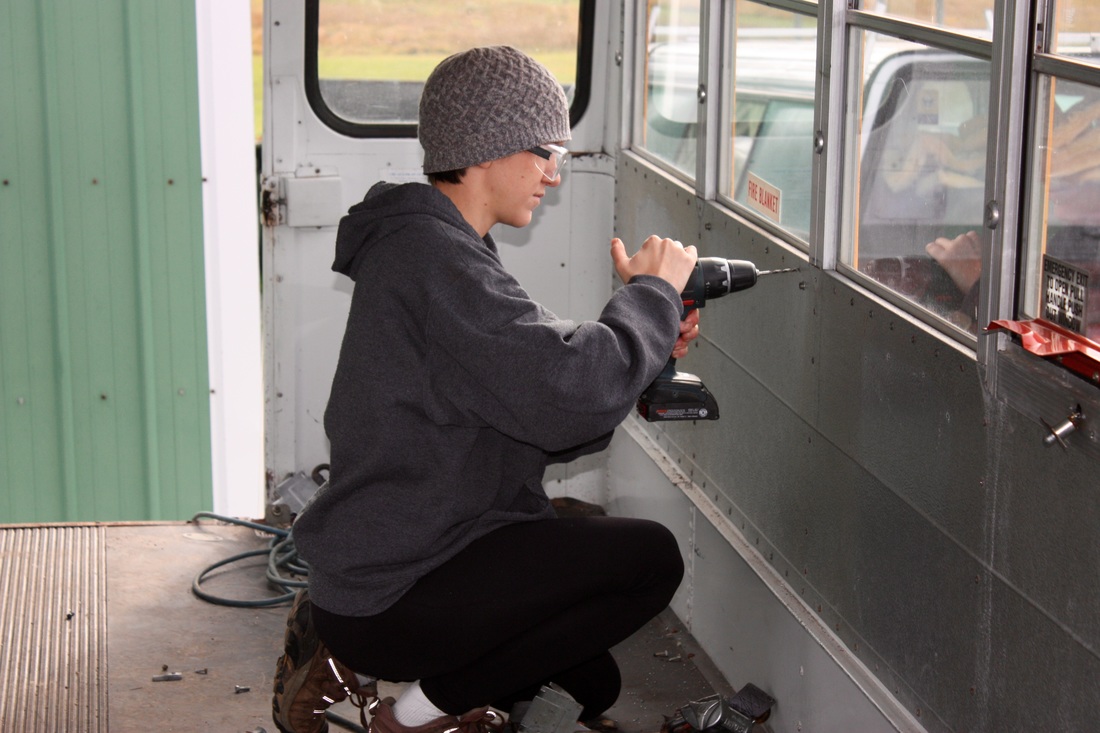 We spent most of the week struggling to get the ceiling off. We tried every method out there for rivet removal, but it all came down to finding the right tools! Drill Removal - Good for the walls On Monday, we did some more research on removing rivets since we were moving so slowly last week. We went to home depot and bought 2 brand new titanium drill bits in hopes they would be strong enough and not break. We used a punch to punch through all the rivets in the bus and then took the drill to drill through the centers. This worked great on the walls and we got them out pretty fast. Air Chisel - Not good for anything When we moved on to the ceiling, the rivets were stronger and not allowing a drill to pass through them with the drill. We tried grinding but the sparks falling down in our face and the weight of the grinder really wasn't ideal. Feeling frustrated, we decided to get an air chisel on Tuesday (a suggestion from a youtube video). The air chisel was only about $25 so we thought if it could save us a bunch of time it was worth it. We excitedly tested the air chisel on the first rivet and FAIL. It kept slipping - it was obvious this was not the solution we were looking for. I think because we were upside down working on the ceiling we couldn't put the amount of pressure needed to get under the rivet head. Conclusion - we're returning the air chisel. Pry Bar - Good for the ceiling We got a big pry bar and started just using sheer force to pull the panels down. This actually was working pretty well. We aren't saving the metal from the roof so we didn't care about damaging it.We got two of the ceiling panels off this way and decided this was going to be our method. It took us about 2 hours with 3 people to get off just those two panels. It was hard, but the easiest way we had found and we thought if we could spend a good chunk of our weekend on it we would get it done. When we stopped by Craig's parents house after, his dad Pete asked us if he could try a tool on the roof to see if it would be easier. Pete just retired this month and is a seasoned builder and get-shit-doner! I told Pete if he wants to try anything on the bus, he can go right ahead! 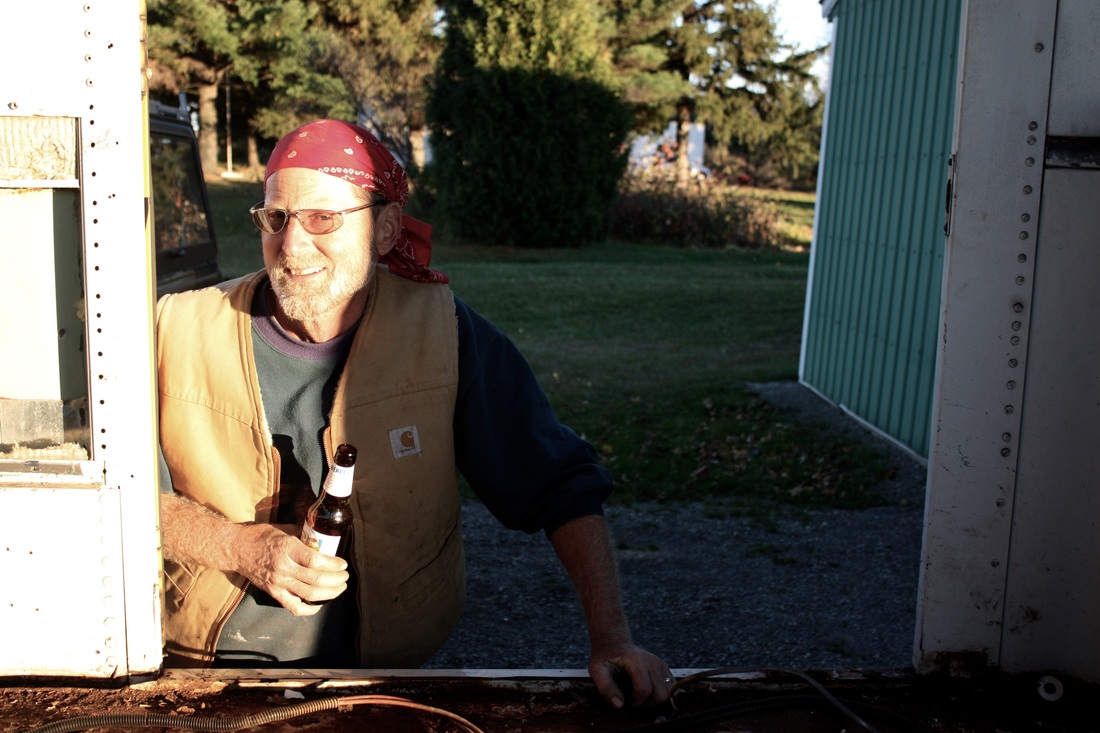 Pete Salino - Gettin shit done since 1957 Pickle Bar and Sledge Hammer - The ULTIMATE solution! On Wednesday, I got a text from Pete. The text included a picture of the entire ceiling removed and a tool called a pickle bar. He said it took him just 45 minutes by himself to remove the entire ceiling! I can't tell you how excited I was. This pushed our progress ahead by days. I was so fed up with those darn rivets. With the ceilings now off, we could use the weekend to remove the floors! I learned that it's all about using the right tools and that if I am ever in a pickle (ha) to just ask Pete!
|

Hey there! I'm KarliI bought a bus in October 2015 and have been working on converting it since with the help of my boyfriend Craig. We don't have any timeline for the project. We are working on it when we can and hope to get on the road someday for a grand adventure! I'll be blogging about the process along the way and sharing the details of our successes and failures to help future skoolie builders! Categories
All
Archives
October 2017
|


 RSS Feed