|
It took us a pretty long time to wrap our heads around how we were going to build our solar racks, but after looking at a few example racks in person and spending a few hours in Lowe's looking at different parts, it all eventually clicked. In the end, it looks SOOO simple - and it was probably our fastest project from start to end. We're still deciding on what to use to prop up the panels once they are tilted. We've got a few ideas. We just need to test them out. There were a few things we really wanted/needed from our racking system:
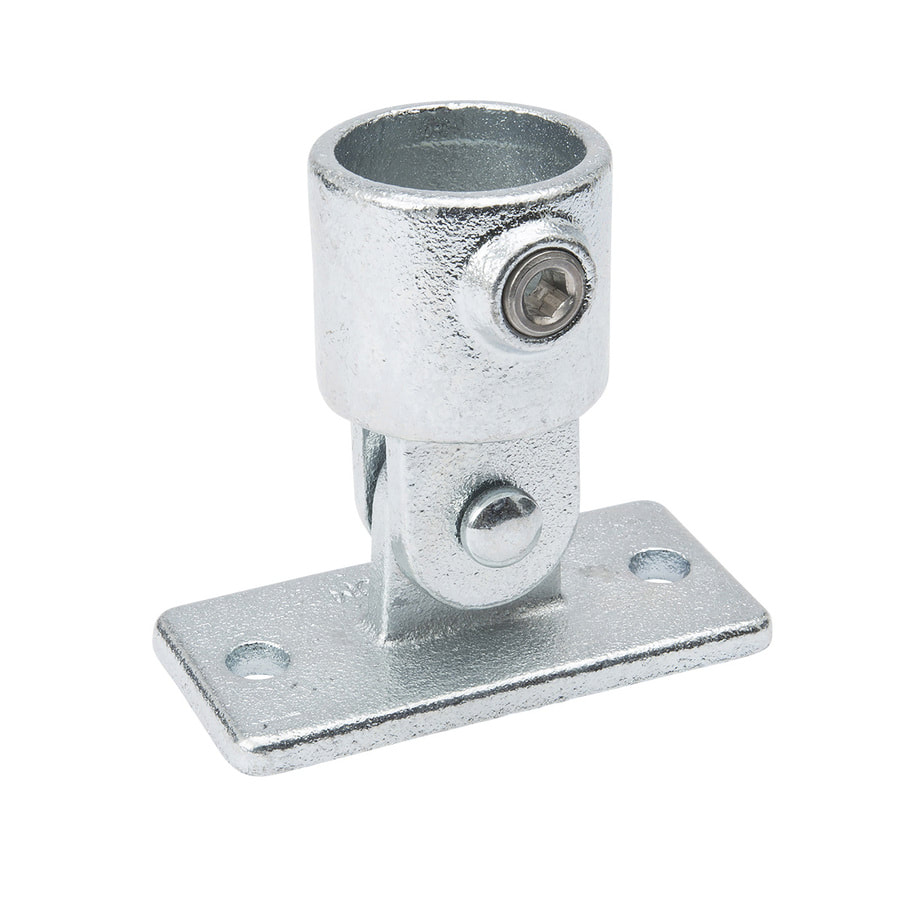
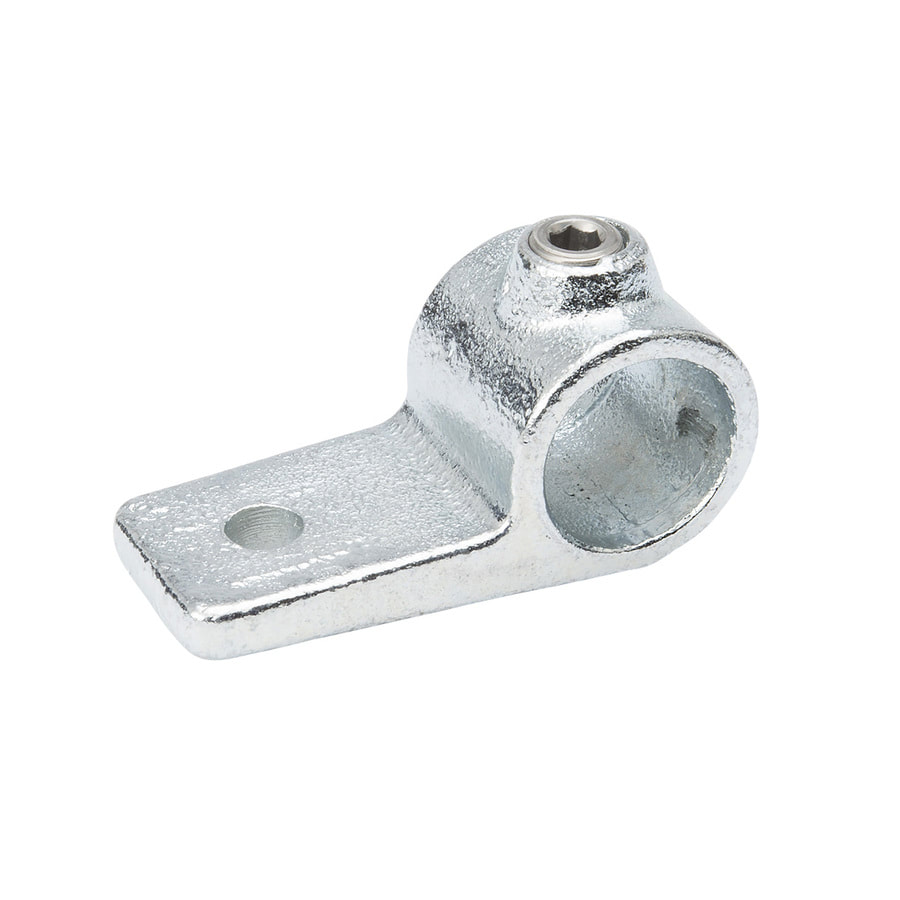
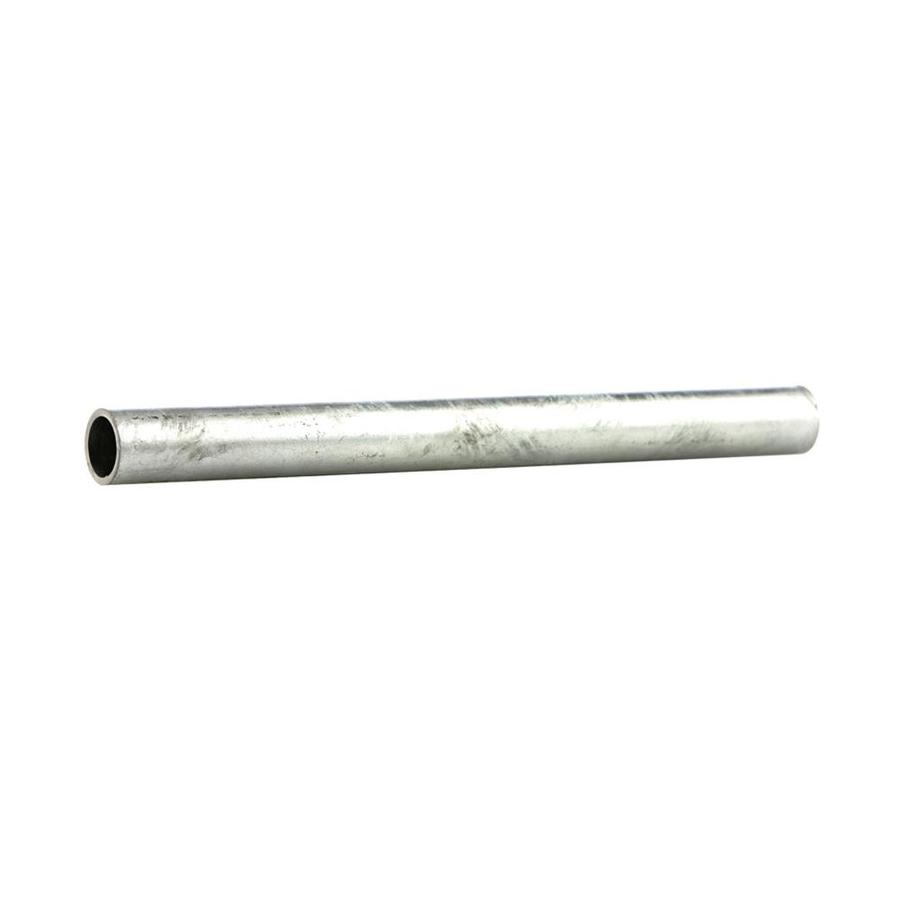
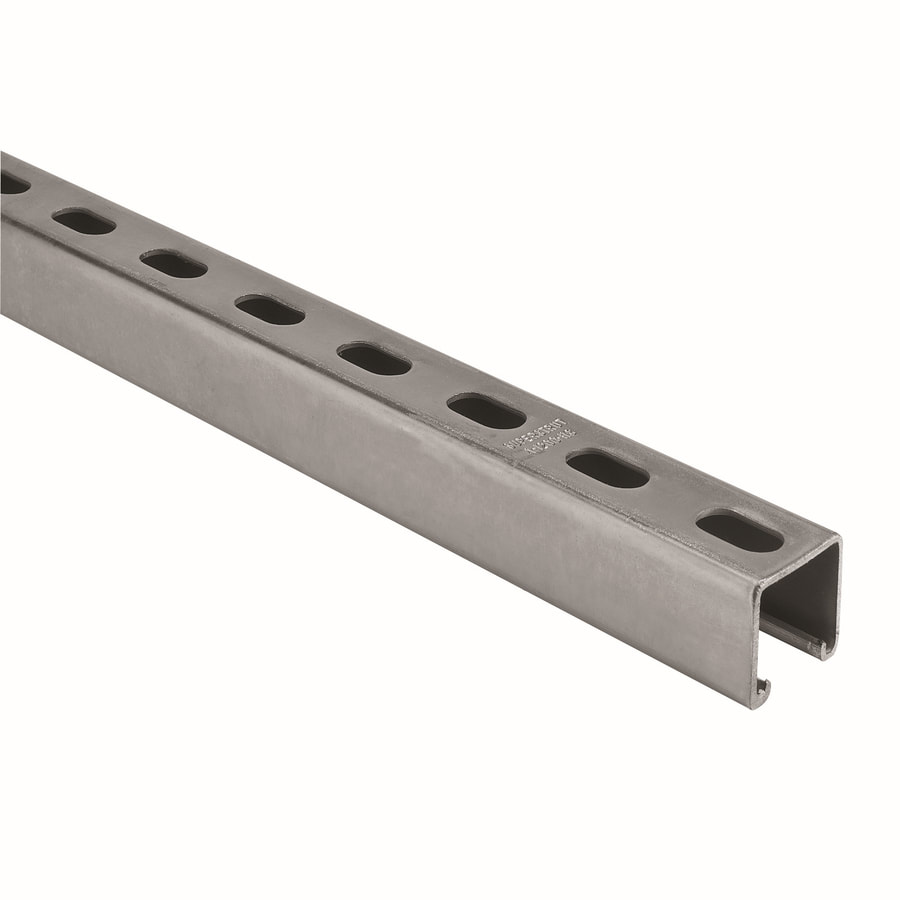
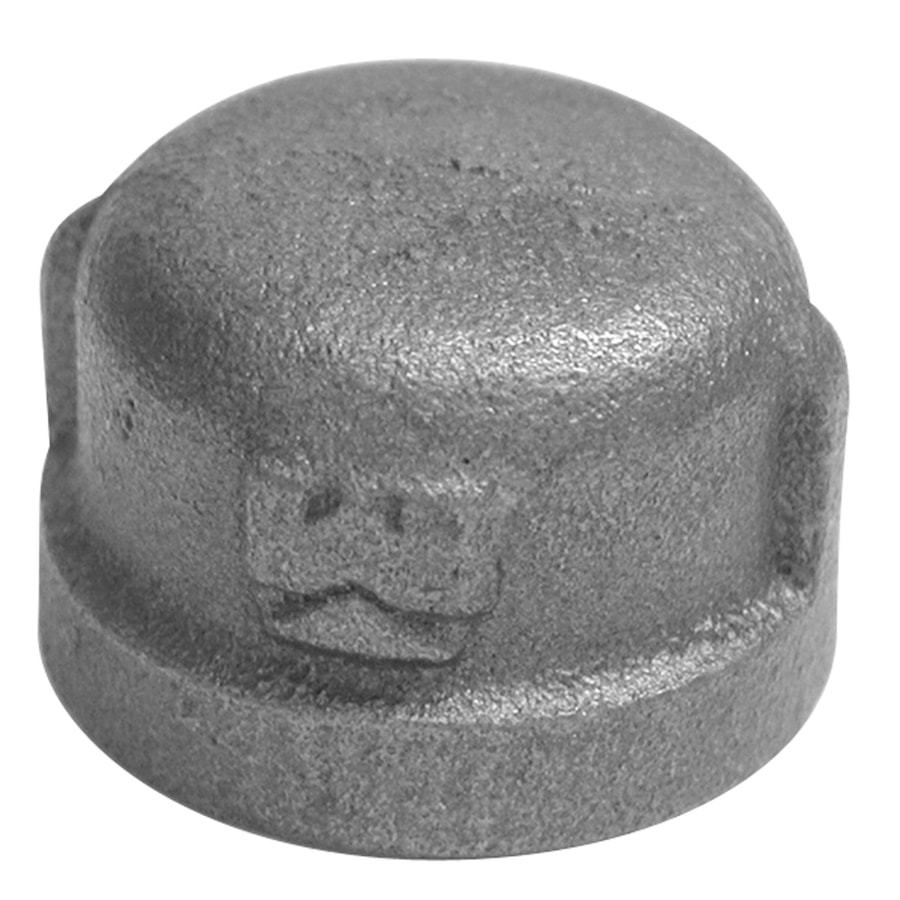
We used a combination of unistrut and galvanized steel pipes to build our racks. After staring at the pipe fittings section at Lowe's for a bit, we found our perfect piece to hinge our rack. Here's what we used.
We also used:
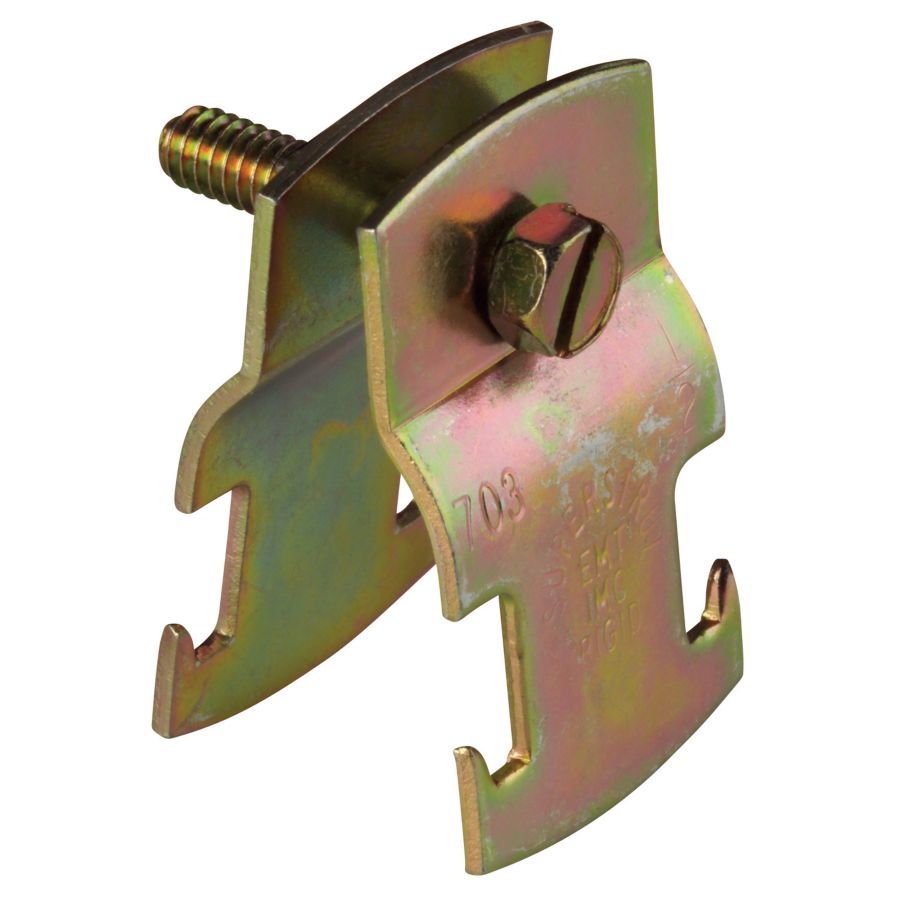
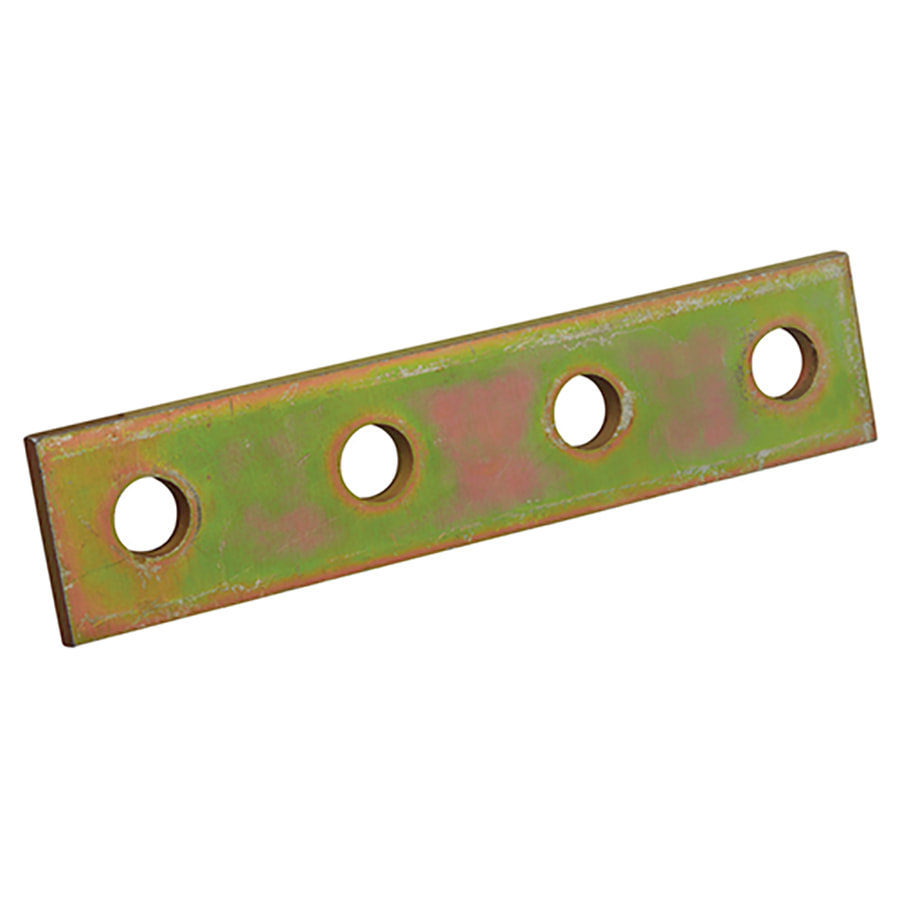
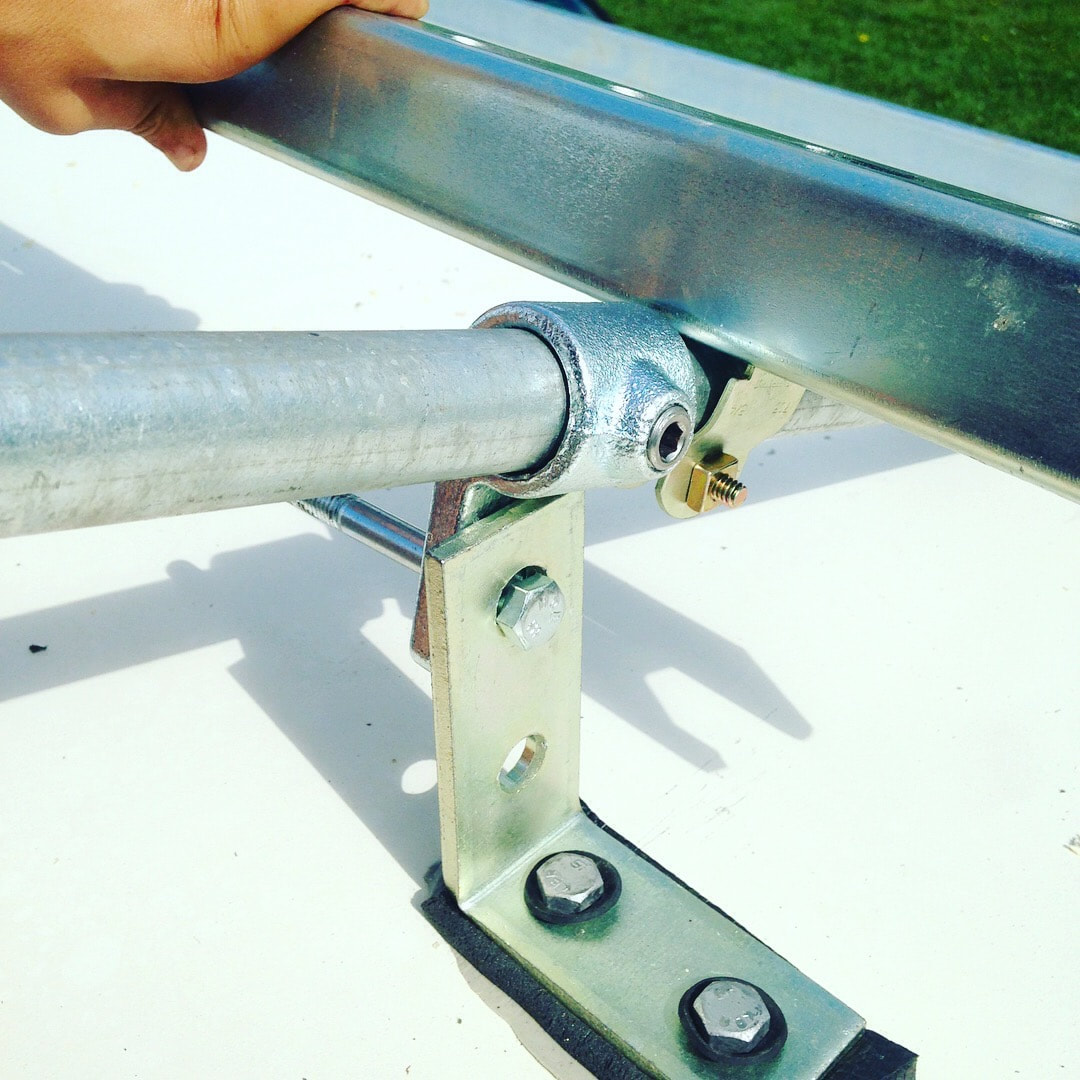
Connecting the RailsWe wanted a 15' rack. The unistrut only came in 10' lengths so we got 3, cut one in half and then attached the shorter pieces to the 10' pieces with the straight bracket.  Connecting the Pipes to the RailsThe pipes are mounted on the bottom side of the rack. We attached them to the rails using pipe clamps. These slide right into the tracks of the unistrut and you stick the bolt and nut in and tighten them down. They're really easy to adjust. 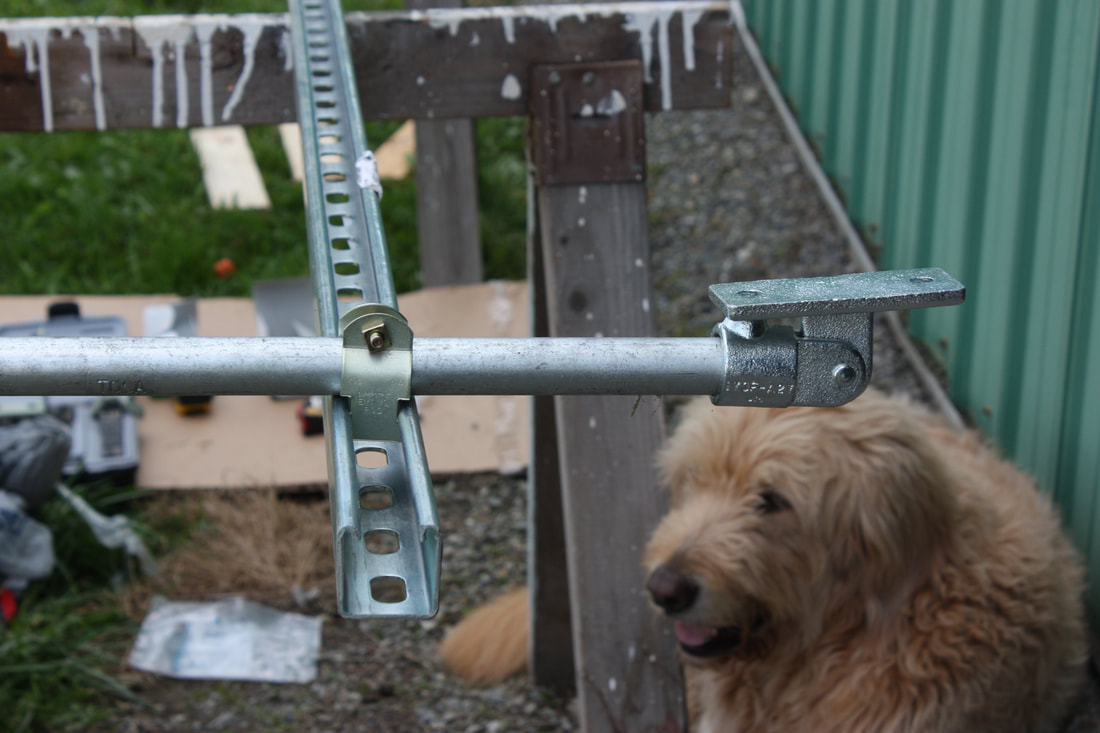 Once we got all the pipes attached, properly spaced, and tightened, we used ropes to pull the rack up onto the roof of the bus. We lined up our hinge legs and snapped a line across the bus. We marked the holes for each leg and drilled through the roof. We originally used wood behind the bolts, but decided that it would probably crack/mold and the bolts were too close to the edge. We ended up switching out the wood for large square washers instead. We cut rubber to fit under the hinge leg and then put butyl tape between the bus and the rubber. We put neoprene washers between the top of the bolt and the hinge foot. Then we put a galvanized steel washer on top. 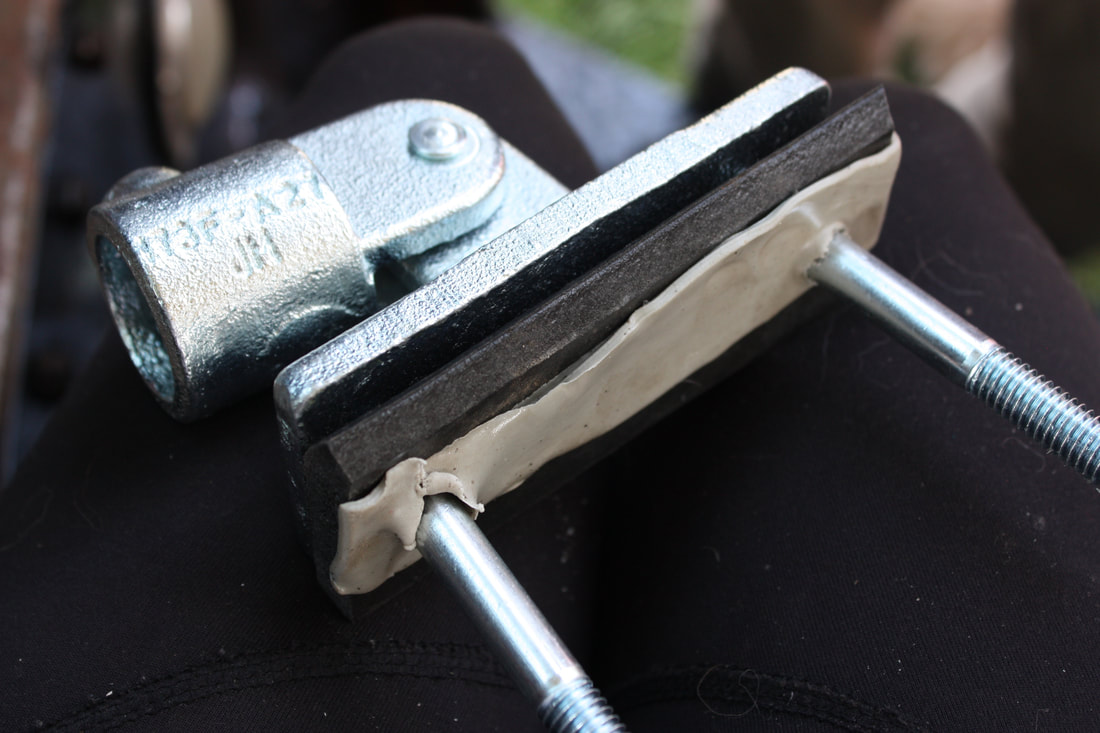 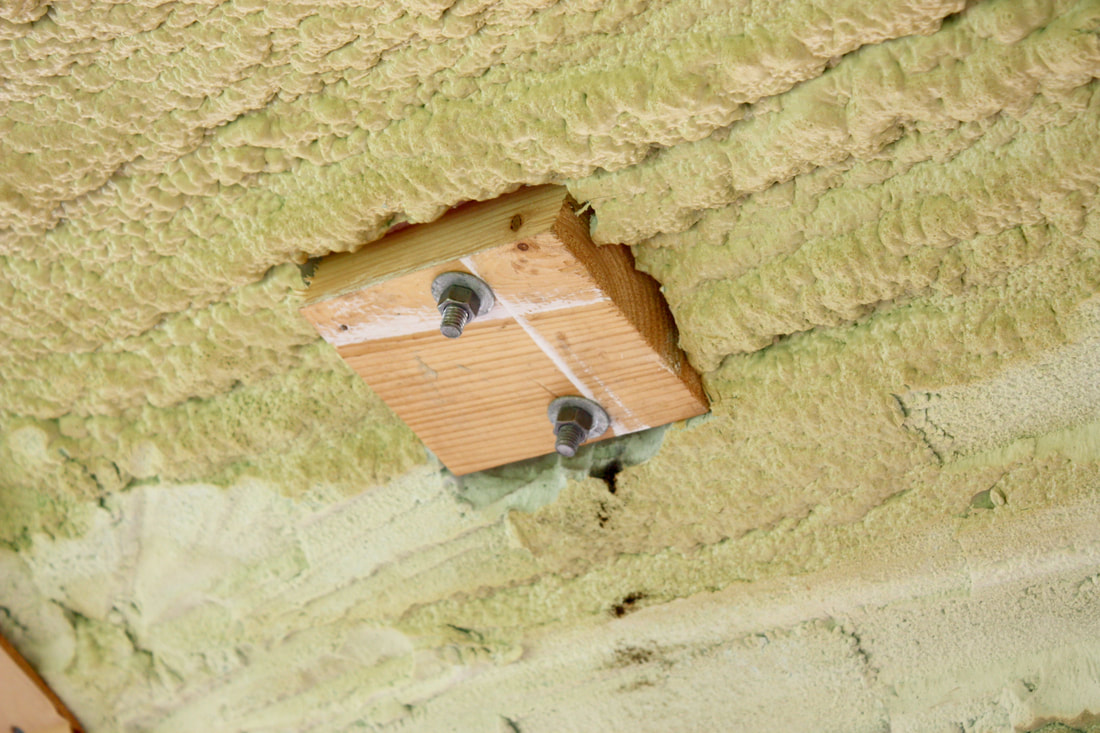 Galvanized Bolts + Galvanized Nuts = Success
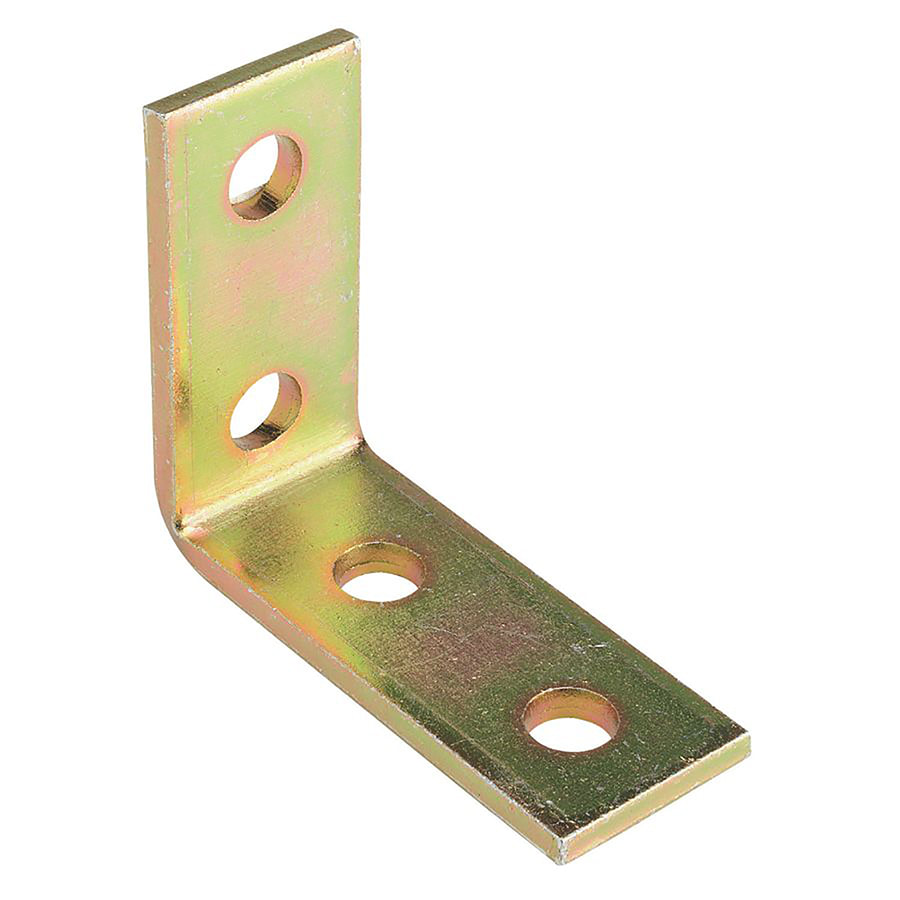
Attaching the Top of the Rack to the Top of the BusWe wanted a quick release, yet secure, way to attach the top of the rack to the bus. We attached L feet to the roof. Then, we attached a pipe fitting to the pipe that has a hole that lines up with the L foot. We'll insert a locking pin through both holds and this will secure the rack to the roof. Right now, we only have 2 installed. We might install 2 more. We need to take it out for a test drive.  What's Next?We found an awesome solar consultant who is going to help us with the actual install of our panels and solar equipment. We'll run all our wires so that FINALLY we can install our ceiling. This week I'll also be working on rebuilding our couch. The first two tries haven't been totally successful. I'm feeling great about all the progress we've made this Summer and excited to move on to the next stages. Questions? Comments? Feel free to share below!
Comments
It took us 4 full days to paint the bus. We used a HVLP air spray gun from Harbor Freight. They're only $15 - I think a pretty good investment (especially if you already own an air compressor)!
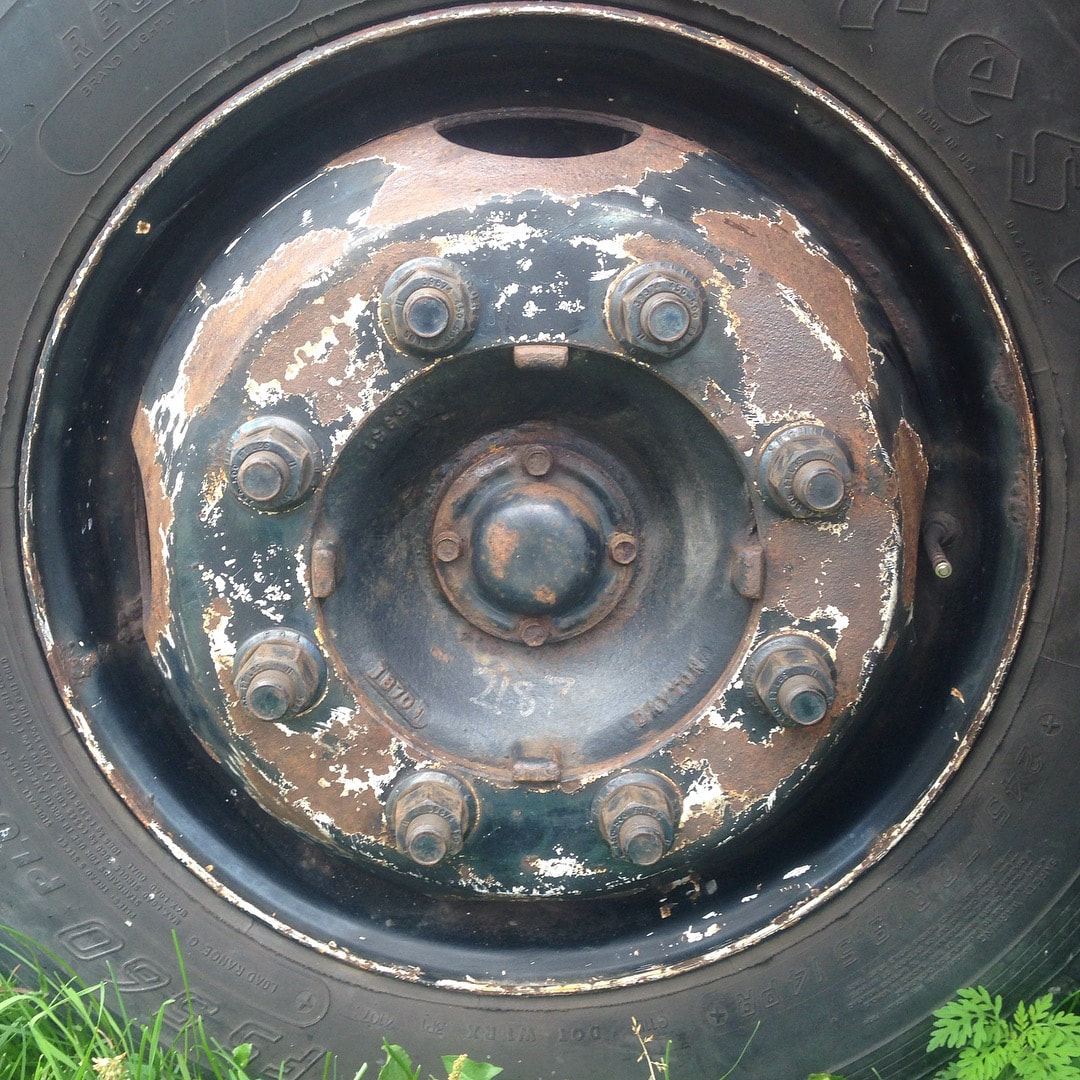
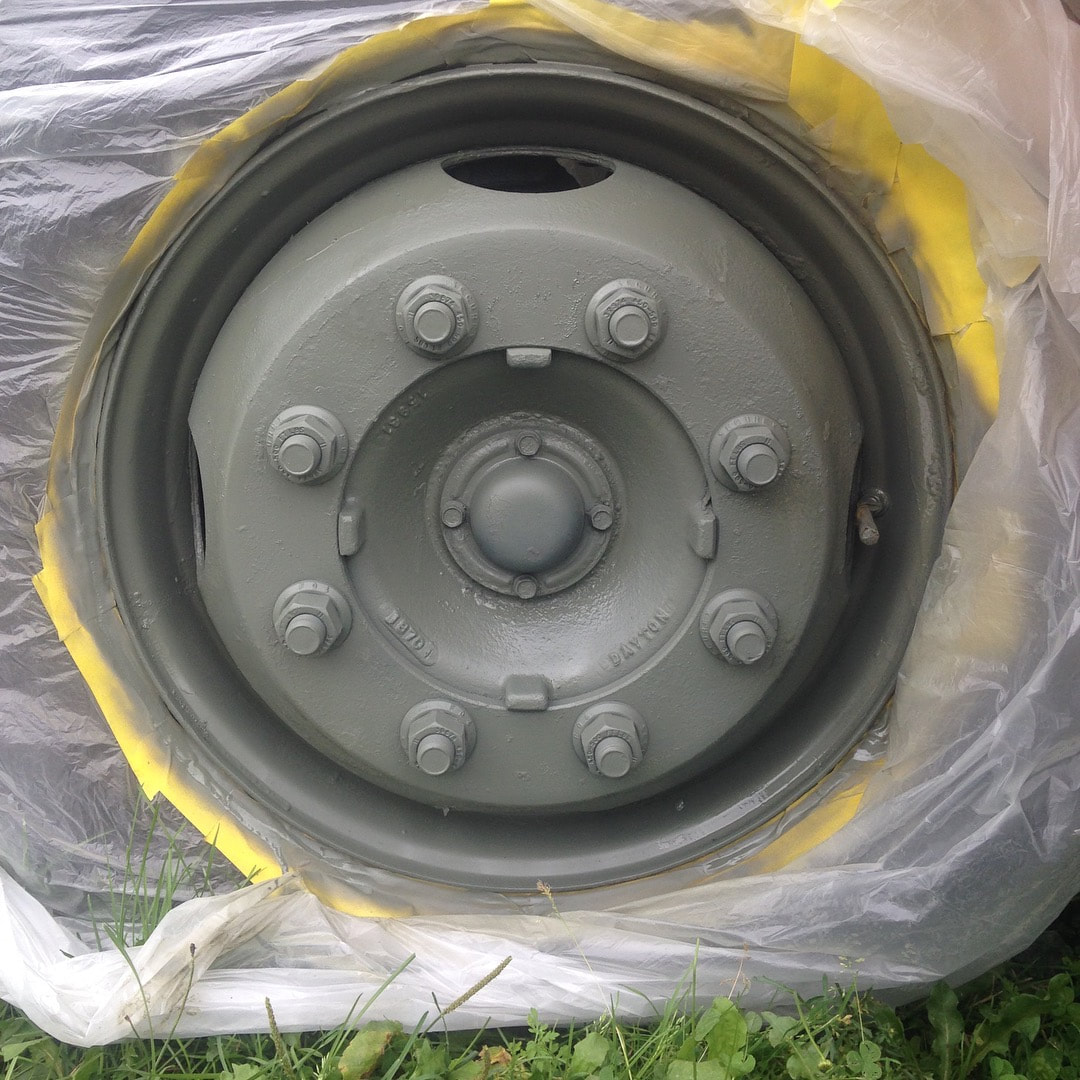
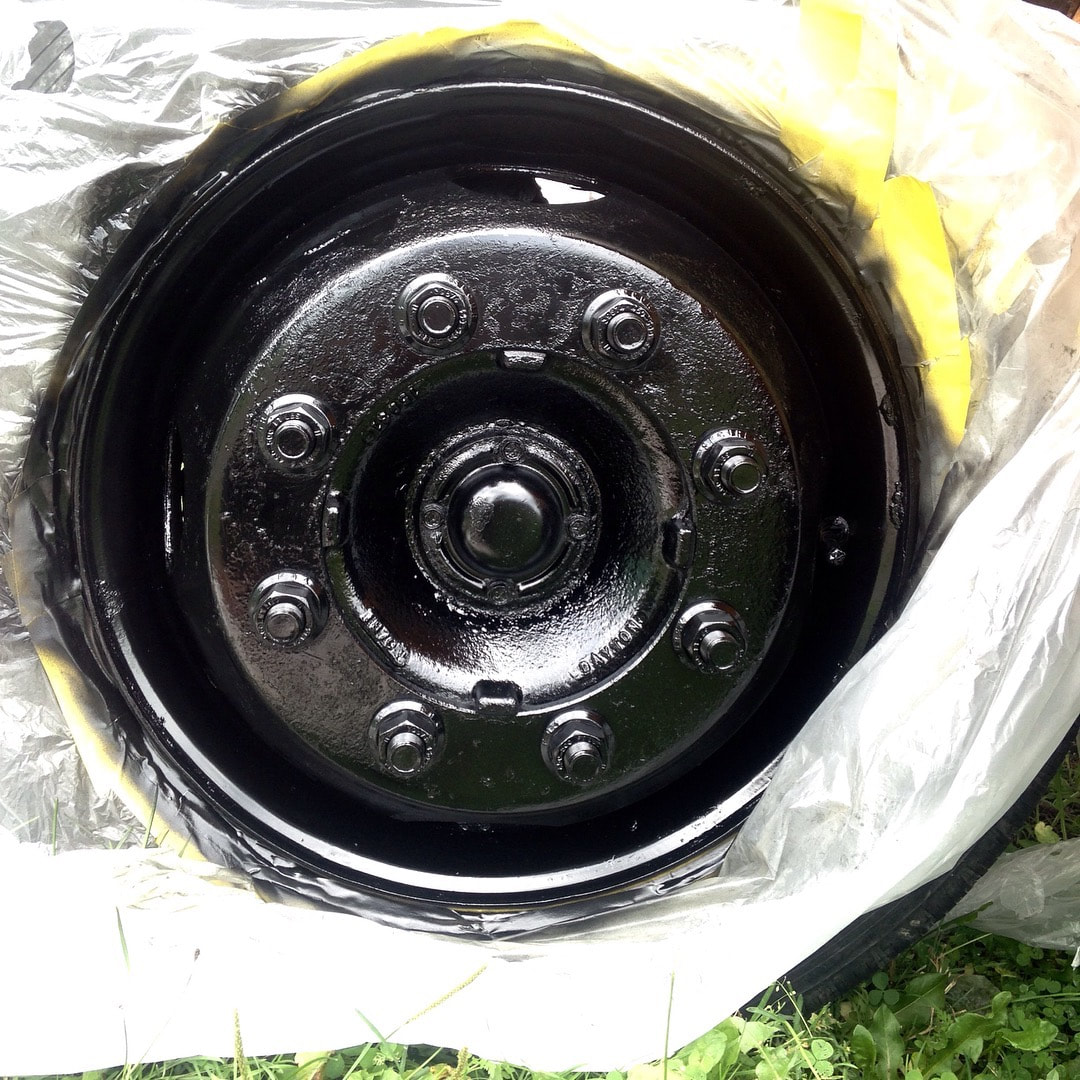
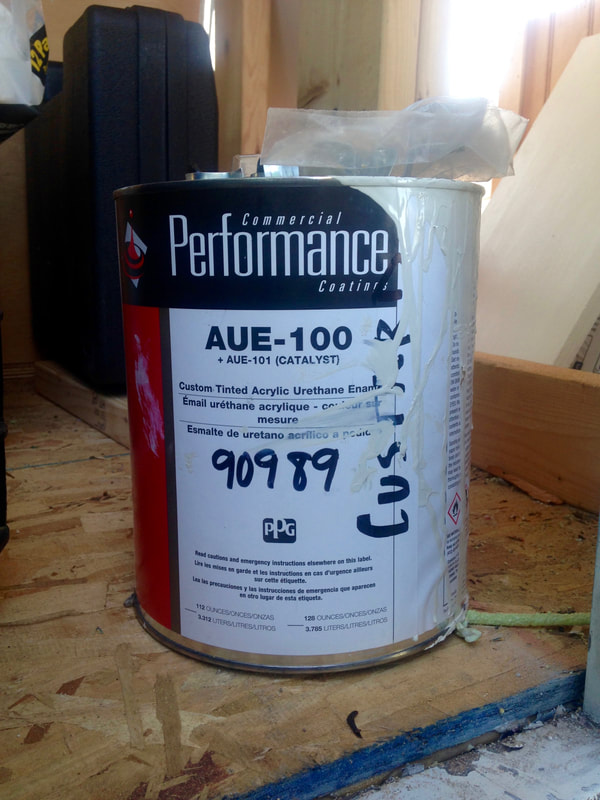
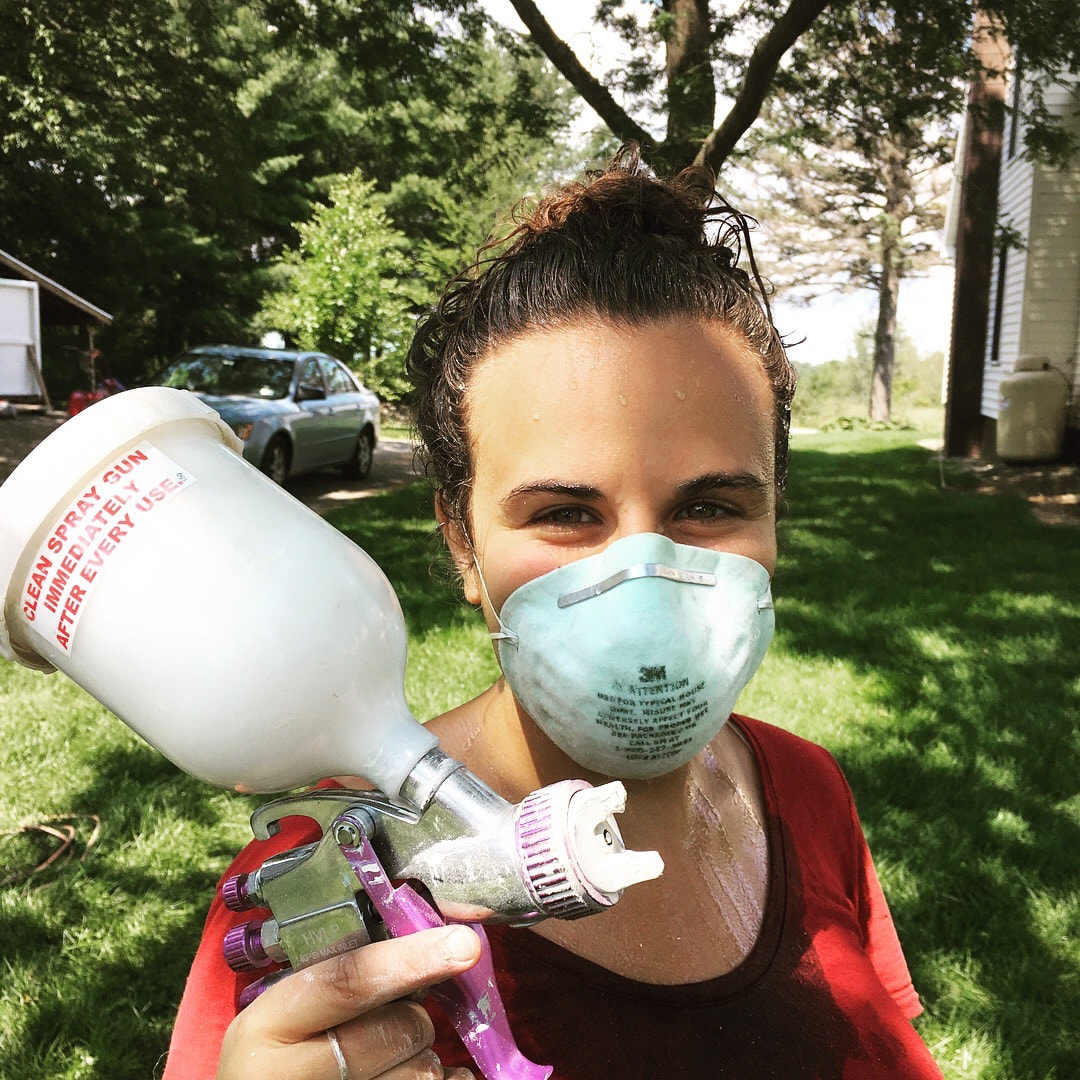 Painting WheelsI used wire wheels to clean the rust off the wheels. I didn't spend too long on it and wasn't looking for perfection. I really just wanted to get off the loose rust. I cleaned them off with water and then mineral spirits. First, I used a self etching spray primer for metal. Then I painted them shiny black with an automotive spray paint. They came out pretty great. This was an easy - can do in an afternoon kind of project. Taping off the busI had a whole team of people helping to get the bus taped off. My dad came and stayed the week to help. Craig's parents also joined in on the efforts. We started early in the morning. I set up a table with all the supplies we would need including tape, plastic, and scissors. Craig and his Dad set up a system for covering the windows. Our windows are two different sizes, so they marked a piece of wood with the two measurements. Then, they unrolled a sheet of plastic and cut a bunch of pieces to size. They laid out tape on the table, attached the plastic to it, and then brought it over to the window and taped the other 3 slides. They were super fast! Taping the whole bus took about 3 hours. We wanted to keep the bluebird and stripe. To tape over the bluebird we just laid blue tape over the entire bird and used a utility knife to cut out the shape of the bird. You could see through the tape pretty well. This was a really easy fast way to get all the curves of the bird cut in. 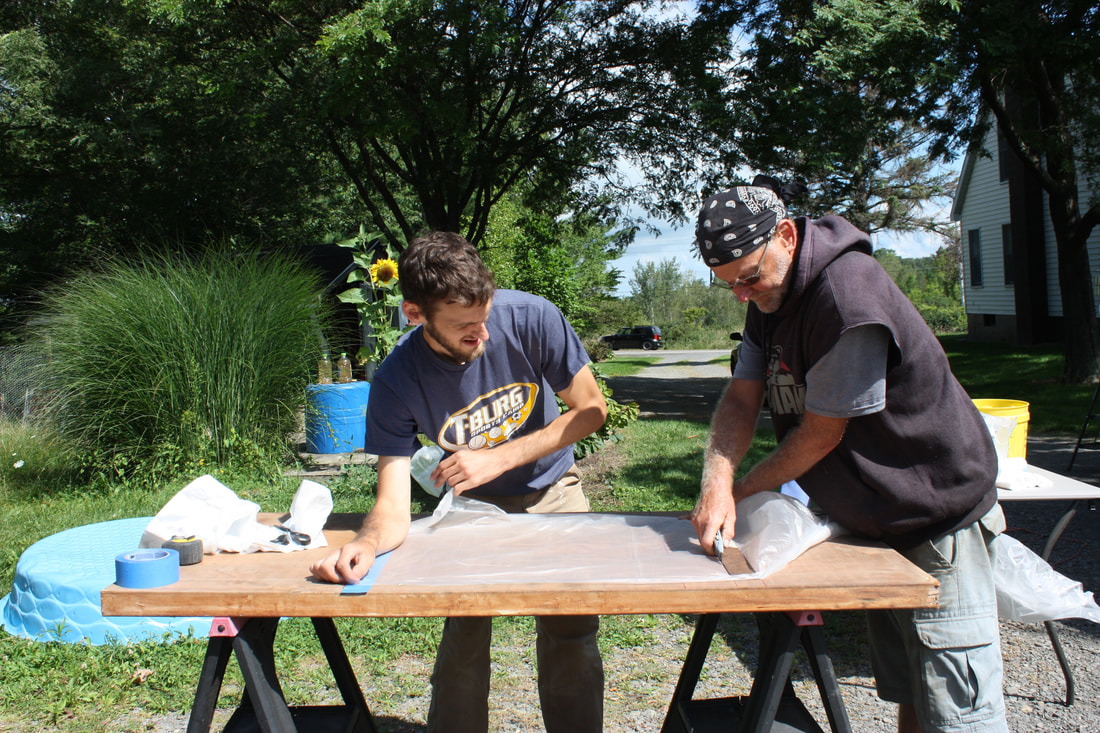 Craig and Pete cutting plastic for the windows 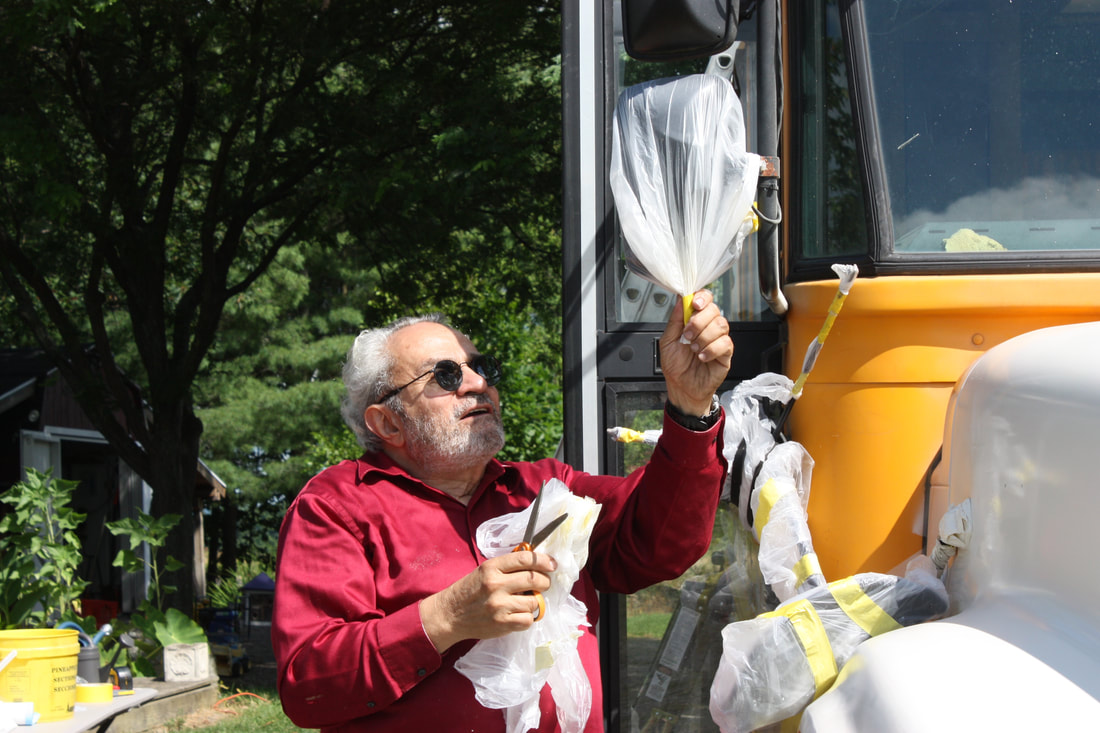 My dad, David, covering the mirrors 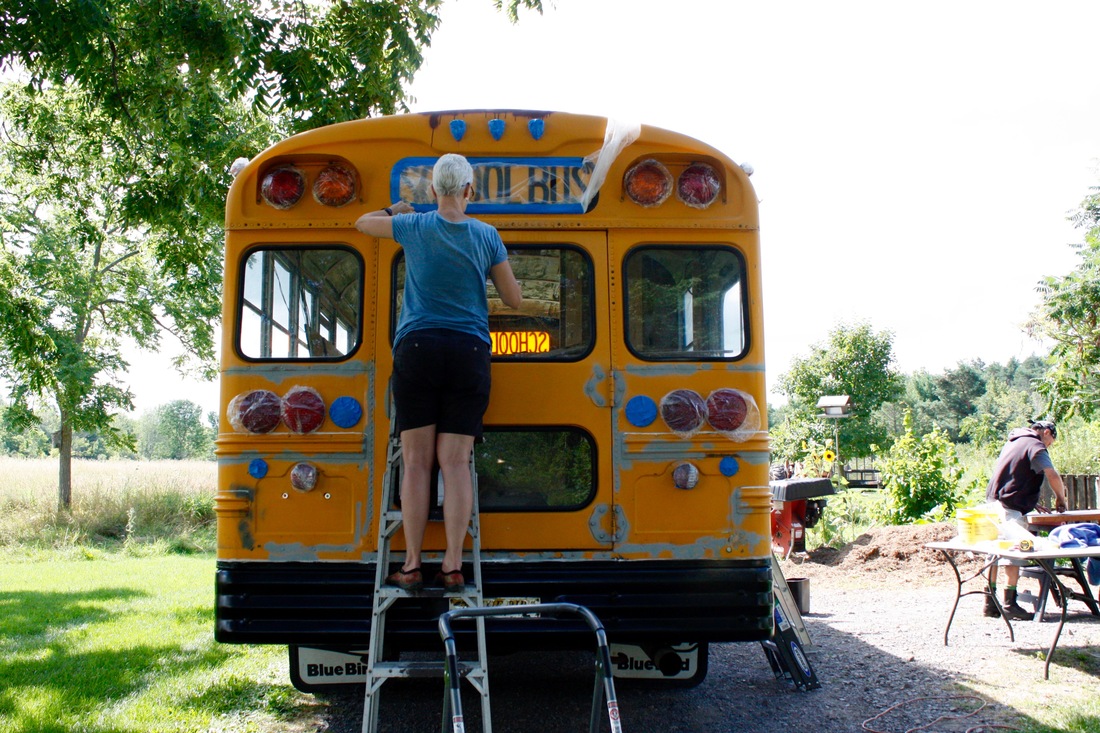 Karen took care of all the detail work with the lights and curved windows PaintingWhen we were finally ready to paint we realized we didn't have the right connector from the spray gun to the compressor. They sell them separately from the gun - so make sure you have this part. Luckily, Pete had a whole can of spare parts and after digging around for a good 20 minutes, we found 2 parts that fit together.  Digging Type of Paint
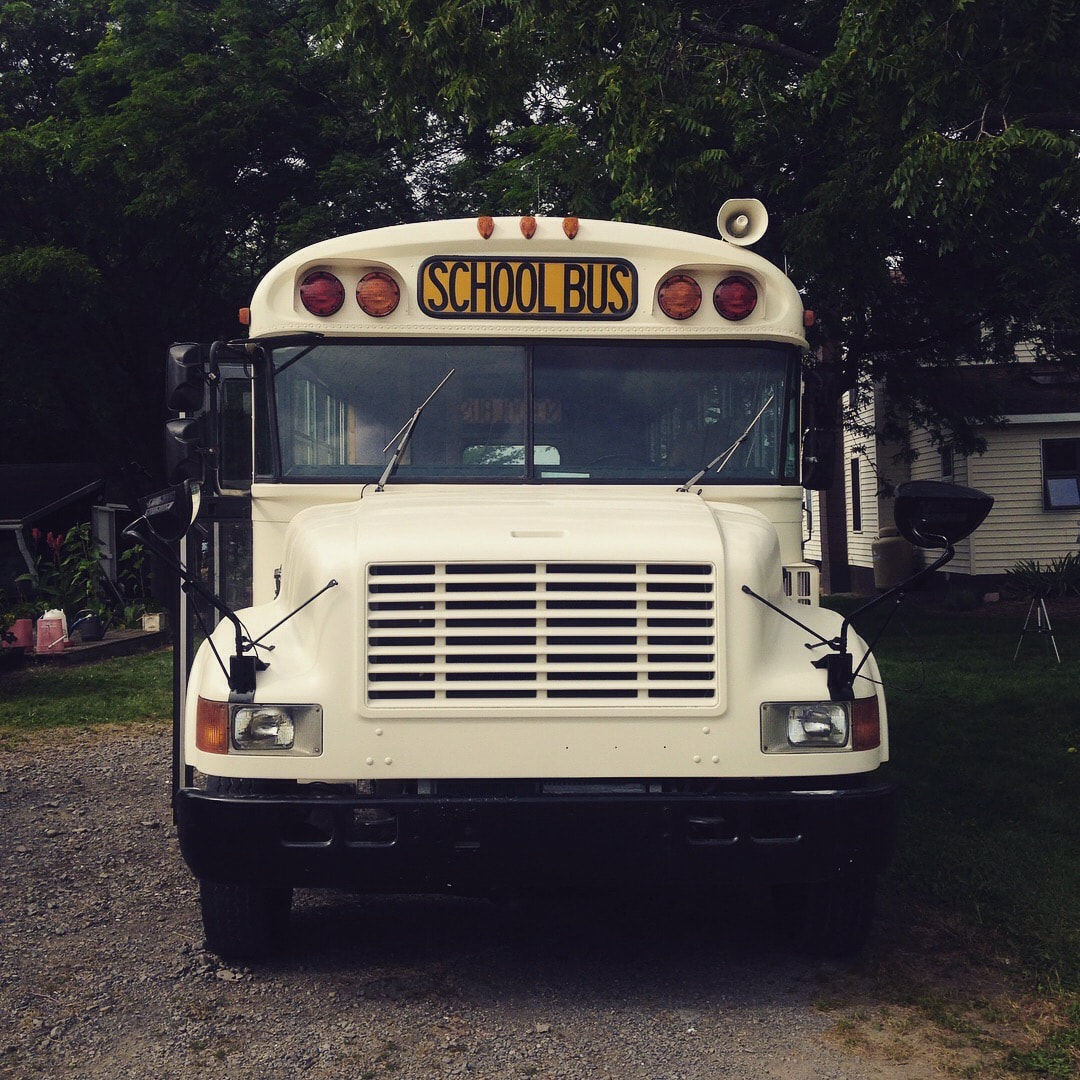
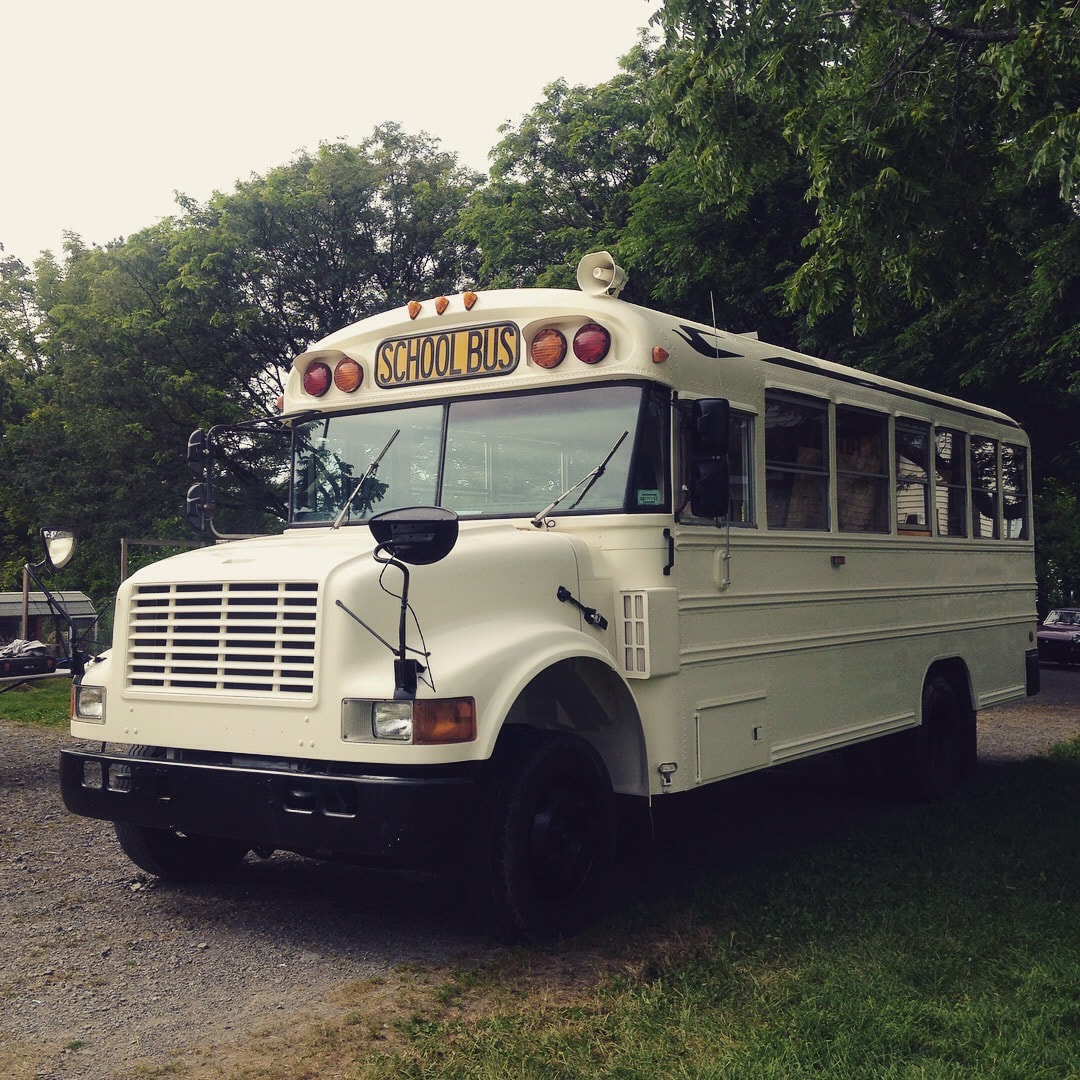
We started with the roof and worked our way down the bus. It was really helpful to have somebody on the ground holding up the weight of the hose to the paint gun. 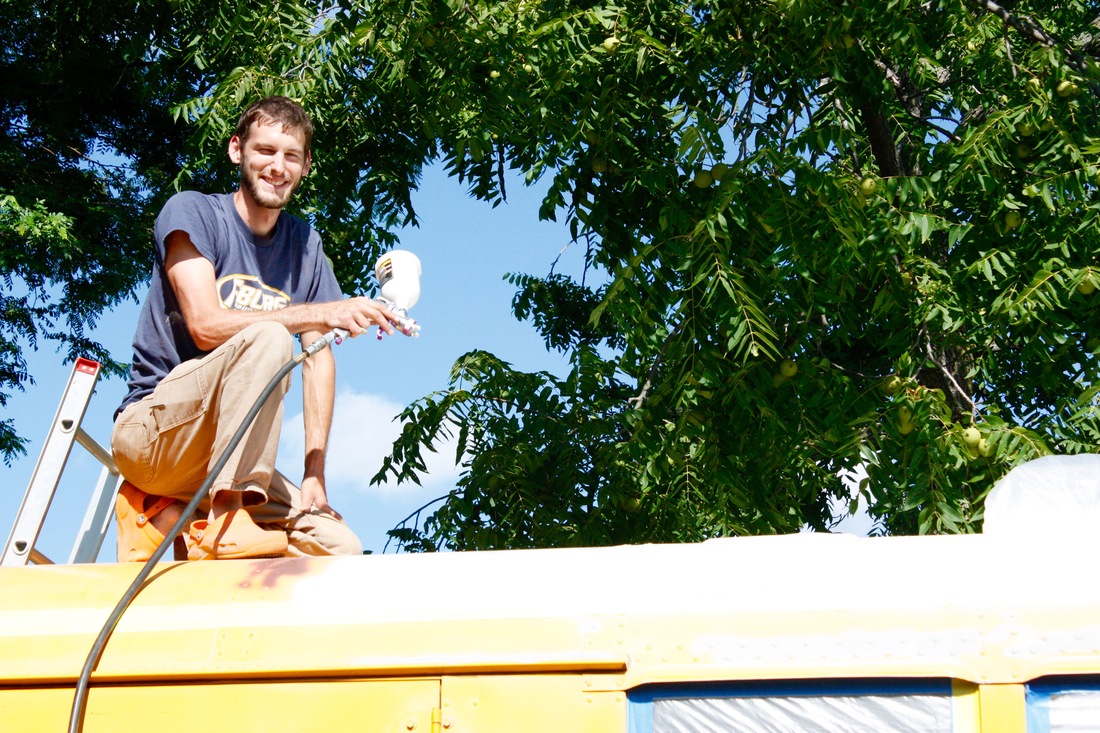 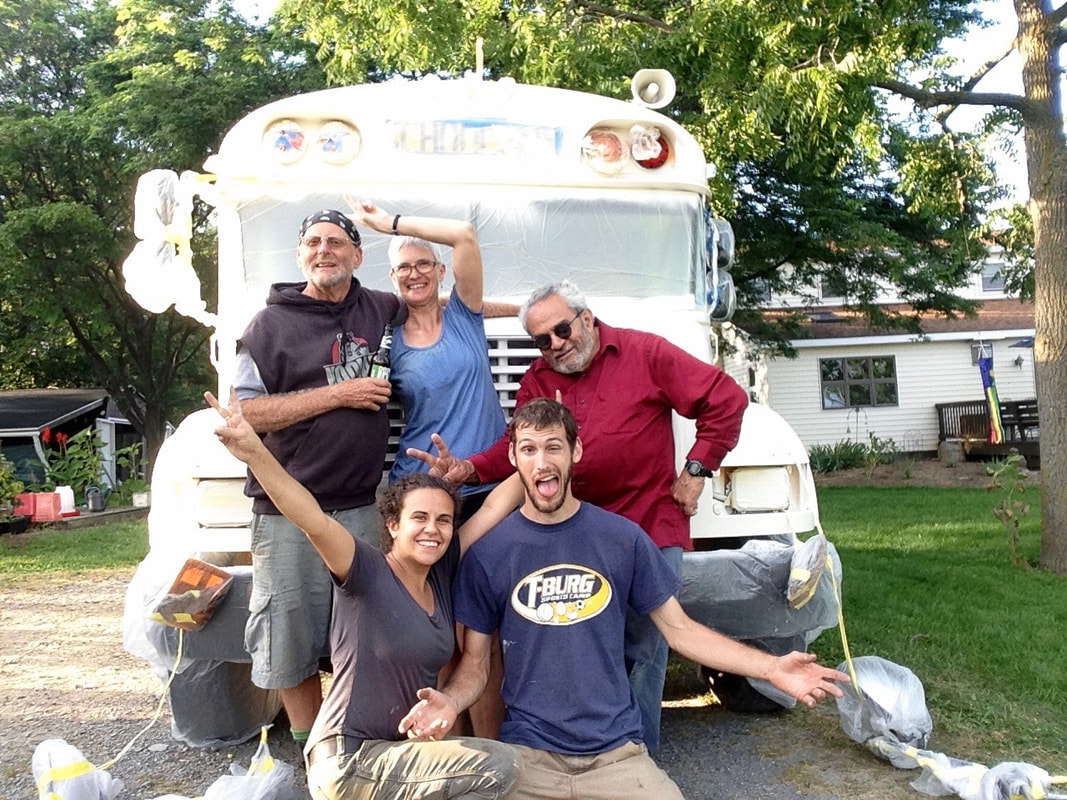 UnveilingAfter 4 full days of taping and painting, we finally got to unveil our new white dream bus! |
Hey there! I'm KarliI bought a bus in October 2015 and have been working on converting it since with the help of my boyfriend Craig. We don't have any timeline for the project. We are working on it when we can and hope to get on the road someday for a grand adventure! I'll be blogging about the process along the way and sharing the details of our successes and failures to help future skoolie builders! Categories
All
Archives
October 2017
|


 RSS Feed