|
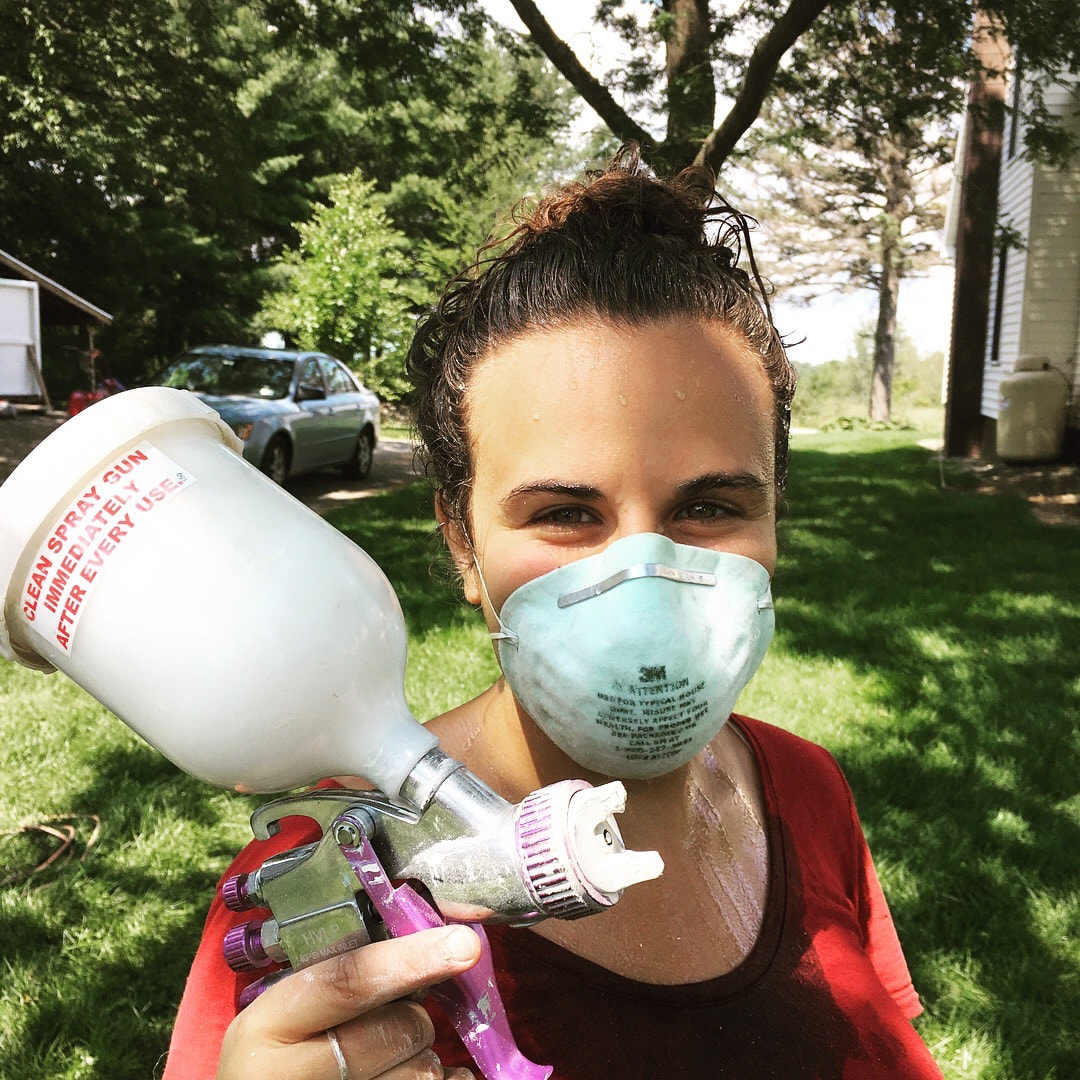
It took us 4 full days to paint the bus. We used a HVLP air spray gun from Harbor Freight. They're only $15 - I think a pretty good investment (especially if you already own an air compressor)!
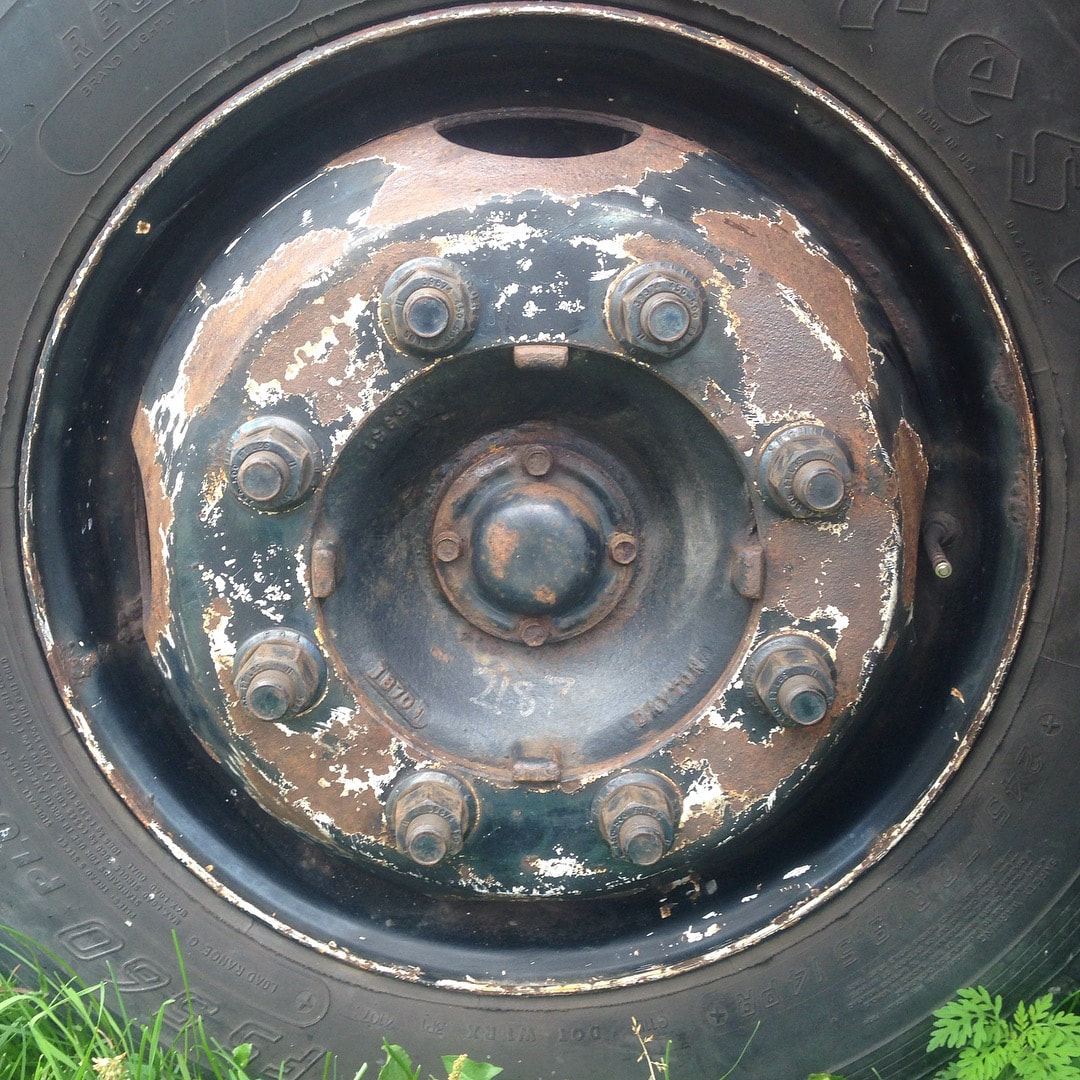
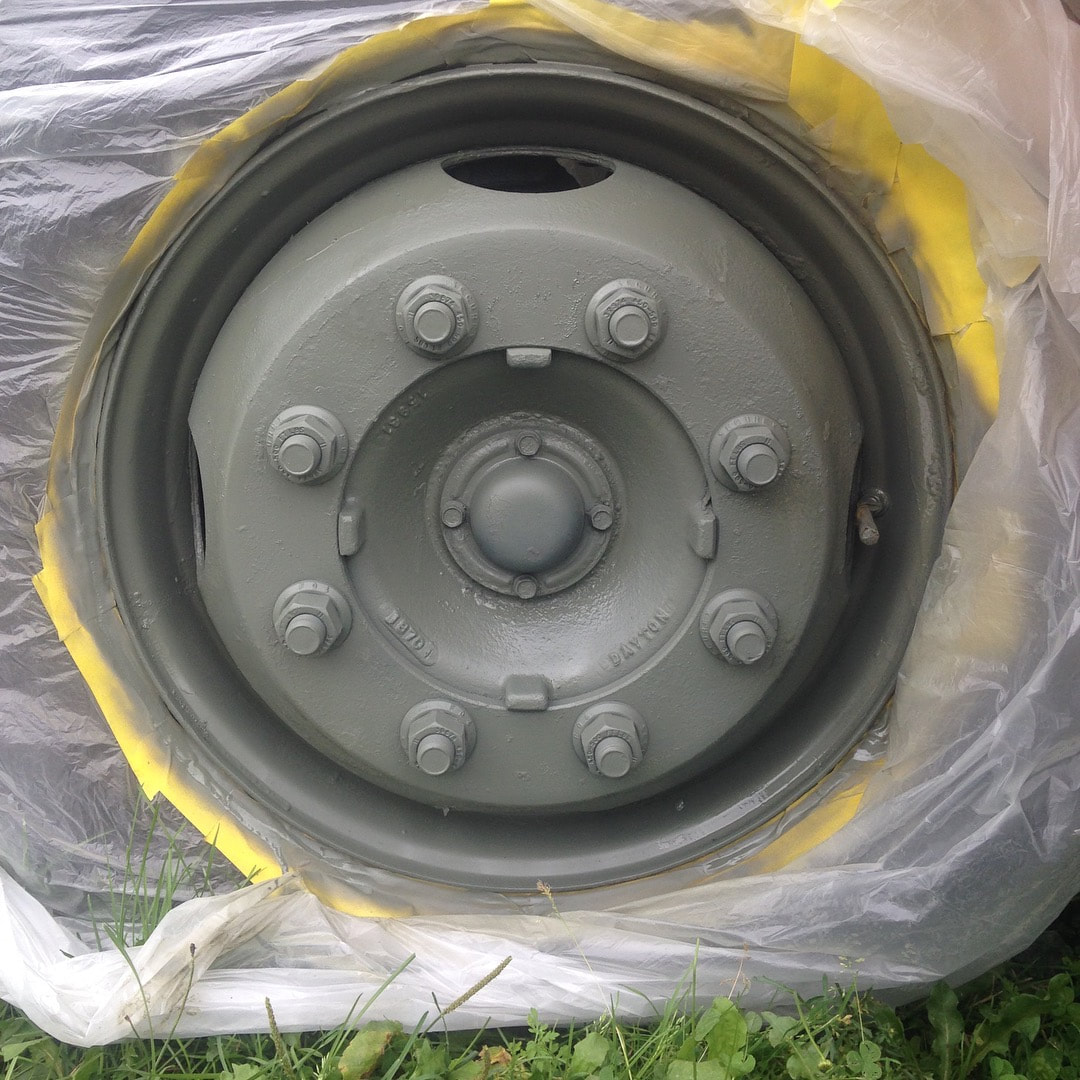
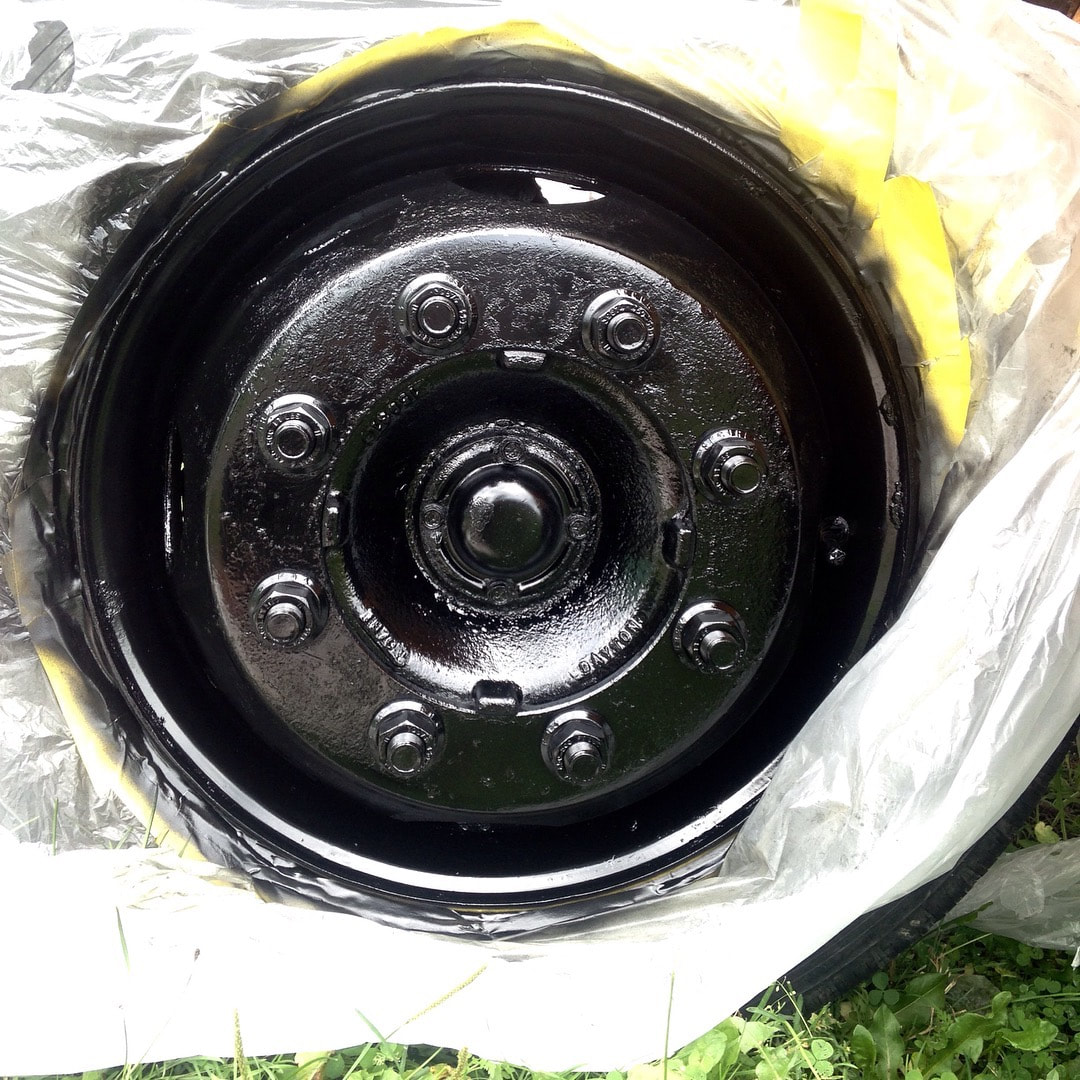
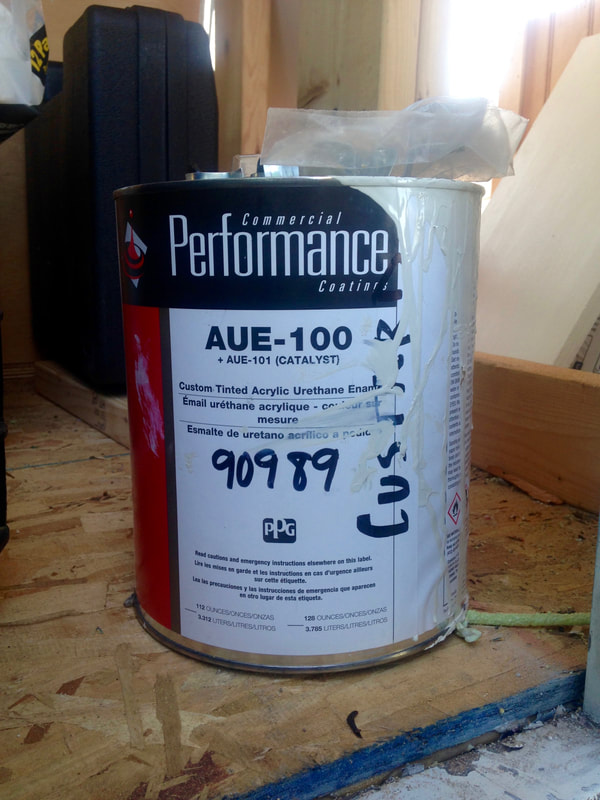
 Painting WheelsI used wire wheels to clean the rust off the wheels. I didn't spend too long on it and wasn't looking for perfection. I really just wanted to get off the loose rust. I cleaned them off with water and then mineral spirits. First, I used a self etching spray primer for metal. Then I painted them shiny black with an automotive spray paint. They came out pretty great. This was an easy - can do in an afternoon kind of project. Taping off the busI had a whole team of people helping to get the bus taped off. My dad came and stayed the week to help. Craig's parents also joined in on the efforts. We started early in the morning. I set up a table with all the supplies we would need including tape, plastic, and scissors. Craig and his Dad set up a system for covering the windows. Our windows are two different sizes, so they marked a piece of wood with the two measurements. Then, they unrolled a sheet of plastic and cut a bunch of pieces to size. They laid out tape on the table, attached the plastic to it, and then brought it over to the window and taped the other 3 slides. They were super fast! Taping the whole bus took about 3 hours. We wanted to keep the bluebird and stripe. To tape over the bluebird we just laid blue tape over the entire bird and used a utility knife to cut out the shape of the bird. You could see through the tape pretty well. This was a really easy fast way to get all the curves of the bird cut in. 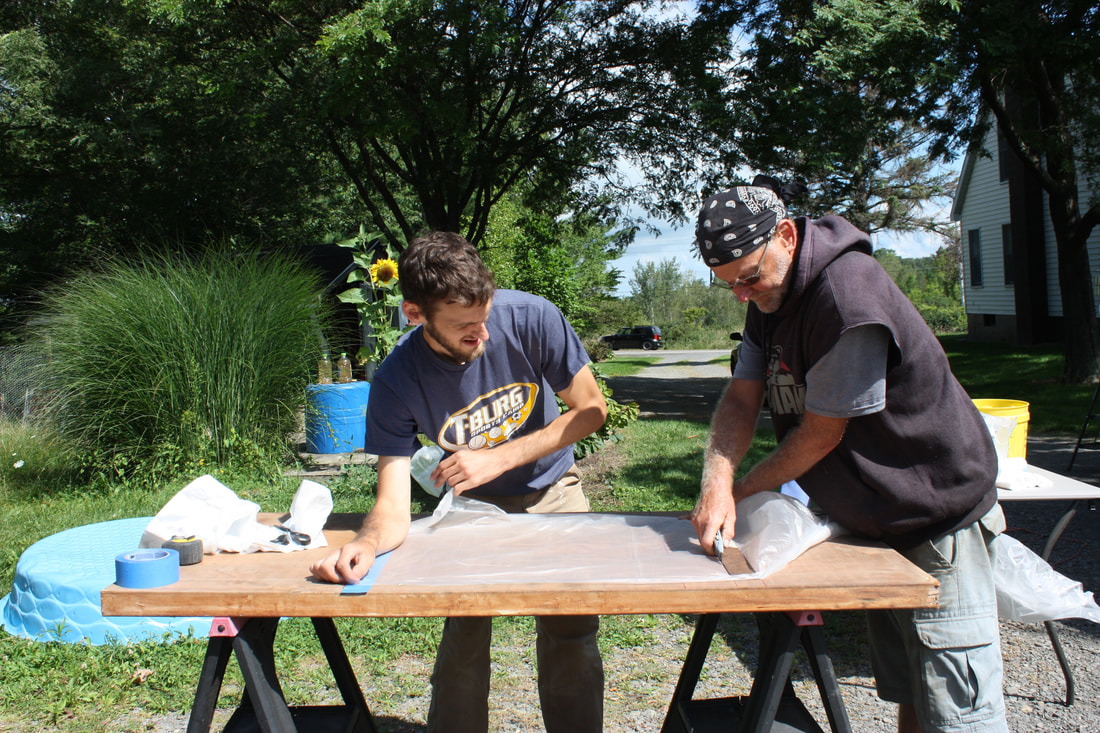 Craig and Pete cutting plastic for the windows 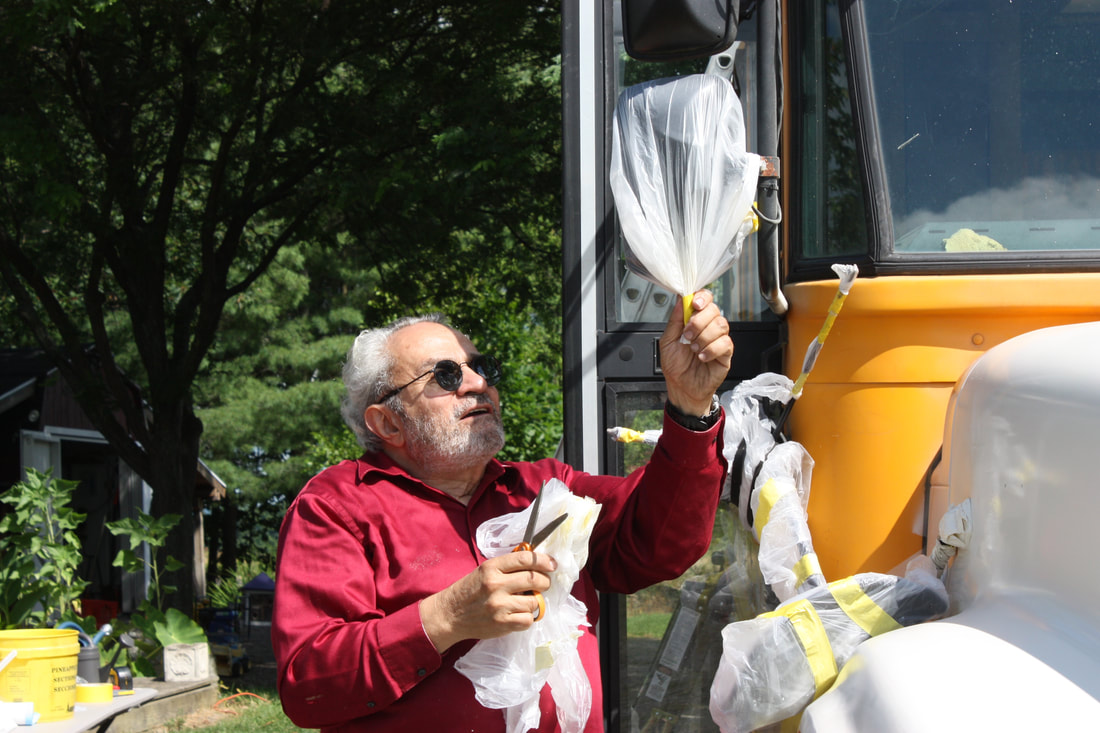 My dad, David, covering the mirrors 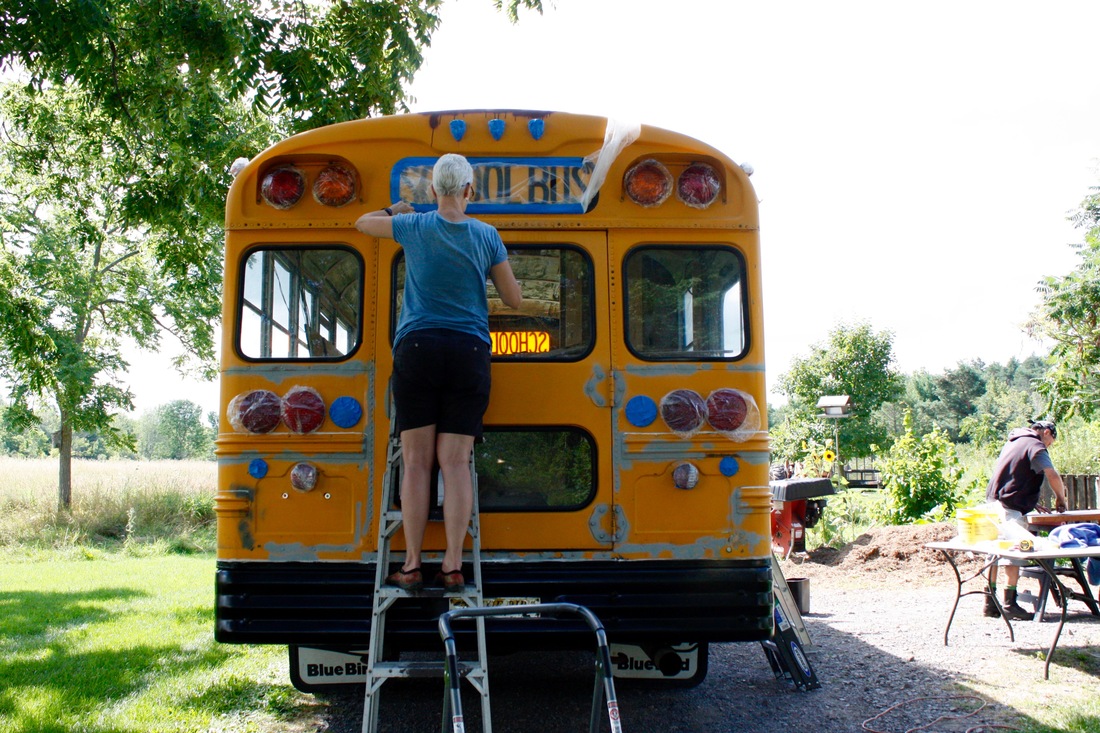 Karen took care of all the detail work with the lights and curved windows PaintingWhen we were finally ready to paint we realized we didn't have the right connector from the spray gun to the compressor. They sell them separately from the gun - so make sure you have this part. Luckily, Pete had a whole can of spare parts and after digging around for a good 20 minutes, we found 2 parts that fit together.  Digging Type of Paint
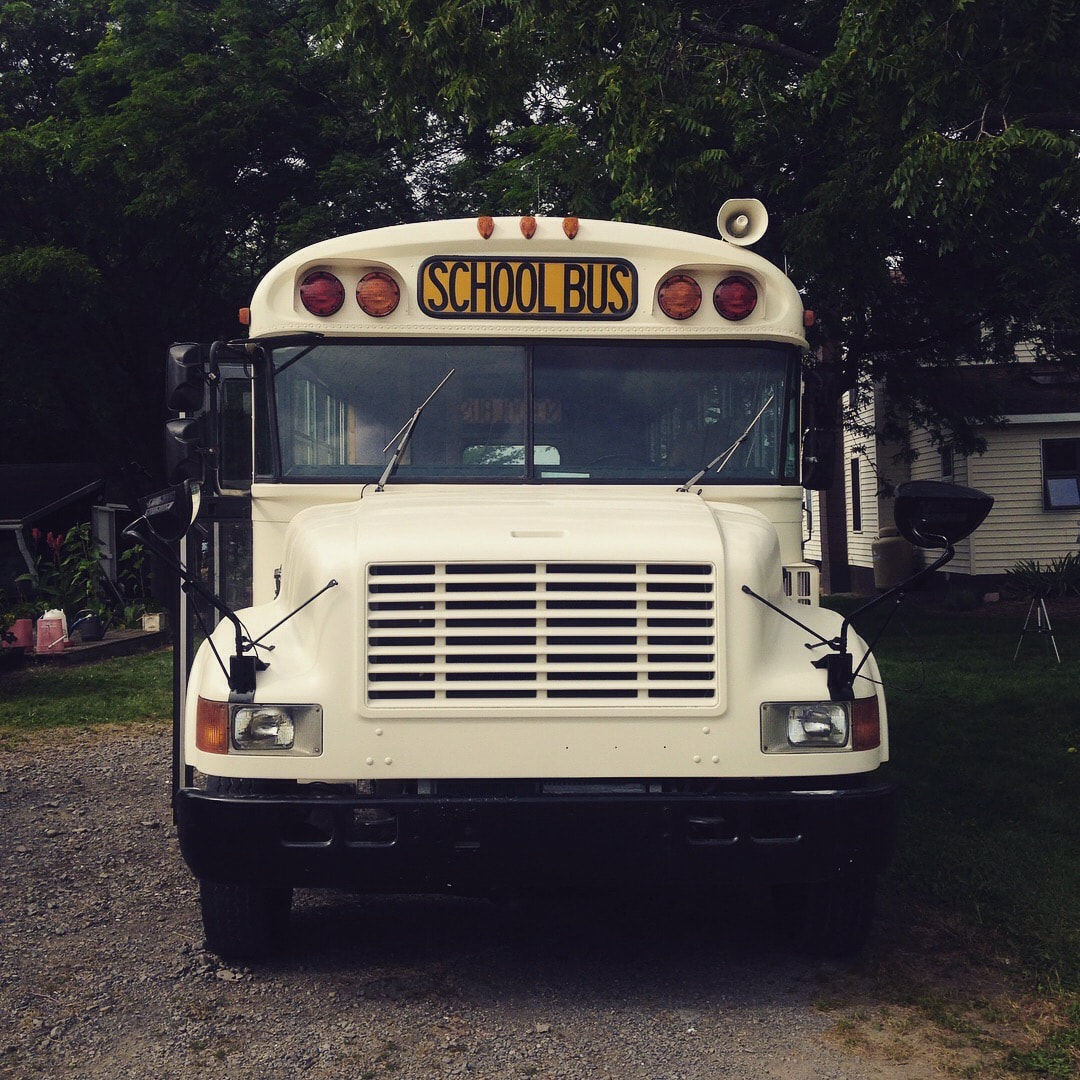
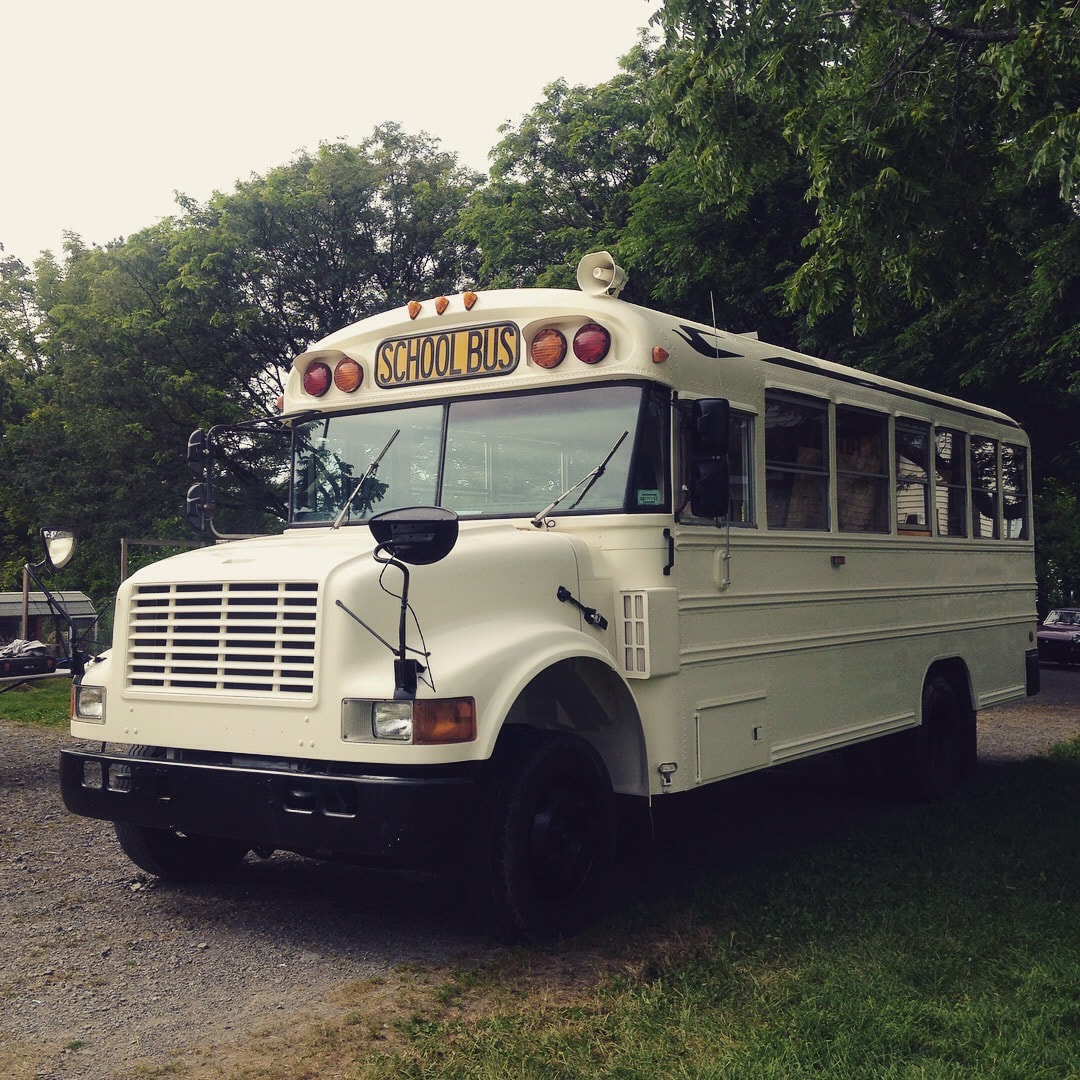
We started with the roof and worked our way down the bus. It was really helpful to have somebody on the ground holding up the weight of the hose to the paint gun. 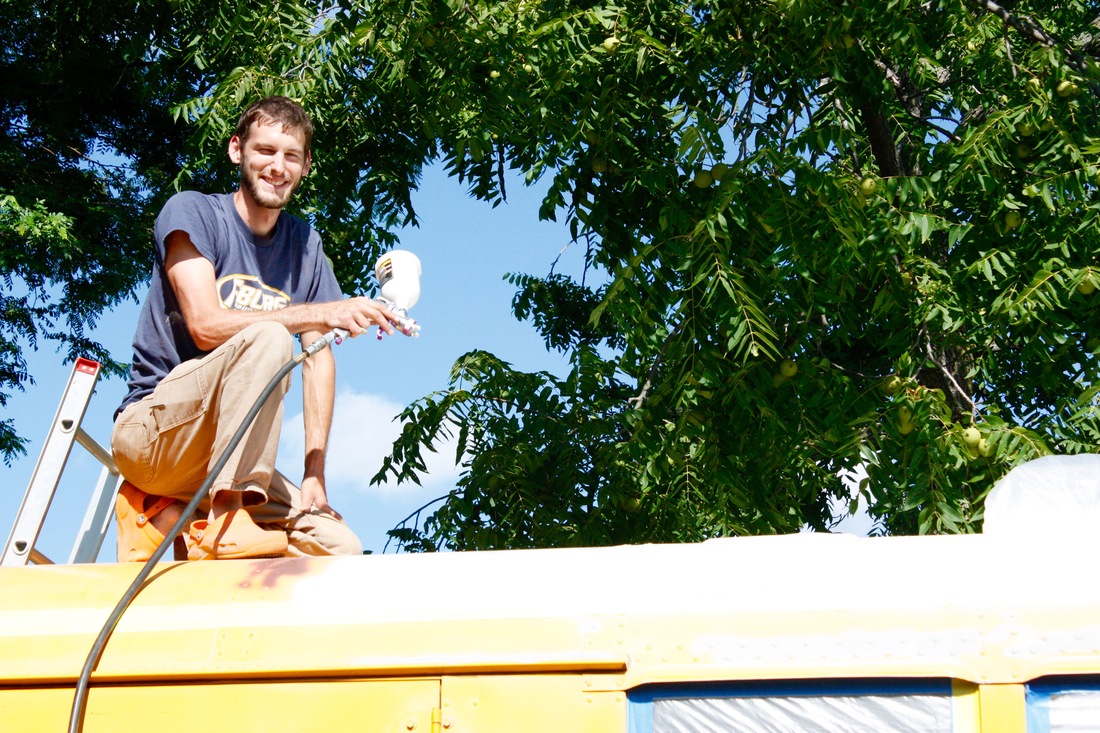 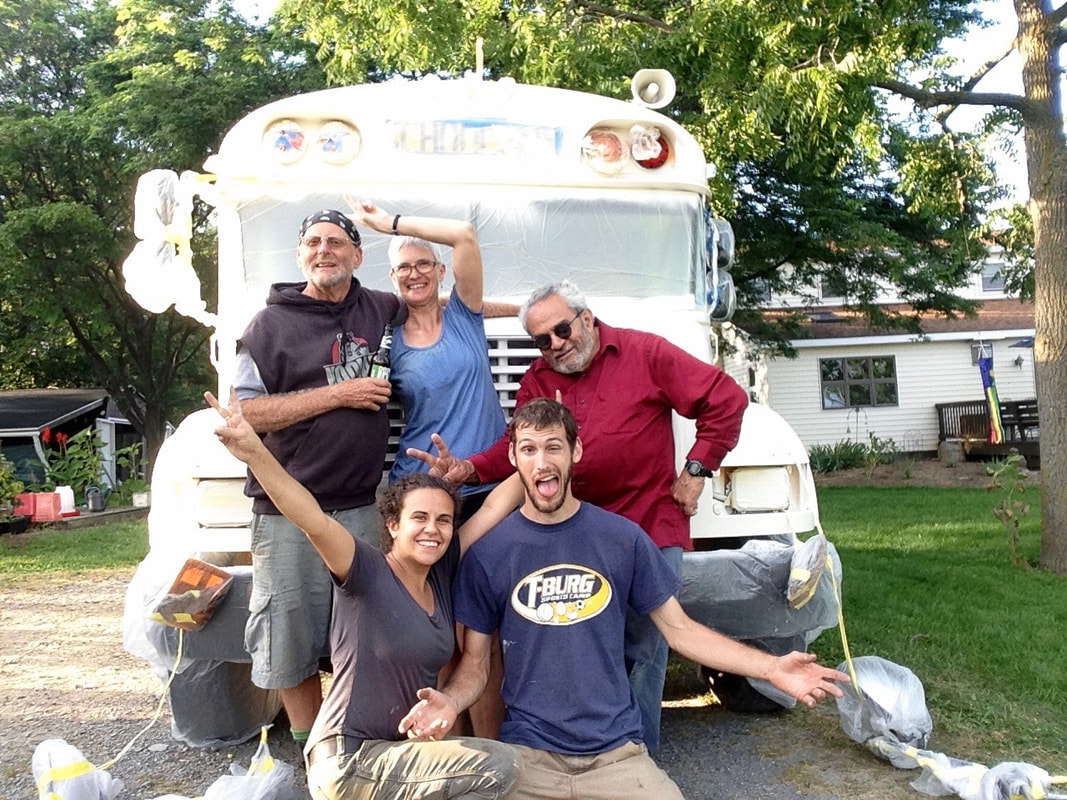 UnveilingAfter 4 full days of taping and painting, we finally got to unveil our new white dream bus!
Comments
|
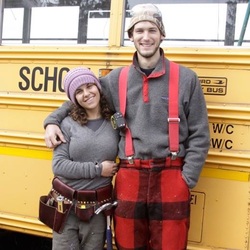
Hey there! I'm KarliI bought a bus in October 2015 and have been working on converting it since with the help of my boyfriend Craig. We don't have any timeline for the project. We are working on it when we can and hope to get on the road someday for a grand adventure! I'll be blogging about the process along the way and sharing the details of our successes and failures to help future skoolie builders! Categories
All
Archives
October 2017
|

 RSS Feed