|
With the sun going down at five, it's hard to get work done on the bus during the week so we are trying to use our time after work for the research and planning stages. This week, we worked on design layouts. I already had a layout and I sat down with Craig to review it. As a disclosure, I've never designed anything in my life and have never used Sketchup (a free program that allows you to draw out designs). One look at my drawings and Craig had a lot of questions, pointing out my many design flaws. I was listening, but didn't want to hear what he had to say. I slept on it and woke up the next morning to do some research on tiny house design and see if I could get the design somewhere he would be happy with it. If Craig doesn't like the design, there's no way he's going to help me build it, so I had to find a better solution.
First (Failed) Design Attempt
What was wrong with it?
Design Inspiration
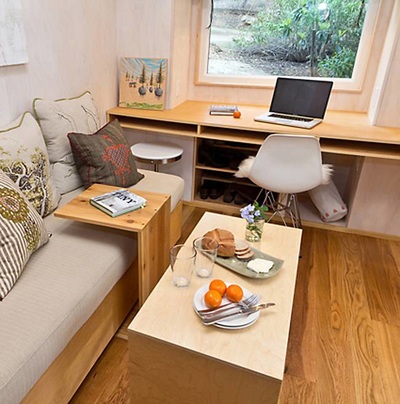
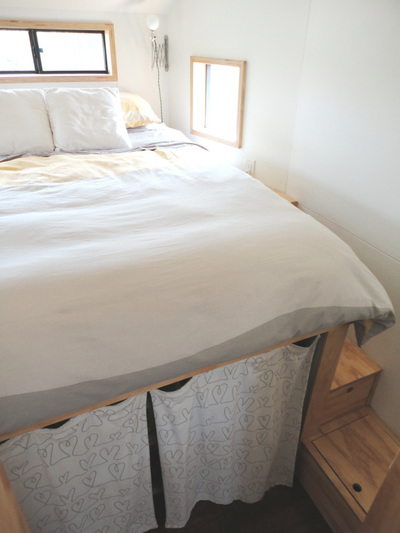
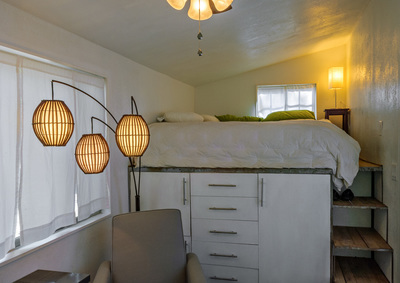
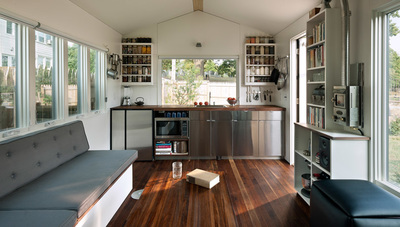
With the Tiny House movement taking off, there are thousands of genius ideas out there. Since I'm not a designer, I figured I'd borrow some ideas from people who have already built their tiny spaces. Many tiny homes have lofted beds. Since the ceilings of the bus aren't so high and I have a dog that I like to cuddle with, we didn't want a lofted bed. I searched for tiny homes with bedrooms on the first floor and found some great ideas!
New Design
Taking all my new inspiration into account (and Craig's feedback) I began to redesign the bus. The materials and colors are not final, but it's a general idea of what I want. I'm sure there will be many more changes to the design, but overall we are happy with this layout and think it really maximizes our space.
This is the overhead perspective. From left to right you have the front of the bus. Then the kitchen and living room, then the bathroom, and bedroom. 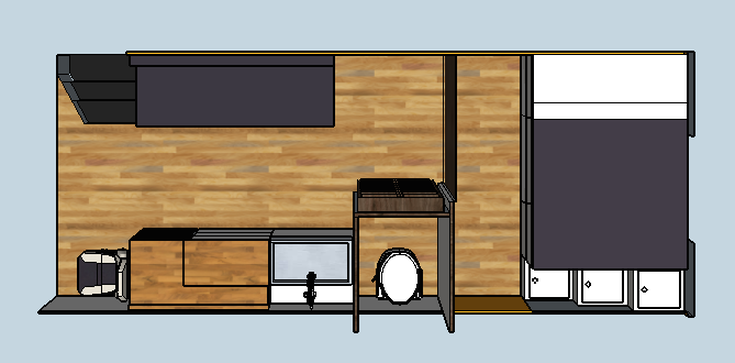
Hover over the dots to get more info!

Refrigerator
I did a ton of research on RV refrigerators this week. I just cannot wrap my mind around spending $1000 for 1.7 cubic feet of fridge space. Basically, there are only 2 companies that make RV fridges - Norcold and Dometic. An RV fridge is a special fridge that can run off propane or electric.
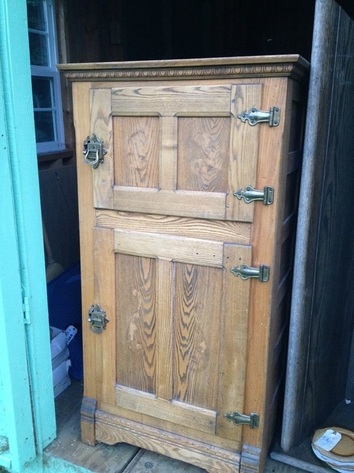
On Saturday, our friends Molly and Hank came out to help on the bus. Hank owns Ithaca Ice Company and knows a lot about keeping things cold! We talked about my dilemma and he suggested building an ice box. Fridges for the home were not even invented until 1913! It seems ridiculous that people could live for so long without a fridge, and here I am considering how I can put one on a bus! The ice box idea is perfect. It's very simple - you have two compartments. The block of ice goes in the top compartment and the goods go below. We are thinking we will connect it to our grey water tank and let it drain itself there. We can probably build this for under $300 - a price tag I'm much more comfortable with.
Filling Holes
Wall Insulation
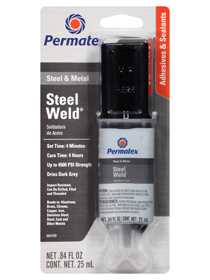
Since the caulk was going to take 7-14 days to completely set, we had to hold off on painting with Rustoleum. I'll be away for two weeks and when I come back, it will be December and temperatures are dropping fast. We decided it'd be good to get some insulation in the walls so the bus isn't a complete ice box when I get back. We got 1 1/2" rigid foam board for the walls. We got 3 sheets to insulate the walls. They cost $30 usually, but one was 70% off because it wasn't in perfect shape. It was perfect for our needs though! We also signed up for a HomeDepot credit card which gave us $50 off. The purchase for insulation for the walls and floors, and some of the materials we need to start building up the floors was $150 total with the discounts! NOT BAD!
I can't believe how easy insulation is. You measure, cut, snap and slide it in. We were going for a really tight fit so it took a bit of hammering, but we got the walls all insulated in 2 hours of work. We probably could have done it in 45 minutes, but we were messin around! What's next?
Here I was thinking I'd have nothing to write about this week and this post is way too long. JEESH! Next steps -- I'll be going away for 2 weeks for vacation and Thanksgiving. We'll have a little break from the bus :( but when we return, it's time to get buildin! We'll be painting the floors with rust neutralizer, finalizing our floor plan, then insulating and laying down the flooring. I CAN'T FREAKIN WAIT!
|
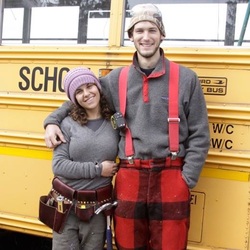
Hey there! I'm KarliI bought a bus in October 2015 and have been working on converting it since with the help of my boyfriend Craig. We don't have any timeline for the project. We are working on it when we can and hope to get on the road someday for a grand adventure! I'll be blogging about the process along the way and sharing the details of our successes and failures to help future skoolie builders! Categories
All
Archives
October 2017
|


 RSS Feed