|
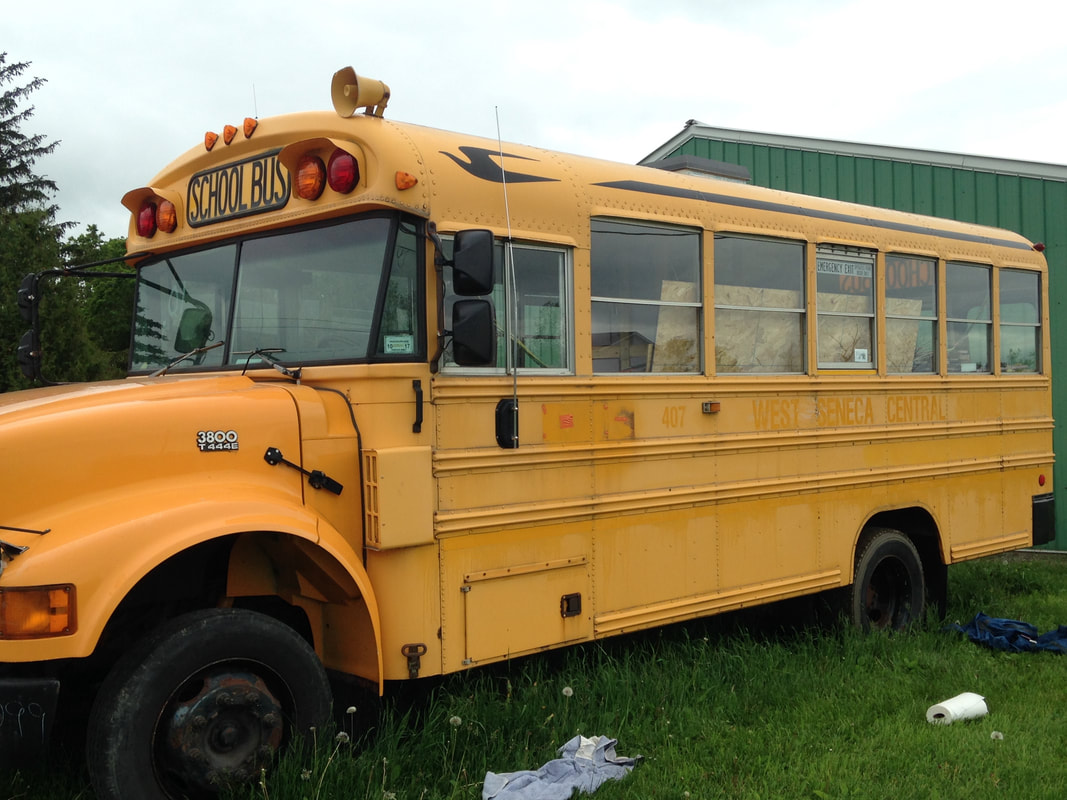
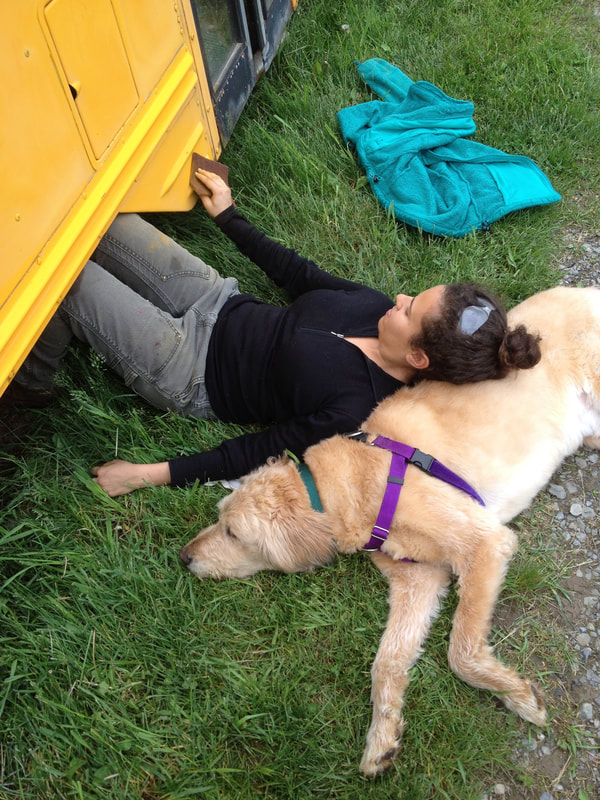
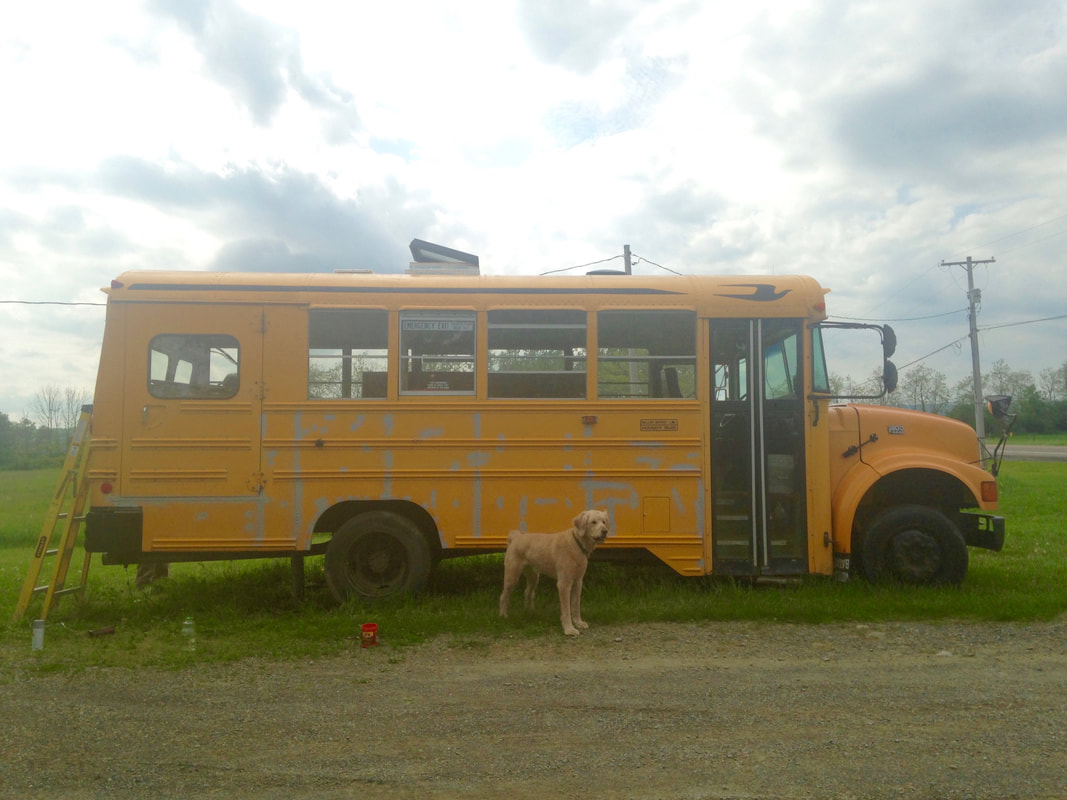
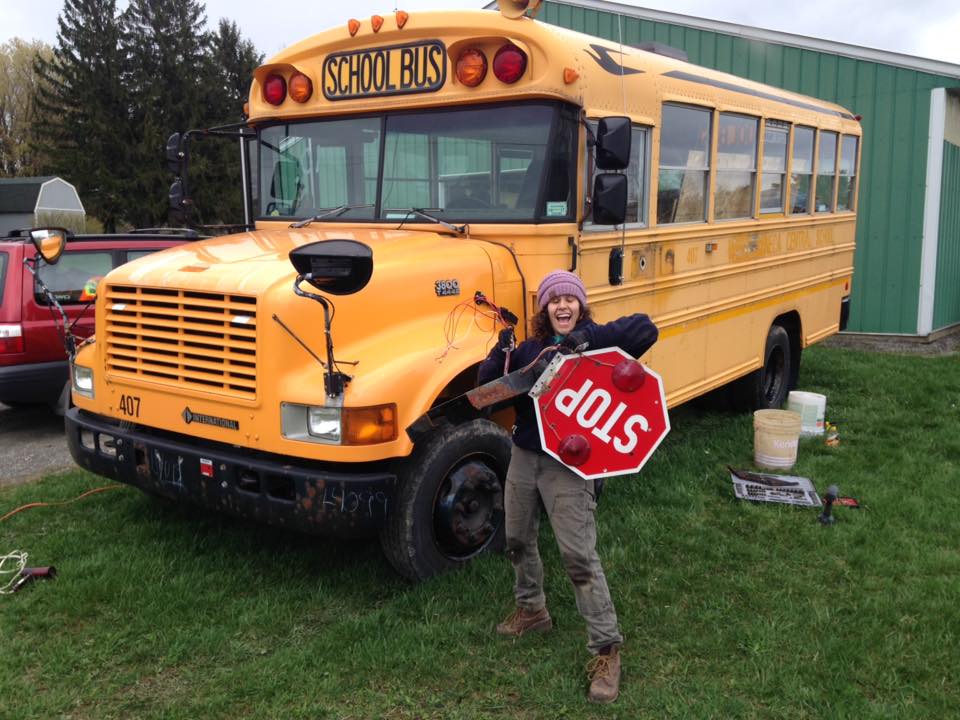
I was not planning on painting the bus myself when I first bought it. The company I was working for was planning on paying for the exterior work. When I quit my job in May 2016 I also gave up the financial support for completing the exterior of the bus. It took me a year to regain my motivation and figure out a plan for how I was going to complete this task. It was daunting. It was a huge undertaking to paint the bus ourselves, but looking back, I'm so glad we did. I learned a ton in the process and I'm glad I can now share that knowledge with you! What does it cost to get a bus professionally painted?I got quotes from about 5 different places that could handle a job as big as a bus. The consensus? The cheapest quote I got came in at $2400 and the most expensive was $3700. This included all the prep, paint, and materials to paint the bus. This quote was to paint the bus one solid color. Keep in mind, the bus only cost $3,000 - so paying close to that for a paint job was out of reach for me. Considering the time and effort it took us to do the prep work, I think this price is fair. Most places quoted it would take 2-3 weeks to complete the job. It took me about 3 months to get it done. If you have the money to spare, get it professionally done. Even better advice - FIND A BUS THAT IS ALREADY PAINTED! I did know this going in, but I couldn't find one the size I wanted that wasn't school bus yellow. If I had been more patient I definitely could have found one - I've seen plenty come up since my purchase. Don't underestimate the value of a prepainted bus. Prepping the bus for paintWe're extremely lucky that we have an automotive paint store right here in Ithaca about 5 minutes from my house. The owner, Kevin, was extremely knowledgeable and generous with his time. He helped me through every stage of the bus prep and paint. I'll share his advice with you. Decal Removal Our bus had the school name written down the side along with other stickers and labels. Removing these was a quick satisfying task. I borrowed Craig's mom's hair dryer and got to it. I held the hair dryer over the decals and with a flat razor lifted the edge. Then, I grabbed on and slowly peeled it back. This is a job you can do in an afternoon. Finally, an easy victory! Reflector Tape Removal I didn't realize how much of a pain in the ass this job would be. I don't even think I realized that this was a step in the process. There was reflector tape all over our bus. It ran down the sides and framed the windows and emergency exits. Removing this tape was not nearly as easy as the decals. I'd strongly recommend having two people to do this job. It went so much faster once Craig was around. Once we got down our rhythm it wasn't bad. Another recommendation - something I didn't do - invest in a rubber eraser wheel tool. They cost about $20 and will probably save you a few hours. I was stubborn and decided to do it my own way. I don't know how long it's going to take me to learn that there is a right tool for every job and it's not worth it to waste hours of your time when you could just buy something for $20. Oh well. I used a hair dryer and a flat bar to remove the reflective tape. I'd hold the hair dryer over the tape for about 10 seconds and then slide the flat bar under and slowly push. Craig would grab the tape and fold it back on itself and pull slowly to remove it. It left behind a nasty residue we had to remove with goo-gone - another long arduous gross task. It probably took an extra 4-6 hours to remove all the goo. Here's my video cry for help after my first try removing the tape with a razor blade. I almost lost all my fingers doing it this way. Learn from my mistakes. Buy a rubber eraser. Doing it this way, I was getting about an inch of tape every 2 minutes. It would have taken a week to remove it all. Once I got the flat bar and Craig, we were removing about a foot every 2 minutes. 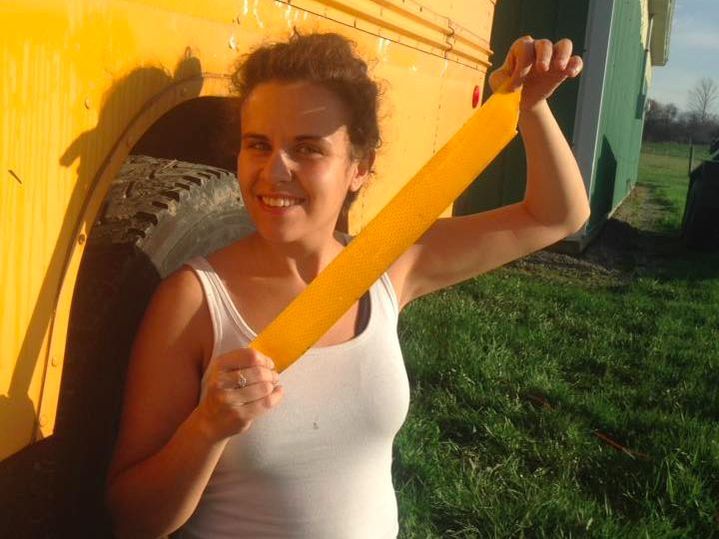 Success with a flatbar. Showing this piece off like it's a trophy - a trophy for still having all 10 fingers. Success with a flatbar. Showing this piece off like it's a trophy - a trophy for still having all 10 fingers. 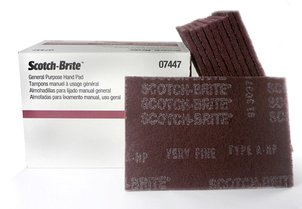 Sanding After reading a bunch of other blogs, I decided we didn't need to prime the bus. The existing paint would act as our primer. Kevin from the paint store seemed to agree that this was ok. In order to paint the bus, he advised sanding the whole bus with scotch-brite pads. The scotch-brite would rough up the existing paint enough so that a new layer would stick. We needed to get the shine off the bus and get down to the chalky paint. Basically, once our hands started turning yellow we could stop sanding. The hood of the bus is fiberglass. He said we could use the scotch-brite pads for this as well. The hood had a clear coat on it that I removed with a razor before we sanded. I ended up using a higher grit sand paper on parts of the hood that I couldn't get to with the razor. We mostly sanded by hand since most of the bus has ribs and weird curves an orbital sander could not reach. For the flat spots and the roof we did buy an orbital sander from Harbor Freight for $25. We also used a sanding block. We started sanding at the end of May and finished at the beginning of August. It's hard to say how many man hours we put into this, but I'd say anywhere between 60-80 hours. My advice for this step? Make a lot of friends. Then, buy said friends beer and pizza. Then give them a scotch brite pad and put them to work. This is the first step I felt I could have used a lot of help with. Unfortunately it is summer and people are busy and weekends are precious. Sanding is a hot, boring, tedious task and getting help is hard. If you can schedule a weekend far in advance and invite people and make sure to feed them, this step will go a lot faster. Another option is to buckle down with your favorite podcast (I recommend My Favorite Murder) and be kind to yourself. Learn to be patient and get to work! In retrospect, I should have had a big party for myself when I was done with sanding. Maybe I still will. Primer When we sanded over the rivets a lot of them went to bare metal very quickly. We grabbed some metal primer spray paint and painted over them to protect them from rusting. Filling in holes We had a large hole from removing our stop sign - about a 2 inch diameter. I grabbed some scrap metal and riveted it from inside the bus to cover the hole. I used bondo to fill the hole from the outside. We sanded it flat. It came out pretty neat. We used the bondo to fill in some rusted out spots on the body of the bus as well. I feel like this post should be 5 pages long, because that is how long it took to do this task. It took us about 3 months, but we worked mostly weekends and took a good few off to have summer fun. It felt like paint prep would never be done, but now that it is behind us I'm so proud of myself for sticking with it. Just keep sanding people! Don't forget to take a break and enjoy life in the meantime. I'd like to thank summer cherries after a thunderstorm, Gabby Stein and magical foggy mountain days, Craig and Dad impossible bike rides, Ursula Smores, Rose in a tube, and Colorado snowy short sleeve tshirt mountain days for keeping me sane and happy throughout all this. I need to remember this project is taking a long time because I'm living life at the same time, taking time to enjoy friends and family and the short magical summer Ithaca has to offer.
Comments
|
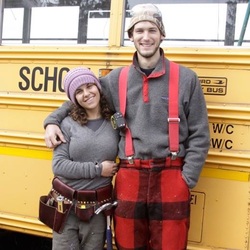
Hey there! I'm KarliI bought a bus in October 2015 and have been working on converting it since with the help of my boyfriend Craig. We don't have any timeline for the project. We are working on it when we can and hope to get on the road someday for a grand adventure! I'll be blogging about the process along the way and sharing the details of our successes and failures to help future skoolie builders! Categories
All
Archives
October 2017
|




 RSS Feed