|
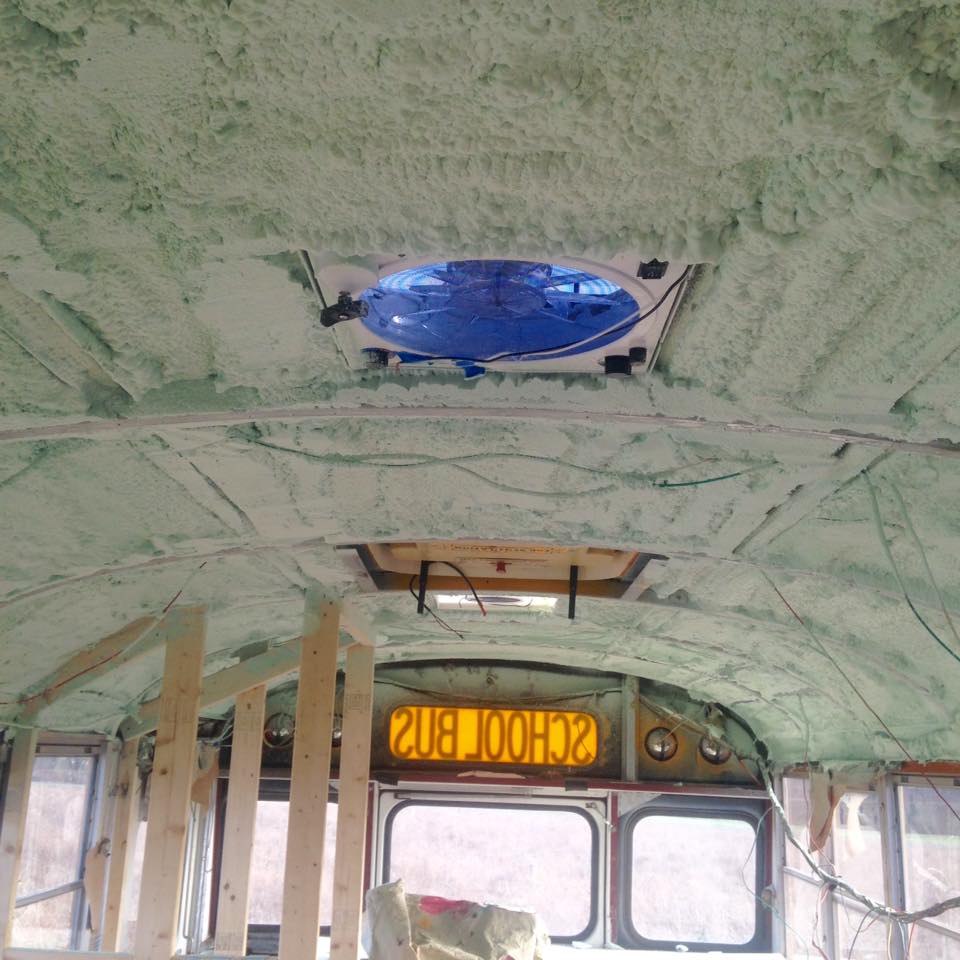
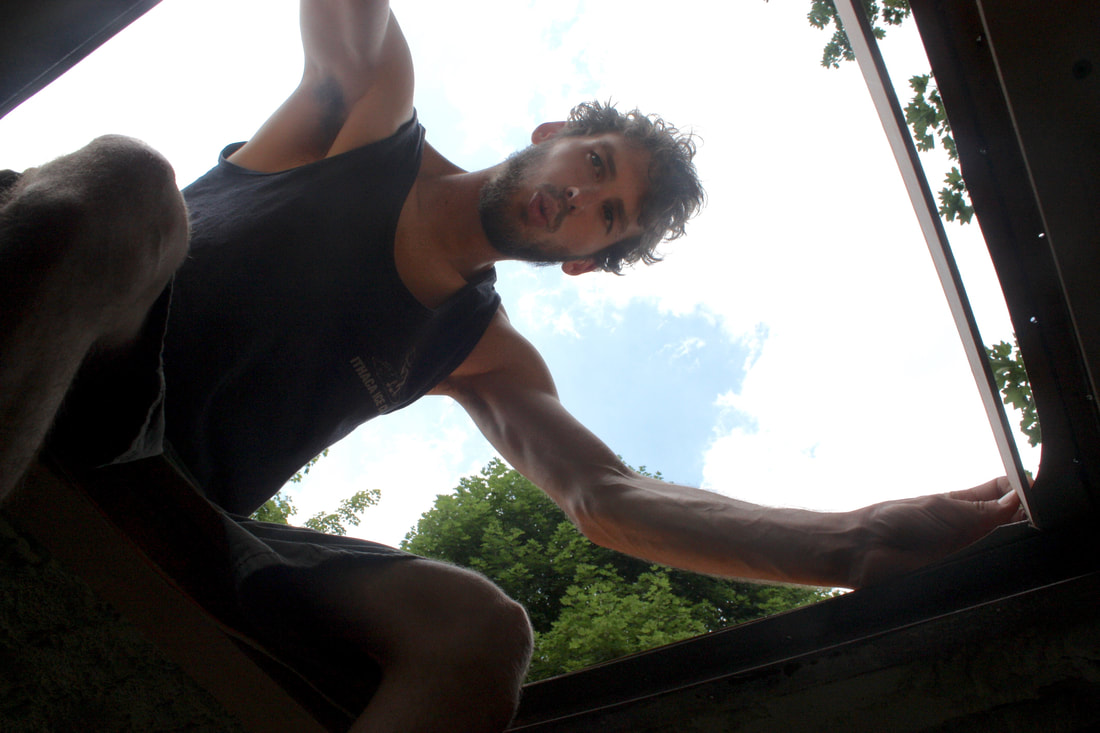
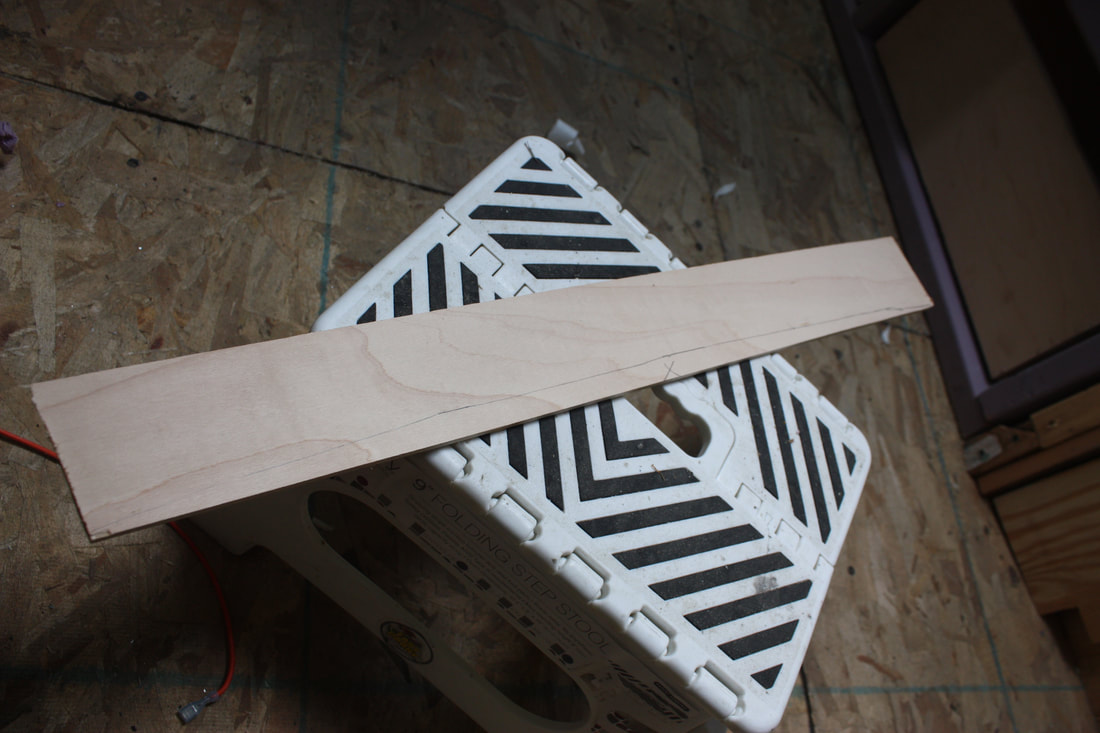
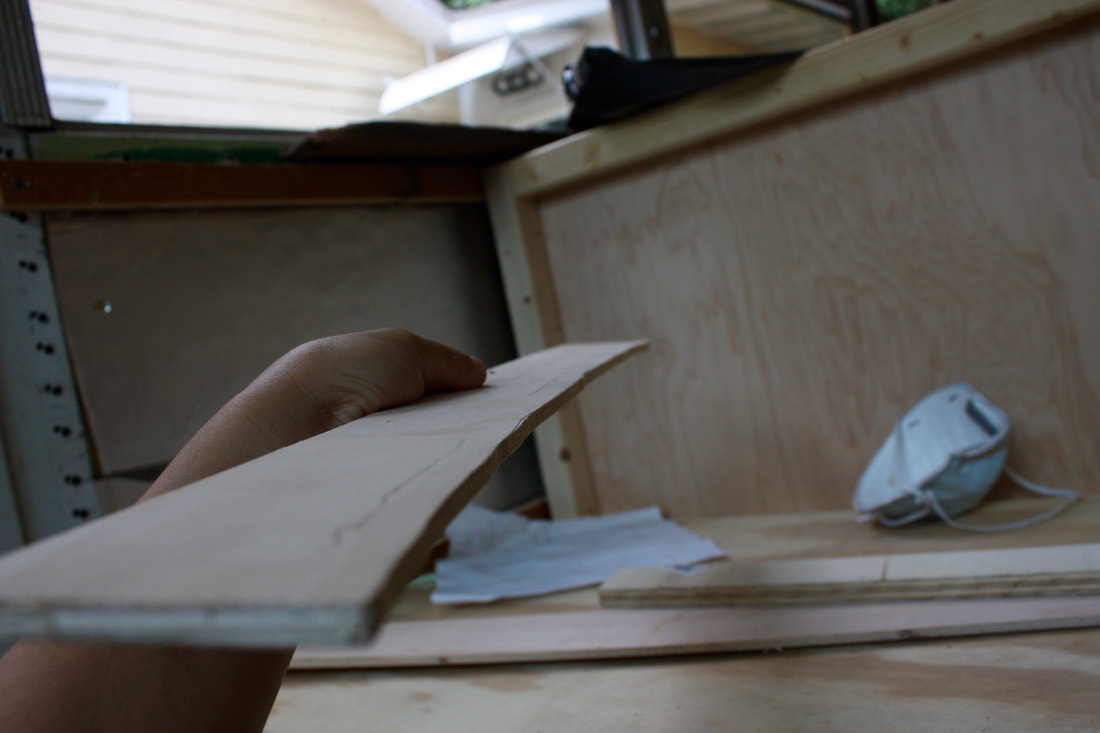
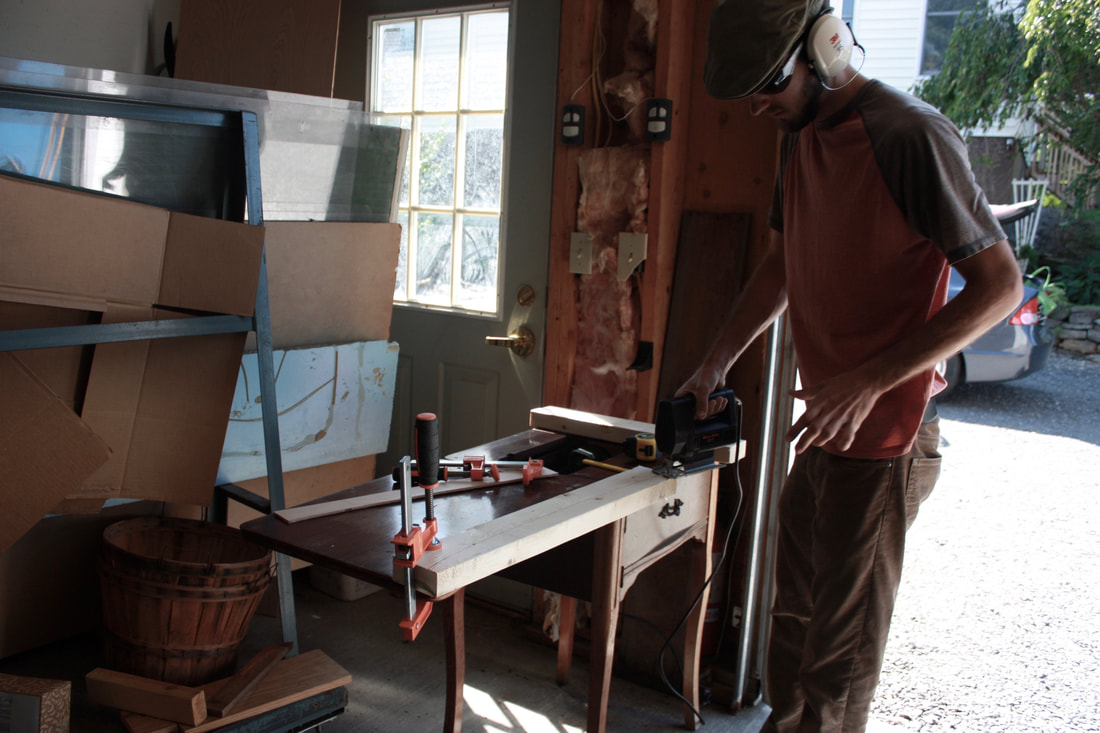
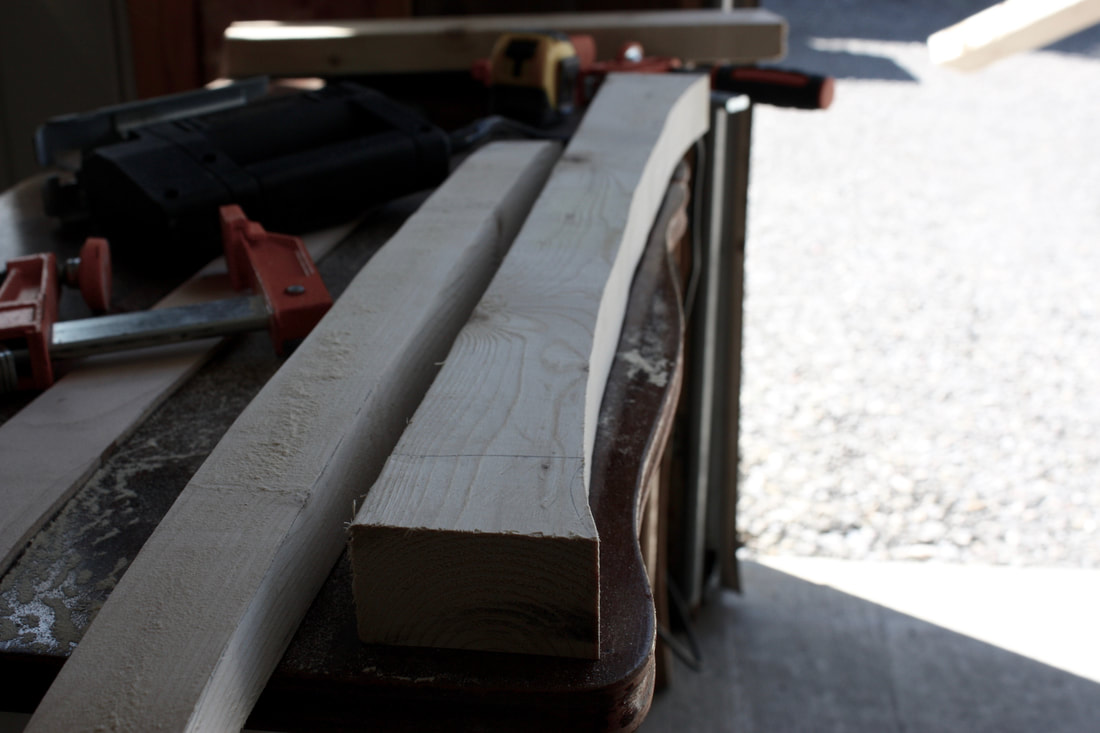
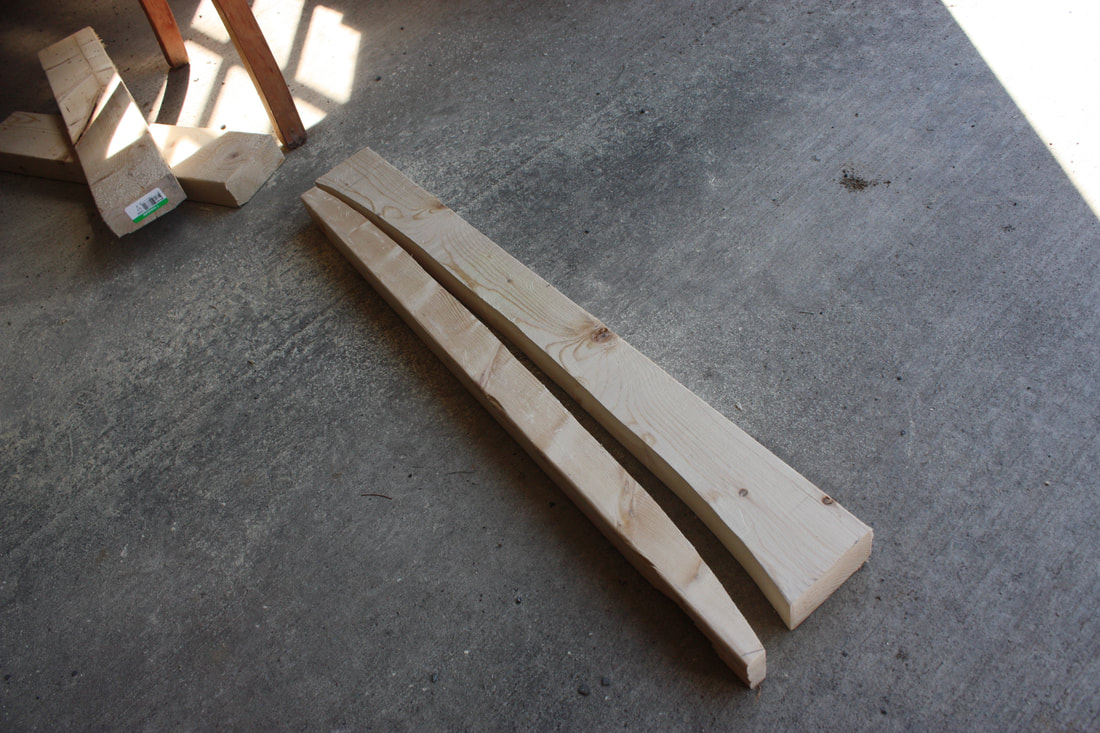
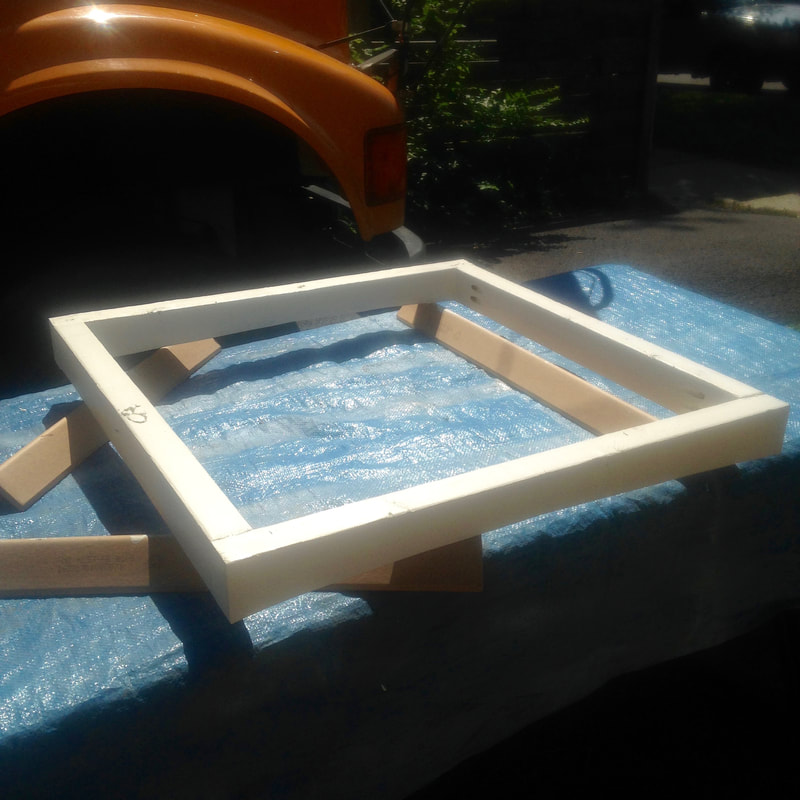
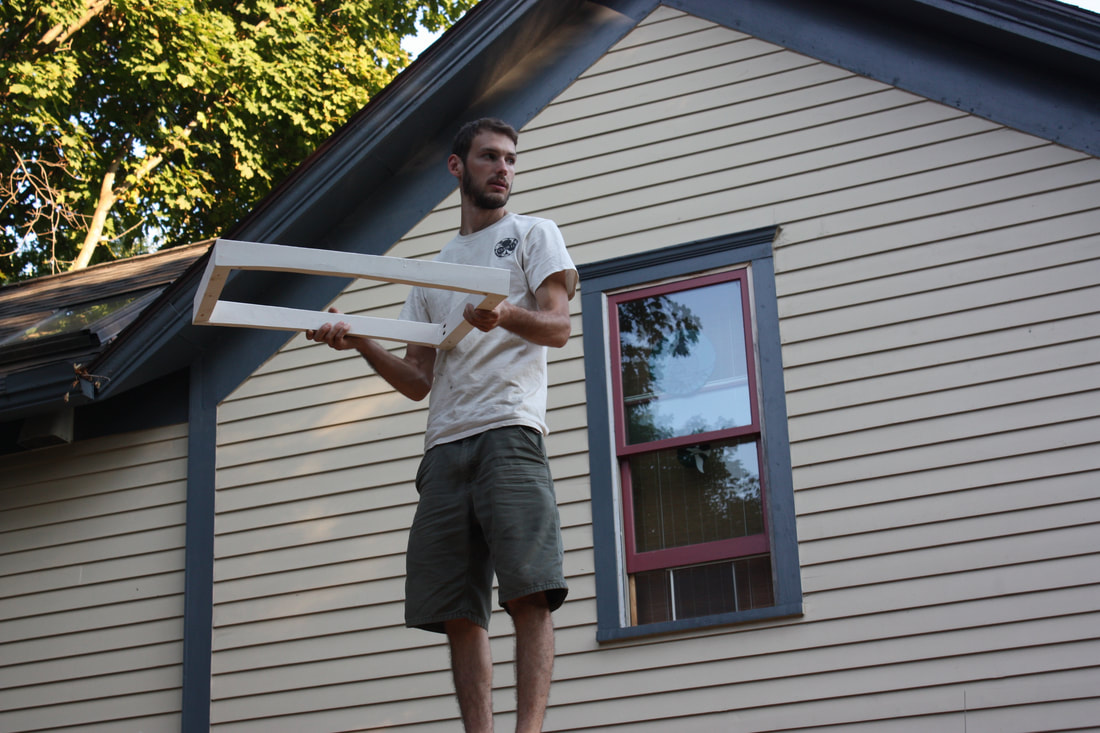
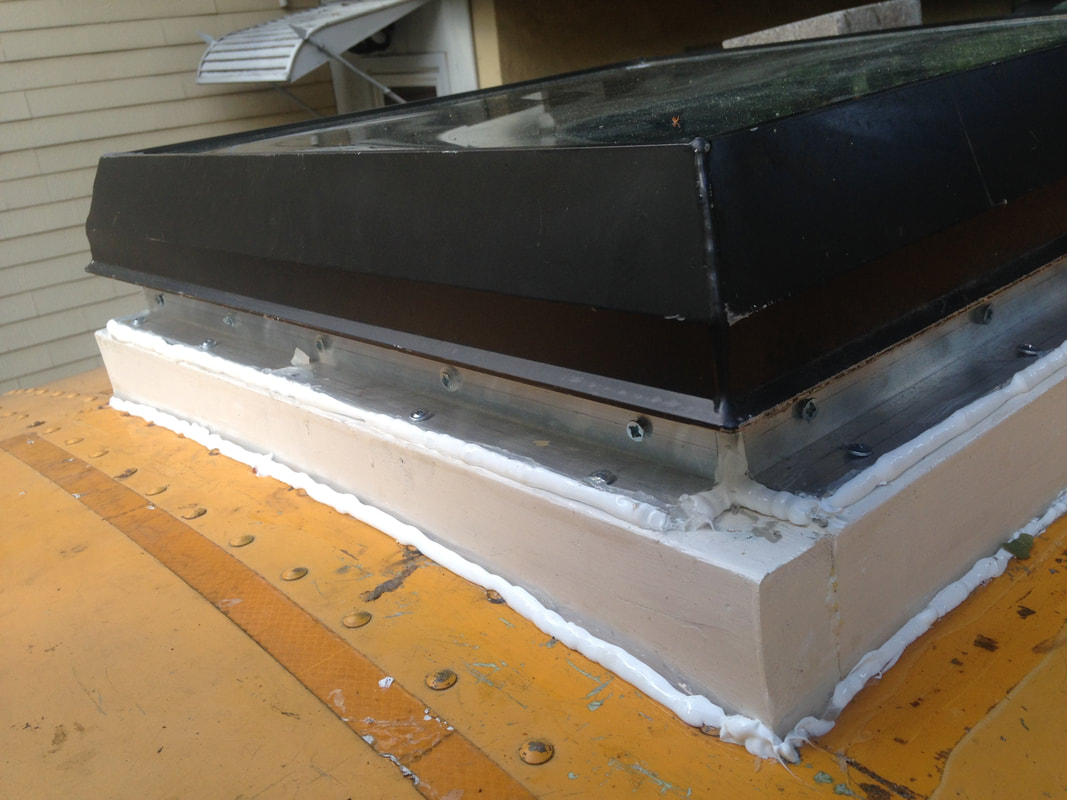
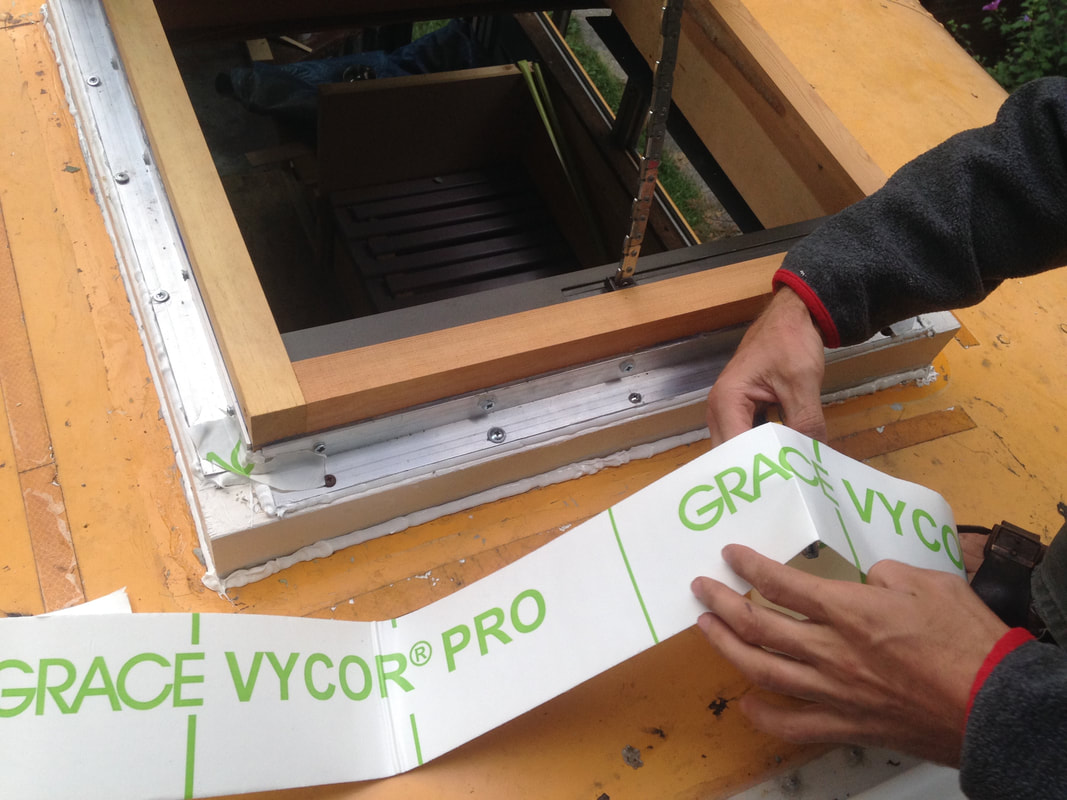
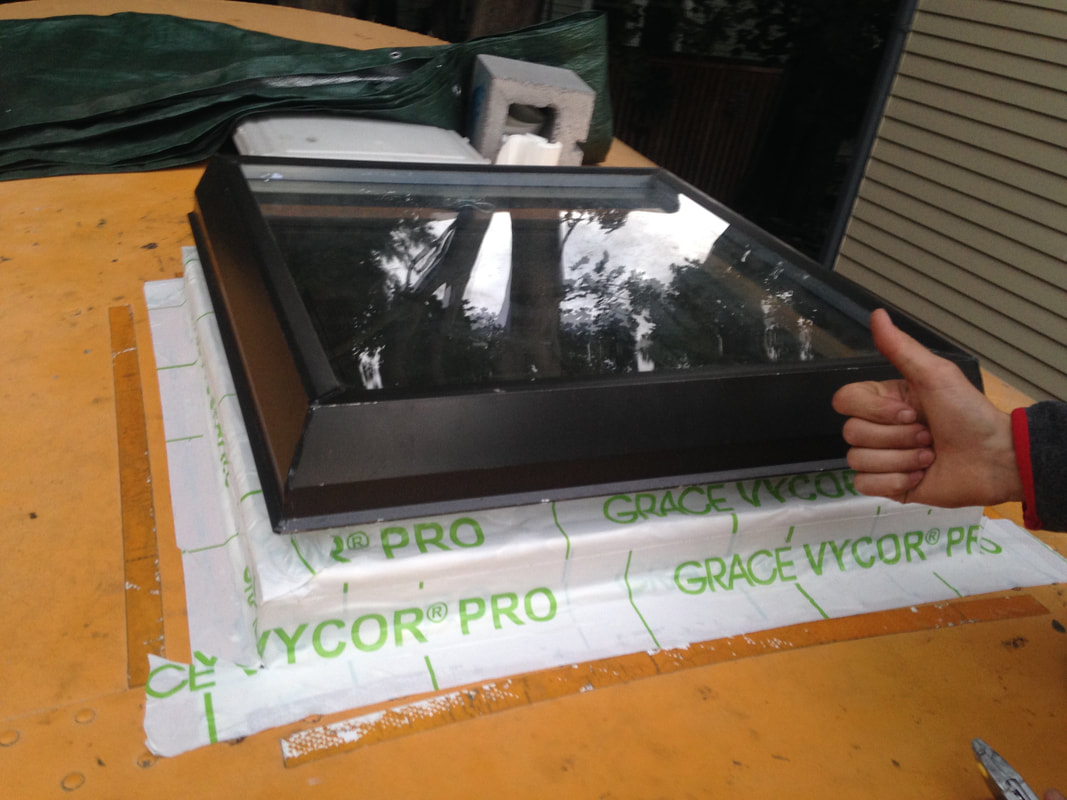
WOW - holy smokes. It's been over a year since I last wrote on here. When I started my bus conversion, I had a plan. I thought I'd be done in a year and get on the road. Well - no matter what, life happens and you don't have control - a very long and hard lesson I have learned this year. There were times this winter I thought about selling the bus. It felt like a project that I could never complete and people started leaving notes in our mailbox offering to buy it. I decided to wait until the weather got better to see if my motivation returned, and it has, slowly but surely. I'm glad I did not sell the bus and we have continued working hard on it. I've been following along with other projects out there and watch as they buy, convert, and sell their buses all within 12 months and it's very discouraging. They make it all look so easy. I am trying to remember that everybody has a different journey and different skills and am learning to enjoy the process of converting. When I got the bus, all I did was fantasize about the amazing adventures that await us. Now, I am trying my best to focus on learning the skills that I set out to acquire and am finding I am feeling much more confident around tools and knowing what I need to accomplish a job. Ok - enough reflection. Let me tell you what we've been up to. This might have to be done in 2-3 posts, I guess we've done a lot! Spray Foam We had a local guy do our spray foam job back in March 2016. It was quite the adventure. We decided last minute at night we would drop the bus off at his shop. My boyfriend followed me in his car and we hit the road. About 10 minutes into the drive, lightening and thunder started. Then, a torrential downpour, and finally hail. I had never driven the bus at night before and couldn't locate my high beams or my windshield wipers. We were on a road with no shoulder and a steep cliff down to the lake on one side. I slowed wayyyyyy down and we pulled into the only restaurant on the road that overlooked the lake to wait out the storm. It was so beautiful! Our first rainstorm with the tin roof in the bus. I was a bit panicked, but the rain calmed me down. The storm passed and we got back on the road. We pulled into the shop and pulled up to an outdoor light. Craig got out of his car and started walking toward me and then we saw a pit bull on a chain start barking and running at him. I started screaming "GET BACK IN YOUR CAR!!!" Luckily, the chain wasn't long enough for the dog to get a hold of him and Craig scurried into his car. We backed up a bit and he got on the bus. In the dark, we did our best to quickly cover the windows with paper and duct tape to keep the spray foam off the windows. We did a pretty lousy job :-\ UGH - There is a good amount of scraping in our future. We were quoted $0.90 per sq ft to do the ceiling. We ended up paying $300 to do the whole thing. This is cheaper than a spray foam kit from Lowes and we didn't have to do any of the messy shaving ourselves, so I feel like it was a good deal. A word of advice if you are spray foaming - Be very thorough in covering your windows, your fans and anything else you don't want covered in foam! Don't do a half ass job like we did. You'll regret it later when you're spending hours with a razor scraper cursing! Skylight InstallOur emergency exit was really busted and we wanted to replace it with a skylight. We checked at Lowes on how much it would be for a skylight and I think it came out to around $600 - NO WAY - way out of our budget. We persistently go to our local reuse center looking for useful materials for our bus and one day we found a skylight. Not just any skylight! The perfect size, perfect shape, perfect price skylight. ALSO --- IT OPENS! $80 and this baby was ours. Talk about scoring gold. I felt on top of the world from this find! Our first try at installing the skylight was an epic fail, mostly due to our own laziness. You know when you look at something and think "That's not going to work - oh well - let's try and do it anyway!" Don't do that. When you hear that voice - listen to it. We removed the emergency exit pretty easily. Under it was a black tar goop that needed to be removed. That process took a while and was pretty disgusting. We mostly used goo gone, rags, and a razor scraper to get it all off. We made sure the surface was perfectly clean before trying to install the new skylight. We did this on a hot day, which made it even messier and grosser. We tried to use butyl tape and self tapping screws to attach the skylight, thinking the butyl tape would take up the space in the curve of the bus --- I'm not explaining this well --- just know -- IT DID NOT WORK. I then had to spend another hour cleaning off all the butyl tape we just destroyed. Very frustrating. I should have listened to the voice in my head. Just don't try this at home. Ok - so we were defeated by this and it took us a pretty long time to get back to doing it the right way - but we did it, so here's how. Step 1: Make a StencilAfter you remove the emergency exit, use cardboard or a thin piece of wood to make a stencil of the curve of the roof of the bus. Hold the wood/cardboard on the inside of the emergency exit hole. Put your pencil on the roof of the bus and trace the curve onto the wood. Cut the line using a jigsaw so that your stencil is cut to a curve. Ours wasn't perfectly straight, but it worked fine. Step 2: Make a frameWe had some scrap wood around to make a frame. We measured the perimeter of our skylight and made a frame to fit it. First, we traced the curve onto the front and back pieces of the frame. Then we cut out the curve. It is important that this is flat and accurate. We clamped the piece to a table and then cut carefully with a jigsaw. We primed the wood so it wouldn't rot and assembled the frame using pocket screws. Step 3: Attached the frameWe used bolts, nuts, and washers to attach the frame to the bus. We also used butyl tape to seal the space between the metal and the frame. The bolts had to be inset with a chisel so that the window could sit flat ontop of the frame. We drilled through the wood and through the roof of the bus. Step 4: Prepare the window for installWe attached angle iron to the base of our window so that we could attach it to our frame. We had to pre-drill holes around the angle iron and then screw it to the window and the frame to attach it to the bus. We put butyl tape again between the angle iron and the frame. after we screwed it down we caulked around the edges and over each of the screw holes. We also caulked around where the frame attaches to the bus. Finally, we used Grace Vycor tape that Craig had left over from another job to seal the window to the bus. Maybe this is all a lot, but we really really really don't want it to leak. The window has been installed for about a year now and so far so good! Hope you found this helpful! Next up is our stair rebuild.
Comments
|
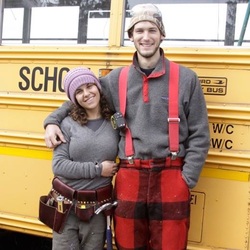
Hey there! I'm KarliI bought a bus in October 2015 and have been working on converting it since with the help of my boyfriend Craig. We don't have any timeline for the project. We are working on it when we can and hope to get on the road someday for a grand adventure! I'll be blogging about the process along the way and sharing the details of our successes and failures to help future skoolie builders! Categories
All
Archives
October 2017
|

 RSS Feed